13
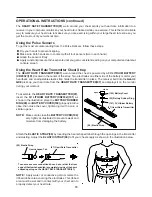
OPERATIONAL INSTRUCTIONS
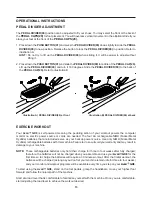
PEDAL DIVIDER ADJUSTMENT
EXERCISE WORKOUT
1.
2.
Press down the
PUSH BUTTON(91)
and press the
PEDAL DIVIDER(90)
down slightly to slide the
PEDAL
DIVIDER(90)
to new position. Release the button to lock the
PEDAL DIVIDER(90)
in position. Refer to
illustration A.
HINT :
Press down the
PUSH BUTTON(91)
and slide the
PEDAL DIVIDER(90)
to middle of the
PEDAL CAP(29).
Lift up the
PEDAL DIVIDER(90)
and turn it 180 degrees. Slide the
PEDAL DIVIDER(90)
to the back of
the
PEDAL CAP(29).
Refer to illustration B.
Do not try to lift up the
PEDAL DIVIDER(90)
when sliding it. It
will be easier to adjust without
lifting it.
The
PEDAL DIVIDER(90)
position can be adjusted to fit your shoes. You may select the front or the back of
the
PEDAL CAPS(29)
for foot placement. You will have less vertical movement in the elliptical stride if you
place your feet at the front of the
PEDAL CAPS(29).
Illustration A) PEDAL DIVIDER(90) at front
Illustration B) PEDAL DIVIDER(90) at back
Your
Avari GX8
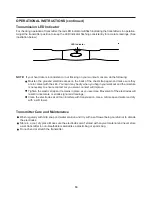
is self powered meaning the pedaling action of your workout powers the computer
monitor no electric power source or cords are needed. The four AA rechargeable NiMH (Nickel Metal
Hydride) batteries that are included serve as your backup power source. Use only NiMH (Nickel Metal
Hydride) rechargeable batteries with this machine. Failure to do so will void your warranty and may result in
damage to your machine.
These rechargeable batteries only hold their charge for three to four weeks after fully charged;
therefore, the batteries will not be charged when you assemble and use your
Avari GX8
for the
first time so to charge the batteries will require a 30 minute workout. After that initial workout, the
batteries will be charged (as long as you don
'
t let your machine remain idle for three to four weeks)
and your monitor and workout programs will be available every time you step on your
Avari GX8
.
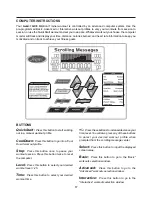
To start using the
Avari GX8,
stand on the foot pedals, grasp the handlebars, move your highest foot
forward and follow the natural path of the machine.
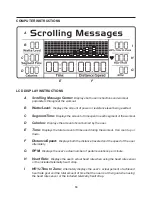
Start at a load level that is comfortable to familiarize yourself with the machine. Once you are comfortable,
start adjusting the load level to achieve the workout desired.
NOTE:


