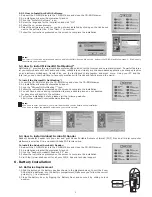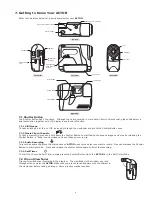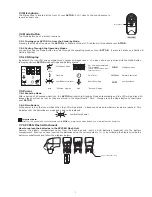
9
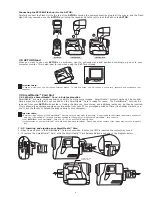
7.9.3 Using SmartMedia™ Card with
ACTOR
Your
ACTOR
uses SmartMedia™ Card as the main storage of your images. For more images storage, you can extend by
using higher memory SmartMedia™ Card(not included). Your
ACTOR
can use SmartMedia™ Card of 8, 16, 32, 64 and 128MB
memory sizes.
Important Note:
• You can use any SmartMedia™ Card that has been formatted by other device, but it will wipe out any insisting les on it when loaded. You
also cannot use it in the other device.
• Your image taken by
ACTOR
and store in SmartMedia™ Card may not read from general SmartMedia™ Card Reader and other brand camera.
• If
appears in your LCD, it means there is no SmartMedia™ Card in your
ACTOR
.
• When the SmartMedia™ Card is full, the icon(s) in the LCD display will ash.
8. Getting Started
8.1 Switching the
ACTOR
On from the Stand-by Mode
Press and release the Mode Button once when the
ACTOR
is in Stand-by Mode (LCD is blank) will reactivate your
ACTOR
the
LCD lights up after several seconds.
8.2 Taking an Image
Press the Shutter Button to take an image. The
ACTOR
will beep. A high pitched beep indicates
that the image was taken successfully and the counter will count up. The LCD screen displays the
number of images taken. Press the Shutter Button to take an image. 3 modes
(high, normal and
low resolution) where you could select to take your image.
By pressing the Mode Button you can cycle through additional features as displayed on the LCD.
When a given mode is displayed it can be accessed by pressing the Shutter Button.
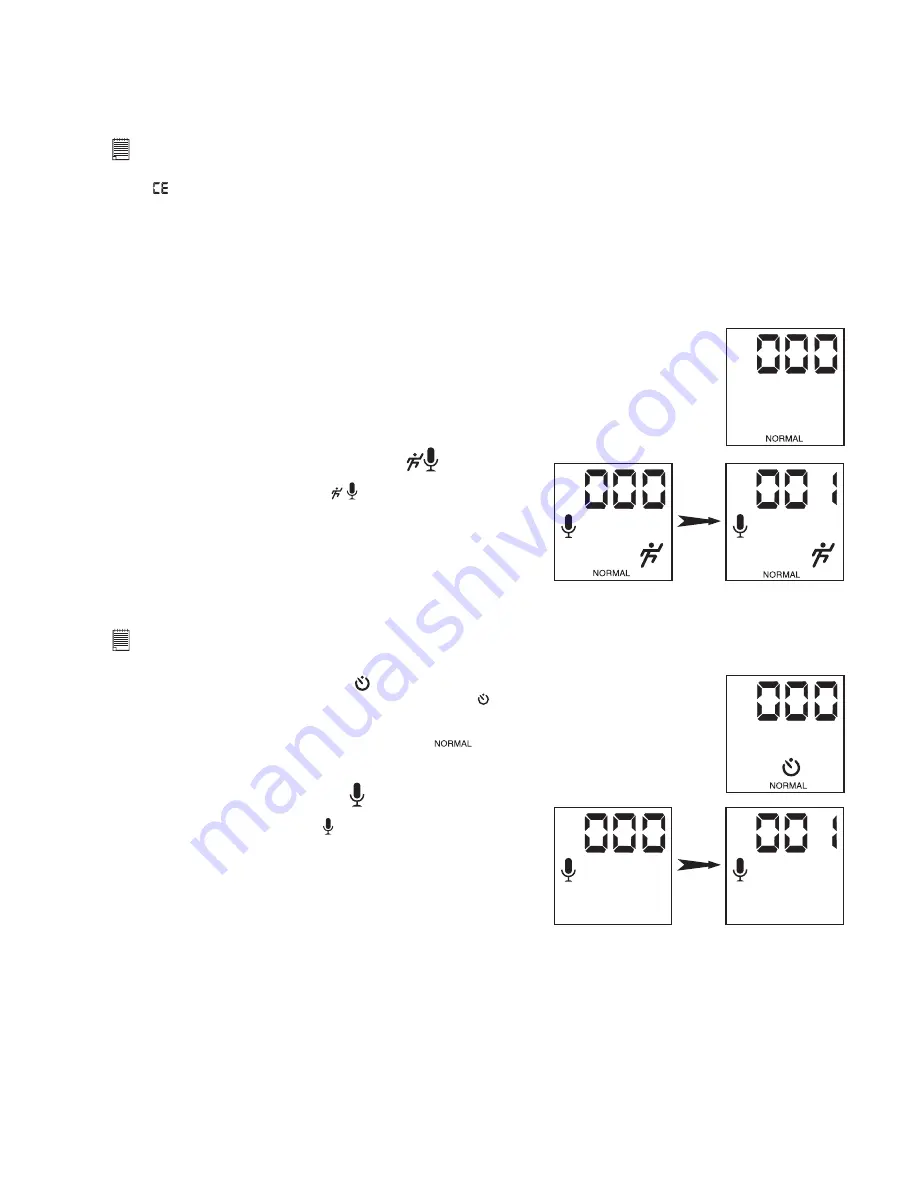
8.3 Video Clip with Audio Mode
sec
During recording
Recording nished
To create a movie clip:
1. Press the Mode Button until both appears on the LCD.
There are two modes: Normal mode for CIF recording and
Low mode for QCIF recording.
2. Press and hold the Shutter Button to start taking the movie. Release
the Shutter Button to stop recording the movie.
3. During Movie Recording, the 3 digits 7 segments will display number
of seconds taken.
4. When recording is nished, the 3 digits 7 segments will display
number of clips remaining.
Important Note:
Storage of both normal and low resolution video clips in the same SMC is not recommended as this may lead to distortion of the low resolution
video clips.
8.4 Self-Timer Mode
To use the self-timer feature, press the Mode Button until appears in the LCD then press the
Shutter Button to start a 10 second self-timer. The LED will blink and
ACTOR
will issue a short beep
every second and then a long beep just prior to a further short beep which indicates that the image
has been successfully taken. The resolution is set at
only when Self-Timer mode is used.
8.5 Audio Recording Mode
sec
During recording
Recording nished
To create an audio clip:
1. Press the Mode Button until the appears on the LCD.
2. Press and release the Shutter Button to start recording. Press and
release the Shutter Button again to stop recording.
3. During Audio Recording, the 3 digits 7 segments will display number
of seconds taken.
4. When recording is nished, the 3 digits 7 segments will display
number of clips taken.
8.6 Deleting the Last Image/Last Movie Clip with Audio/Last Audio Clip
When you wish to delete the last image/last movie clip with audio/last audio clip in your
ACTOR
. Press DELETE button to
delete last image/movie clip/audio clip.
8.7 Changing the Image Resolution
Image resolution can be changed whenever you need. Cycle through the Mode options by pressing the Mode Button until
High/Normal/Low appears at the rear LCD.

