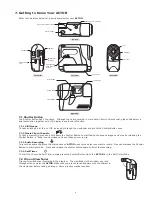
10
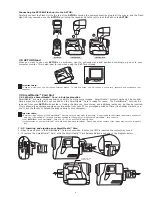
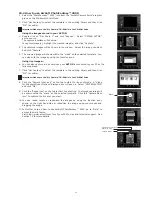
8.8 Flash Light Mode (Optional)
AUTO
Select
AUTO
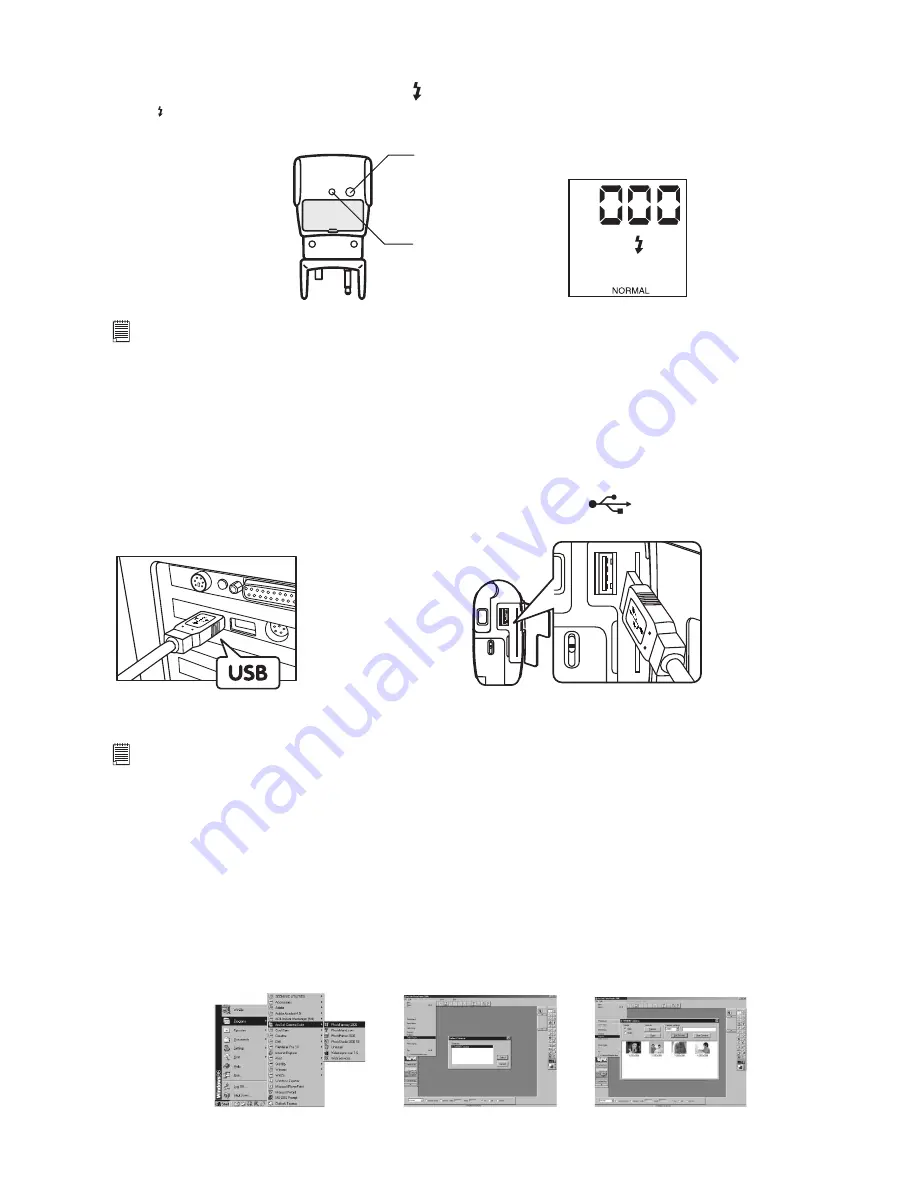
(Flash Mode) on the LCD display using the Mode Button. Press the Shutter Button to take the still image while
the LED on the ash unit is lit. The LED may take a few moments to illuminate between taking images. The Test Button
is only use to test whether the Flash Unit work or not.
LED
Test Button
AUTO
Important Note:
When Flash Light mode is ON.
ACTOR
will automatically switch into Auto Flash Mode, this mean that
ACTOR
will Flash (if Flash Unit is connected)
automatically when insufcient light exposure is detected.
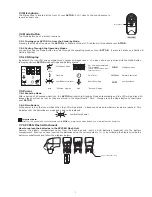
8.9 Turning your
ACTOR
OFF
You can switch off your
ACTOR
by pressing and holding on to the Mode Button until the LCD goes “Blank”
9. Connecting your
ACTOR
to Your Computer
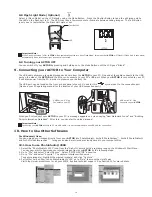
The USB cable allows you to upload images and audio fro
m th
e
ACTOR
to your PC. One end of the cable connects to the USB
port on the side of the
ACTOR
and the other end connects to your PC’s USB port. When your
ACTOR
is connected to your PC,
it will draw power from the PC in order to preserve your battery life.
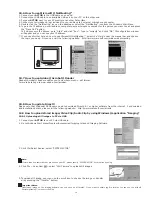
The USB port can be found on the front or back panel of your PC. Look for this
symbol next to the connection port.
(Also see your PC operating manual for the location of your USB connection port.)
USB Series “A” Plug
Connects to your PC
USB Series “A” Plug
Connects to your
ACTOR
When you rst connect your
ACTOR
to your PC, a message appears on screen saying “New Hardware Found” and “Building
Driver Information Database”. After this, you can start to upload images!
Important Note:
Connecting your
ACTOR
directly to PC via USB cable, it is not recommeded to use USB hub for connection.
10. How to Use Other Softwares
For Windows® User:
You can upload your images directly from your
ACTOR
into PhotoStudio®, ArcSoft PhotoFantasy™, ArcSoft PhotoPrinter®
and ArcSoft VideoImpression™. Images can also be retrieved previously saved in your computer les.
10.1 How to use PhotoStudio® 2000
1. Select the “PhotoStudio® 2000” icon from the “ArcSoft Camera Suite” program group on the Windows® Start Menu.
You can now start to download your stored images from your
ACTOR
by the following steps:
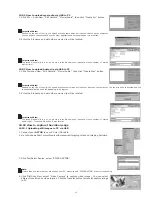
2. Go to “File” and select “Select Source”. Select “
SPYPEN ACTOR
” as source.
3. Go to “File” and select “Acquire”. The capture interface will show up.
To capture image(s), highlight the wanted image(s) and click “Capture”.
4. For further help on how to use PhotoStudio® 2000, go to “Help” to access the Help Topics.
Visit http://www.arcsoft.com for all your FAQ’s, tips and technical support. See Section 12 for more details.

