14
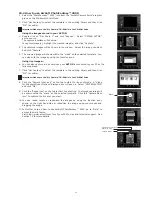
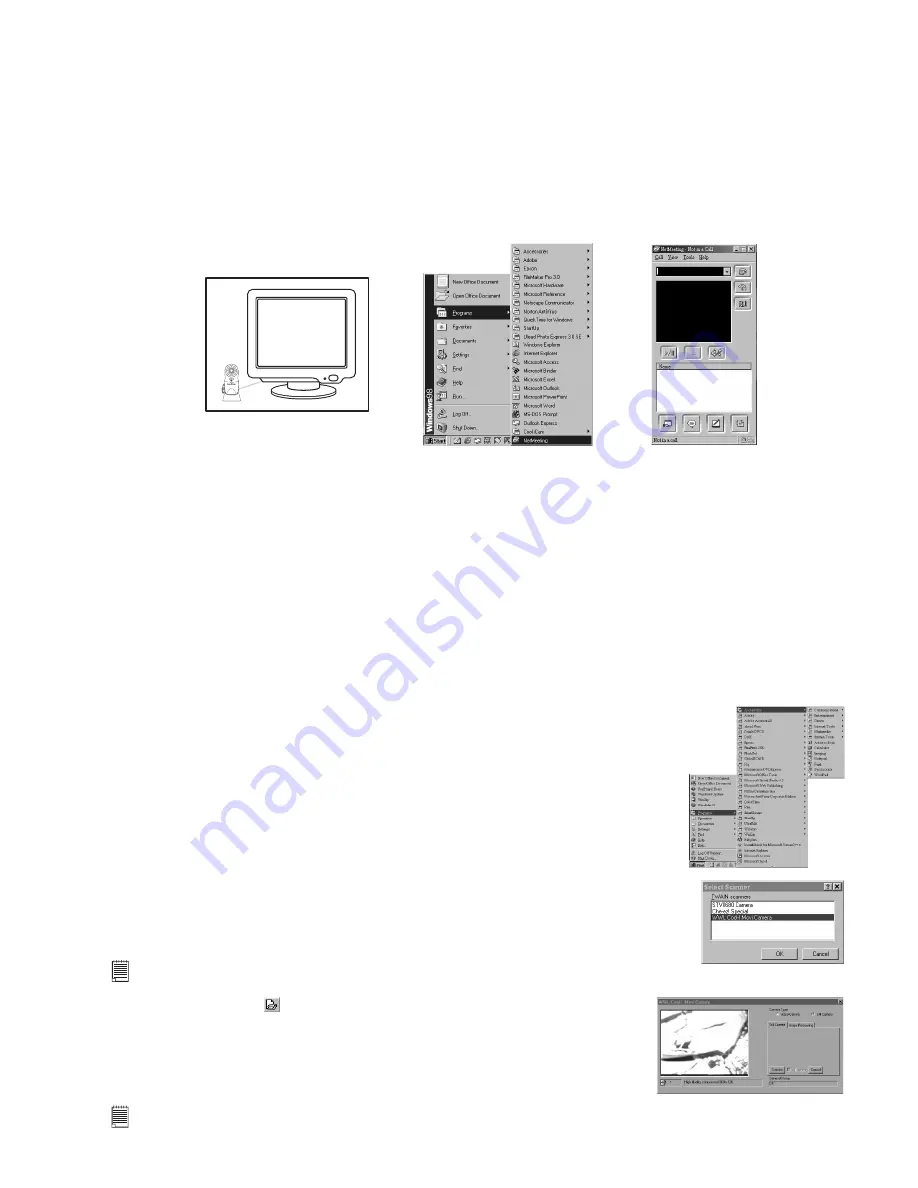
10.6 How to use Microsoft® NetMeeting™
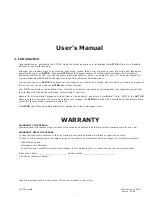
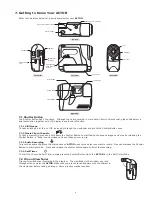
1. Connect your
ACTOR
to the USB cable on one end.
2. Connect your USB cable to an available USB port on your PC on the other end.
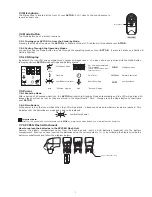
3. Put your
ACTOR
next to your PC monitor or another at surface.
4. Connect your microphone (not included) to your audio card’s external microphone connector.
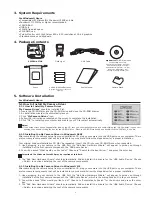
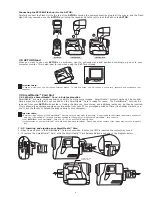
5. Double click the “NetMeeting” icon on the desktop or select the “NetMeeting” icon from the Windows Start Menu.
6. Type in the IP address, e-mail address, computer name or telephone number for the person you want to call and press
the “Place Call” button.
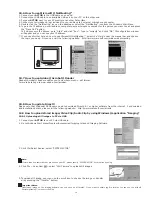
To nd your own IP address, go to “Start” and click “Run”. Type in “winipcfg” and click “OK”, IP conguration window
will appear and you can see your IP address.
7. If you need further help on how to use Microsoft® NetMeeting™, select the “Help” under the manual bar and choose
the topic you need. Or you can visit the following website: http://www.microsoft.com/windows/netmeeting
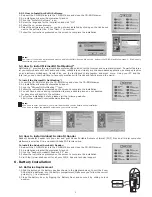
F3.
0
f=5
.3m
m
CO
OL
-ICA
M DIGITAL CAM
ER
A
10.7 How to use Adobe® Acrobat® Reader
Adobe® Acrobat® Reader enables you to view document in .pdf format.
For more details go to www.adobe.com/acrobat.
10.8 How to update DirectX
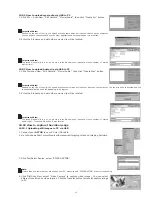
Please note that Window® 98SE users need to download DirectX 6.1 or higher software from the internet. For download
and installation details, please visit the following website: http://www.microsoft.com/directx
10.9 How to upload stored image/Video Clip/Audio Clip by using Windows® application “Imaging”
10.9.1 Uploading still images to PC via USB
1. Connect your
ACTOR
to your PC via USB cable.
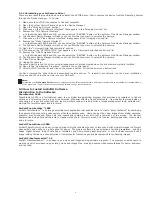
2. Go to Windows Start menu/Program/Accessories/Imaging to launch Imaging Software.
3. Click File/Select Source, select “
SPYPEN ACTOR
”
Note:
If more than one camera driver are used on your PC, please specify “
SPYPEN ACTOR
” driver currently using.
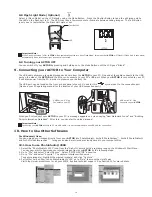
4. Click File > Scan New
> select “Still Camera” to upload still images.
5. To upload still image, user can use the scroll icon to choose the image or transfer
all by pressing the “Transfer” button.
Important Notes:
Transferred image on the imaging software can only save as tif format. If you want to obtain jpg le format, you can use the ArcSoft
PhotoImpression™ to convert the les.

