3
3. System Requirements
For Windows® Users
• Compatible with Microsoft® Windows® 98SE and Me
• Pentium® II 333Mhz or higher recommended
• 128MB RAM
• USB Port
• 200MB free disk space
• CD-ROM Drive
• Colour Monitor with High Colour 800 x 600 resolution at 16-bit graphics
• Standard mouse and keyboard
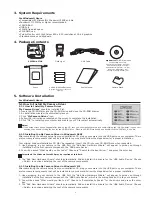
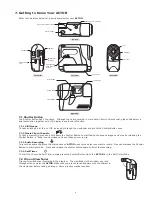
4. Package Contents
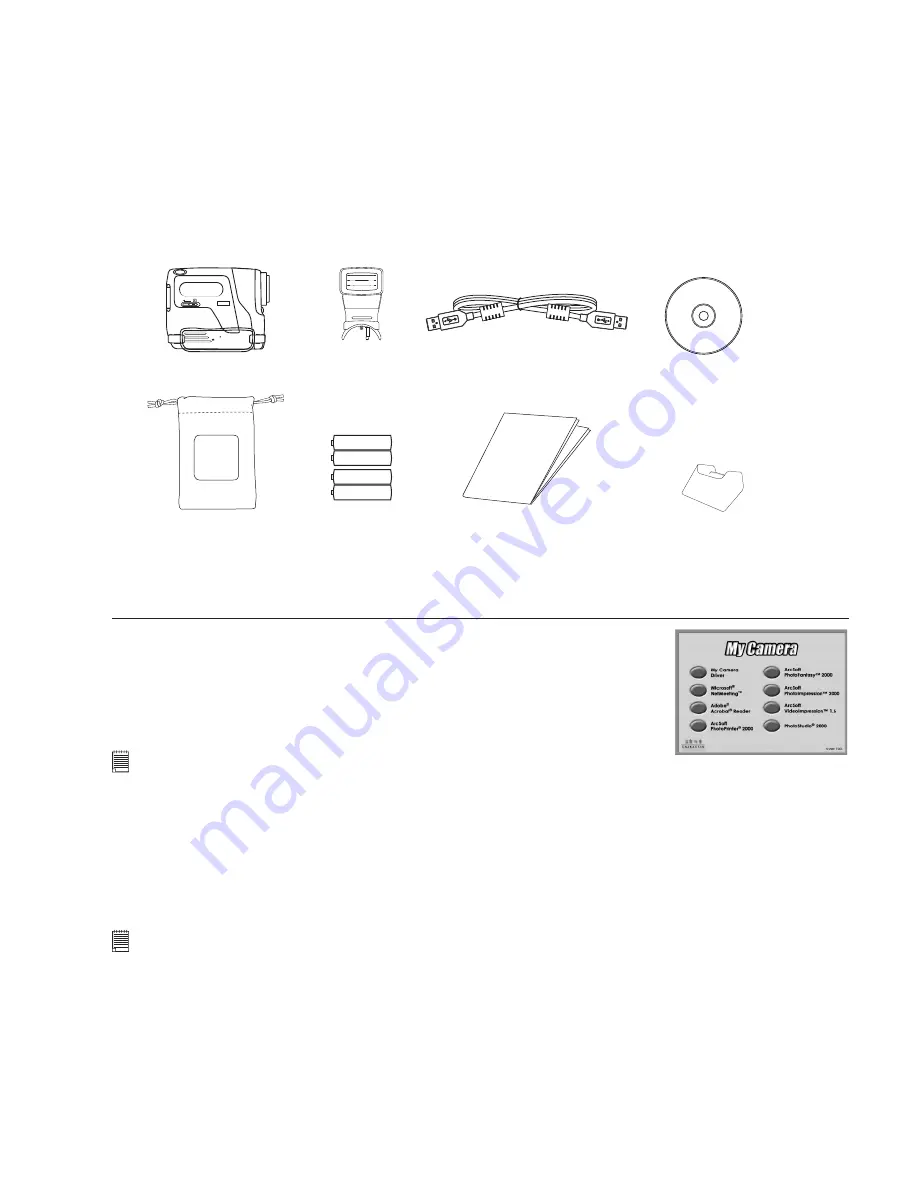
DIGITAL CAMERA
SPYPEN ACTOR
USB Cable
Pouch
Flash Light
Camera Stand
4 x AAA Alkaline Batteries
(2 for camera and 2 for ash unit
optional)
My Camera
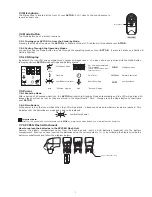
CD-ROM includes
PhotoStudio® 2000 (PC),
ArcSoft™ PhotoFantasy™ 2000 (PC),
ArcSoft PhotoPrinter® 2000 (PC),
ArcSoft VideoImpression™ 1.6 (PC),
Microsoft® NetMeeting™ (PC),
Adobe® Acrobat® Reader (PC).
User’s Manual
5. Software Installation
For Windows® Users:
5.1 How to Install My Camera Driver
5.1.1 How to Install My Camera Driver
“
My Camera Driver
” should be installed rst.
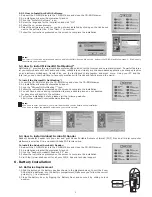
1. Insert the CD-ROM disc into the CD-ROM drive and close the CD-ROM drawer.
2. An installation wizard will automatically launch.
3. Click “
My Camera Driver
” icon.
4. Follow the instructions presented on the screen to complete the installation.
5. Click “OK” to restart your computer and wait for your PC to restart automatically.
Notes:
• If the setup screen doesn’t appear after loading the CD, then you can manually start it by double-clicking the “My Computer” icon on your
desktop, then double-clicking the icon for the CD-ROM drive. When the CD-ROM window opens, double-click the “INSTALL_E.exe” le.
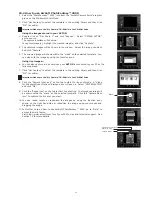
5.1.2 Installing the My Camera Driver in Windows® 98SE
After completing the camera setup from your installation CD, plug your camera into the USB port on your computer. There
are four camera components that will be installed for your camera. Follow the steps below for a proper installation.
Your original Windows Installation CD
MAY
be requested. Insert the CD into your CD-ROM Drive when requested.
1. Upon plugging in your camera to the USB Port the “Add New Hardware Wizard” will appear to guide you through
installation of the rst camera component, the ‘USB Audio Device’.
2. You will be asked “What would you like to do?” Choose to “Search for the best driver…” and press the enter key.
Important! The Windows Install CD may be required at this time.
3. The “Add New Hardware Wizard” should automatically nd and install the drivers for the ‘USB Audio Device’. Choose
<Finish> to continue installing the rest of the camera components.
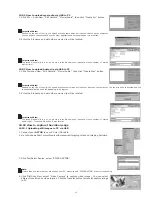
5.1.3 Installing the My Camera Driver in Windows® ME
After completing the camera setup from your installation CD, plug your camera into the USB port on your computer. There
are four camera components that will be installed for your camera. Follow the steps below for a proper installation.
1. Upon plugging in your camera to the USB Port the “Add New Hardware Wizard” will appear to guide you through
installation of the rst camera component, the ‘USB Audio Device’, which is the microphone built in to your camera.
2. You will be asked “What would you like to do?” Choose to “Automatically Search” for the drivers and press the enter
key.
3. The “Add New Hardware Wizard” should automatically nd and install the drivers for the ‘USB Audio Device’. Choose
<Finish> to continue installing the rest of the camera components.

