8
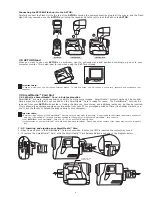
Connecting the
SPYPEN
Flash
unit
to
the ACTOR:
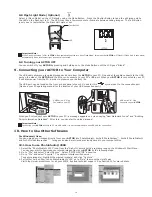
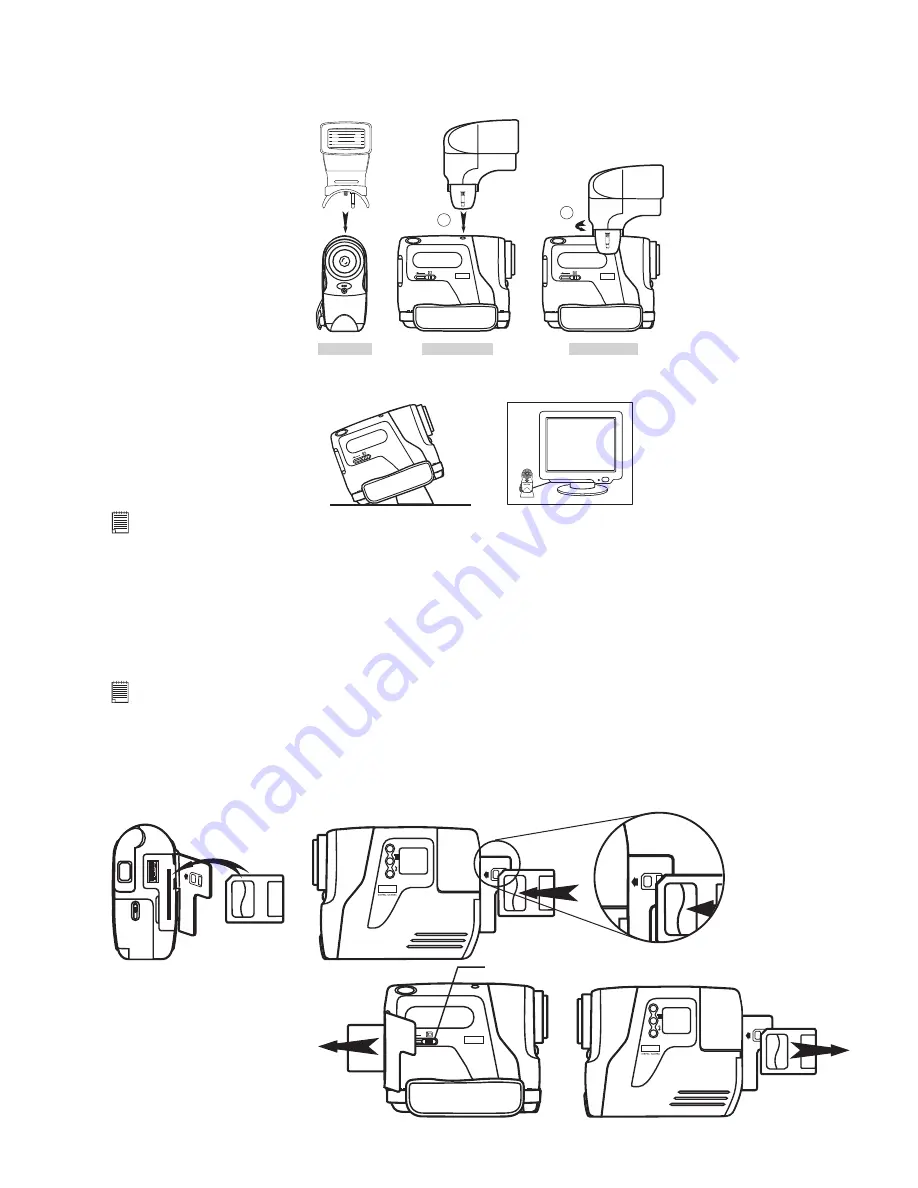
Carefully connect the Flash Unit to the top of the
ACTOR
ensuring the power connection plug is all the way in, and the Flash
Light is rmly secured on to the
ACTOR
by winding the round knob to the left to lock the ash to the
ACTOR
.
Left Side View
Left Side View
Front View
F3.
0
f=5
.3m
m
CO
OL
-ICA
M DIGITAL CAM
ER
A
1
DIGITAL CAMERA
DIGITAL CAMERA
2
7.8
ACTOR
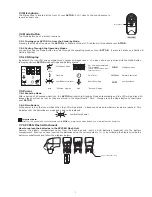
Stand
When you want to use your
ACTOR
as a web-cam, use the enclosed stand and position accordingly, e.g.next to your
computer monitor. This is also ideal for use when using the Self-Timer Modes.
DIGI
TAL
CA M
ERA
F3.
0
f=5
.3m
m
CO
OL
-ICA
M DIGITAL CAM
ER
A
Important Note:
To use as a web-cam, you will require Internet access. To talk and listen, you will require a sound card, speakers and microphone (not
supplied).
7.9 SmartMedia™ Card Slot
7.9.1 What is a SmartMedia™ Card - a brief explanation
SmartMedia™ memory cards expand your ability to store more images. SmartMedia™ memory cards can be reused.
Simply erase the data that is not needed and the SmartMedia™ card is ready for reuse. The SmartMedia™ card can be
removed from your
ACTOR
without fear of losing the data you have stored, and additional cards can be then be inserted.
This is especially advantageous when you are away from your PC for prolonged periods of time (like holidays) where you
don’t have the facility to upload the images daily to your computer.
Important Note:
• Before deciding the size of the SmartMedia™ memory card you may want to purchase, it is advisable to understand the memory capacity of
each size of SmartMedia™ card and how that equates to the number of images each SmartMedia™ card can hold.
• Your
ACTOR
can use SmartMedia™ Card of 8, 16, 32, 64 and 128MB memory sizes.
• Images stored on your SmartMedia™ card are an approximate calculation. Depending on the content of the image may vary the image le
size.
7.9.2 Inserting and ejecting your SmartMedia™ Card
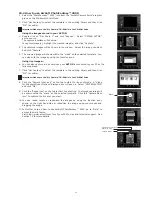
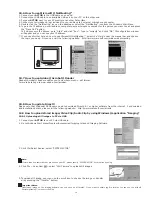
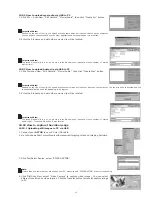
1. Open ap and slide in the SmartMedia™ Card slot provided. Ensure the SMC is inserted the correct way round.
2. To remove the SmartMedia™ Card, slide the SmartMedia™ Card Release Button as shown in the diagram below.
M
M
DIGITAL CAMERA
SmartMedia™ Card
Release Button

