


O
per
at
ion
Menu Operation
16
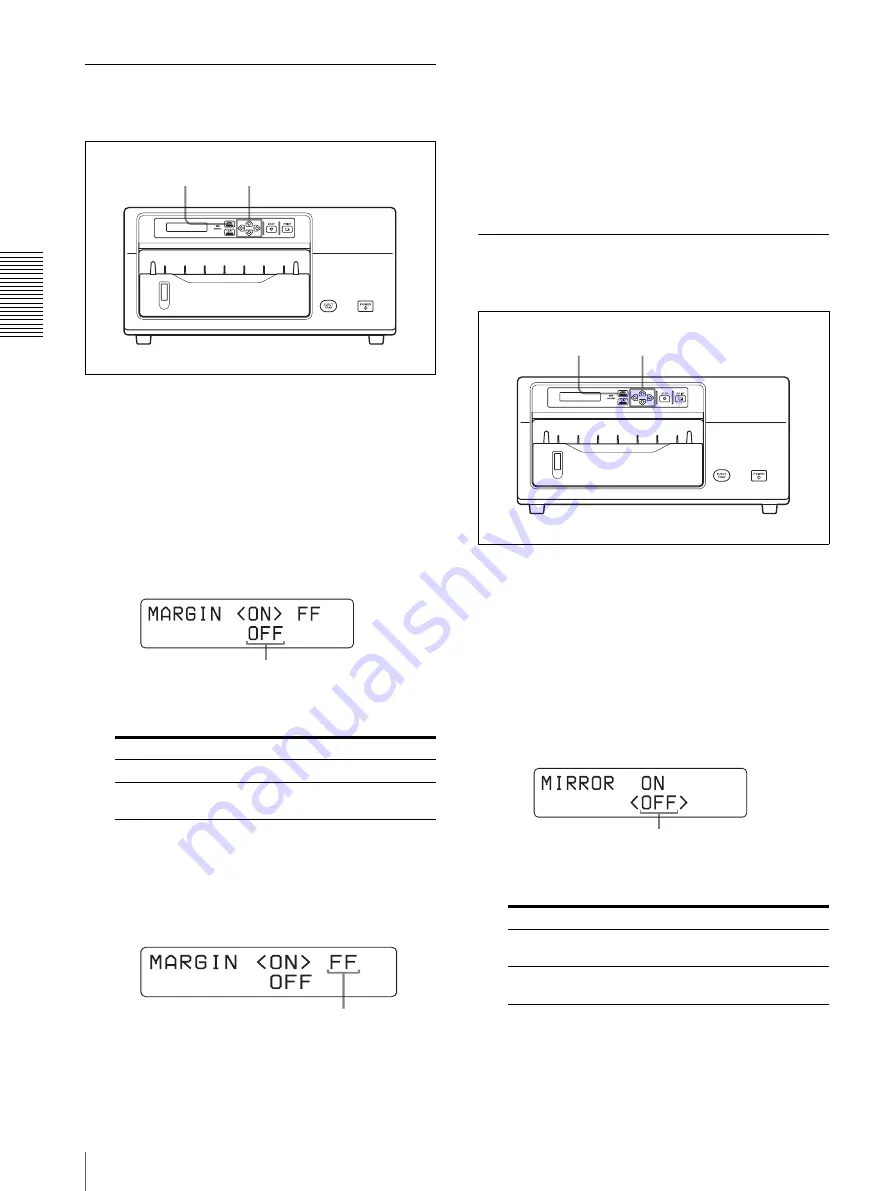
Setting the Margin Print Option
You can set whether the right and left margins of the
printout are to be printed or not.
1
Press the MENU button.
2
Display the MARGIN PRINT menu on the printer
window display by pressing the
F
or
f
button, then
press the
g
button.
The MARGIN PRINT menu appears.
The printer enters the margin print setting mode.
3
Select the desired setting by using the
F
or
f
button.
If you select ON, go onto step 4. If you select OFF,
skip to step 5.
4
Set the print density of the margin by pressing the
G
or
g
button.
You can set the print density to any of 256 steps
from 00 to FF.
G
: The print density becomes lighter (up to 00).
g
: The print density becomes darker (up to FF).
5
To exit from the margin print setting mode, press
the MENU button again.
The printer returns to standby status.
Setting the Mirror Print Mode
You can print image data transferred from the computer
in right or left reverse (mirror) mode.
1
Press the MENU button.
2
Display the MIRROR menu on the printer window
display by pressing the
F
or
f
button, then press the
g
button.
The MIRROR menu appears.
The printer enters the mirror print setting mode.
3
Select the desired setting by using the
F
or
f
button.
4
To exit from the mirror print setting mode, press the
MENU button again.
The printer returns to standby status.
Desired margin print option
Select
To print the margin.
ON
To leave the margin blank (i.e.,
unprinted).
OFF
1, 5
2, 3, 4
Position < > over the desired setting by
pressing the
F
or
f
button.
Display the desired print density of the margin
print area by pressing the
G
or
g
button.
Print mode
Select
To print the image in mirror
mode.
ON
To print the image in the normal
direction.
OFF
1, 4
2, 3
Position < > over the desired setting by
pressing the
F
or
f
button.


