44
Operation
Q 1
A
4 F : 2
S
Q1 A 4F : 2
S
* *
* *
2
Press the CAPTURE button at the instant the image you want to print appears
on the screen.
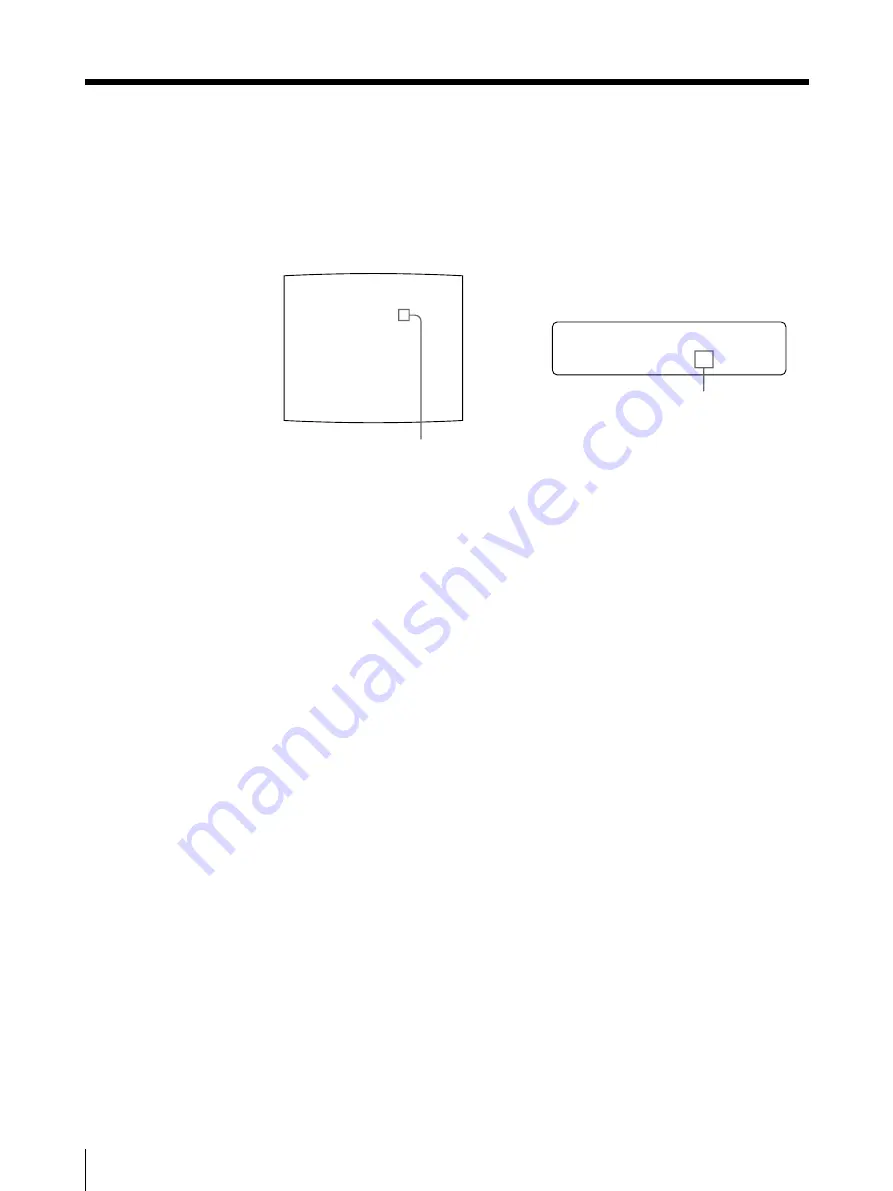
The image has been captured in the location indicated by the green blinking
star on the video monitor screen or the position number displayed on the
printer window display in step 1. The green blinking star (referred to as the
cursor) on the monitor video moves to the next position and the number on the
printer window display advances by 1.
At this time, the image captured in memory is displayed on the video monitor
screen. However, the image to be displayed after a few seconds depends on the
setting of AUTO LIVE in the FUNCTION SETUP menu. (See page 42.)
When INTERVAL in the PRINTER SETUP menu is set to ON, the image is
automatically captured sequentially to four positions at regular intervals. In
this case, go to step 5.
When the source image is displayed at the position where the next image is to
be captured, go to step 4.
3
Press the SOURCE/MEMORY button.
The source image appears on the video monitor screen.
4
Repeat steps 2 and 3 until you have captured four images when the memory
image remains on the video monitor screen.
Repeat step 2 until you have captured four images when the source image
appears on the video monitor screen at the next position where the image is to
be captured.
To replace a captured image
When INTERVAL is set to OFF in the PRINTER SETUP menu, you can
replace a captured image.
Example: When you want to change the image stored in the third position.
The blinking cursor moves to the next
position.
The number advances by 1.
Making Variations of Printouts (Continued)
Содержание UP-50
Страница 428: ...Sony Corporation Printed in Japan ...


