25
4
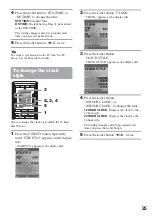
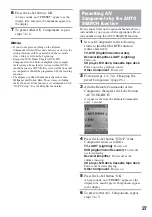
Press the Label button “STD TIME” or
“DS TIME” to change the time.
STD TIME:
Standard Time
DS TIME:
Dayight Saving Time (1 hour ahead
of the STD TIME)
The setting changes and a beep sounds each
time you press the Label button.
5
Press the Label button “
b
OK” twice.
Tip
The clock is synchronized to the PC with “On-PC
Setup.” See the Help file for details.
To change the clock
style
LIGHT
TV
C1
UTILITY
OTHER
C2
C3
MOVIE
MUSIC
INPUT
POWER
ALL OFF
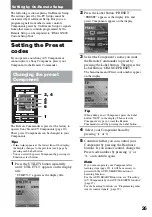
You can change the clock style which the 12 hour
and 24 hour.
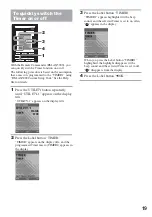
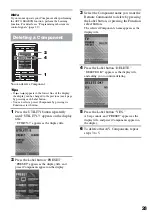
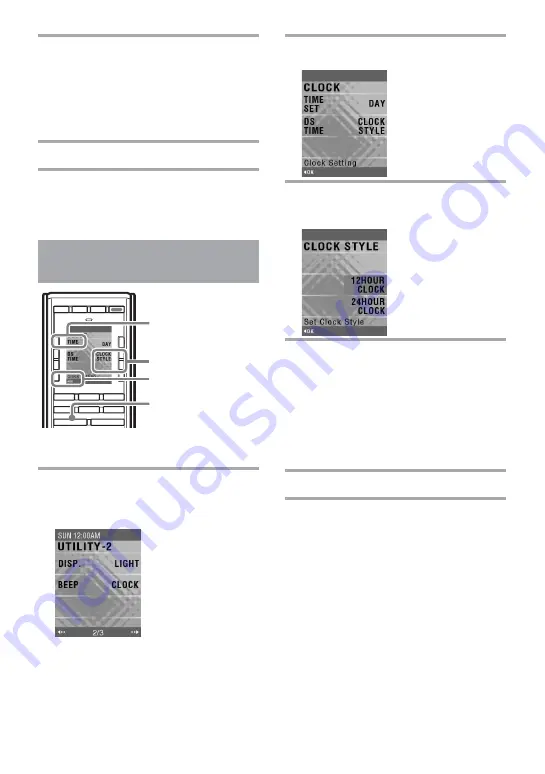
1
Press the UTILITY button repeatedly
until “UTILITY-2” appears on the display
title.
“UTILITY-2” appears as the display title.
3
1
2, 3, 4
5
2
Press the Label button “CLOCK.”
“CLOCK” appears as the display title.
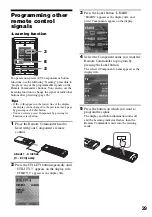
3
Press the Label button
“CLOCK STYLE.”
“CLOCK STYLE” appears as the display title.
4
Press the Label button
“12HOUR CLOCK” or
“24HOUR CLOCK” to change the time.
12HOUR CLOCK
: Displays the clock by the
12 hour style
24HOUR CLOCK
: Displays the clock by the
24 hour style
The setting changes and a beep sounds each
time you press the Label button.
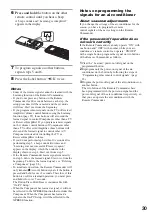
5
Press the Label button “
b
OK” twice.
Содержание RM-AX5000
Страница 52: ...4 000 116 11 1 ...

