74
3
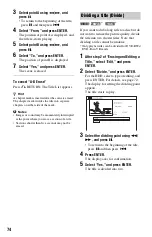
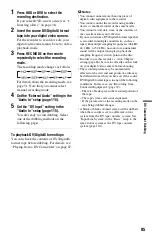
Select point A using
m
/
M
, and
press
X
.
• To return to the beginning of the title,
press
X
and then press
.
.
4
Select “From,” and press ENTER.
The position of point A is displayed, and
the title re-starts playing.
5
Select point B using
m
/
M
, and
press
X
.
6
Select “To,” and press ENTER.
The position of point B is displayed.
7
Select “Yes,” and press ENTER.
The scene is erased.
To cancel “A-B Erase”
Press
O
RETURN. The Title List appears.
z
Hint
A chapter mark is inserted after the scene is erased.
The chapter mark divides the title into separate
chapters on either side of the mark.
b
Notes
• Images or sound may be momentarily interrupted
at the point where you erase a section of a title.
• Sections shorter than five seconds may not be
erased.
If you want to dub a long title to a disc but do
not want to reduce the picture quality, divide
the title into two shorter titles. Note that
dividing a title cannot be undone.
* Only playlist titles can be divided for DVD-RWs/
DVD-Rs in VR mode.
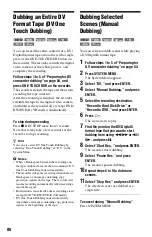
1
After step 2 of “Erasing and Editing a
Title,” select “Edit,” and press
ENTER.
2
Select “Divide,” and press ENTER.
For the HDD, select a type of editing, and
press ENTER. For details, see page 72.
The display for setting the dividing point
appears.
The title starts to play.
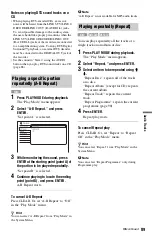
3
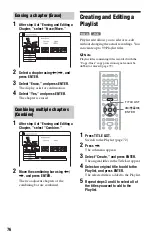
Select the dividing point using
m
/
M
, and press
X
.
• To return to the beginning of the title,
press
X
and then press
.
.
4
Press ENTER.
The display asks for confirmation.
5
Select “Yes,” and press ENTER.
The title is divided into two.
Dividing a title (Divide)
-RW
VR
HDD
-R
VR
*
*


