73
Era
si
ng
an
d
Edi
ting
• “A-B Erase”: Erases a section of the
title (page 73).
• “Divide”: Divides a title into two titles
• “Chapter Edit”: Edits chapters in a title
• “Set Genre”: Assigns a genre to a title.
• “Protect”: Protects the title. “
”
appears next to the protected title.
• “Move”: Changes the title’s playing
order (page 77).
• “Combine”: Combines two titles into
one (page 77).
“Genre Name”: Allows you to enter a
genre name (up to 12 characters)
(page 37).
“Multi-Mode”: Allows you to select and
edit multiple titles at one time (page 73).
“Create”: Creates a Playlist (page 76).
“Undo”: Undoes the last edit you made.
z
Hint
You can label or re-label DVDs (page 38).
You can select and edit up to 24 titles at one
time.
1
Press TITLE LIST.
2
Press
,
.
The sub-menu appears.
3
Select “Multi-Mode,” and press
ENTER.
The display for selecting titles to be
edited appears.
4
Select a title, and press ENTER.
A check mark appears in the check box.
To clear the check mark, press ENTER
again.
5
Repeat step 4 to select all of the titles
you want to edit.
6
When you finish selecting titles, press
,
.
The sub-menu appears.
7
Select an option, and press ENTER.
“Erase”: Erases the selected titles.
“Protect”: Protects the titles. “
”
appears next to the protected title.
“Unprotected”: Unprotects the titles.
“Change Genre”: Changes the genre of
the titles.
z
Hint
You can exit “Multi-Mode” by pressing
,
and
selecting “Single-Mode” while selecting titles.
You can select a section (scene) in a title and
erase it. Note that erasing scenes in a title
cannot be undone.
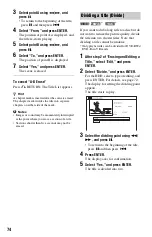
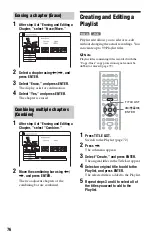
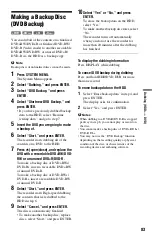
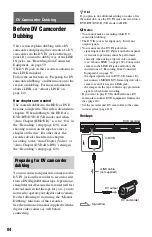
1
After step 2 of “Erasing and Editing a
Title,” select “Edit,” and press
ENTER.
2
Select “A-B Erase,” and press ENTER.
For the HDD, select a type of editing, and
press ENTER. For details, see page 72.
The display for setting point A appears.
The title starts to play.
Editing multiple titles (Multi-
Mode)
HDD
Erasing a section of a title
(A-B Erase)
-RW
VR
HDD
-R
VR
,
continued


