Custom Recovery (Recommended for advanced users)
You can customize the recovery of your system. This advanced recovery process enables you to select partition size
settings or recover specific software. The VAIO Recovery Wizard recovers the factory-installed operating system and
software only.
1.
Select the option, "
Custom Recovery (Recommended for advanced users)
" and click
Next
.
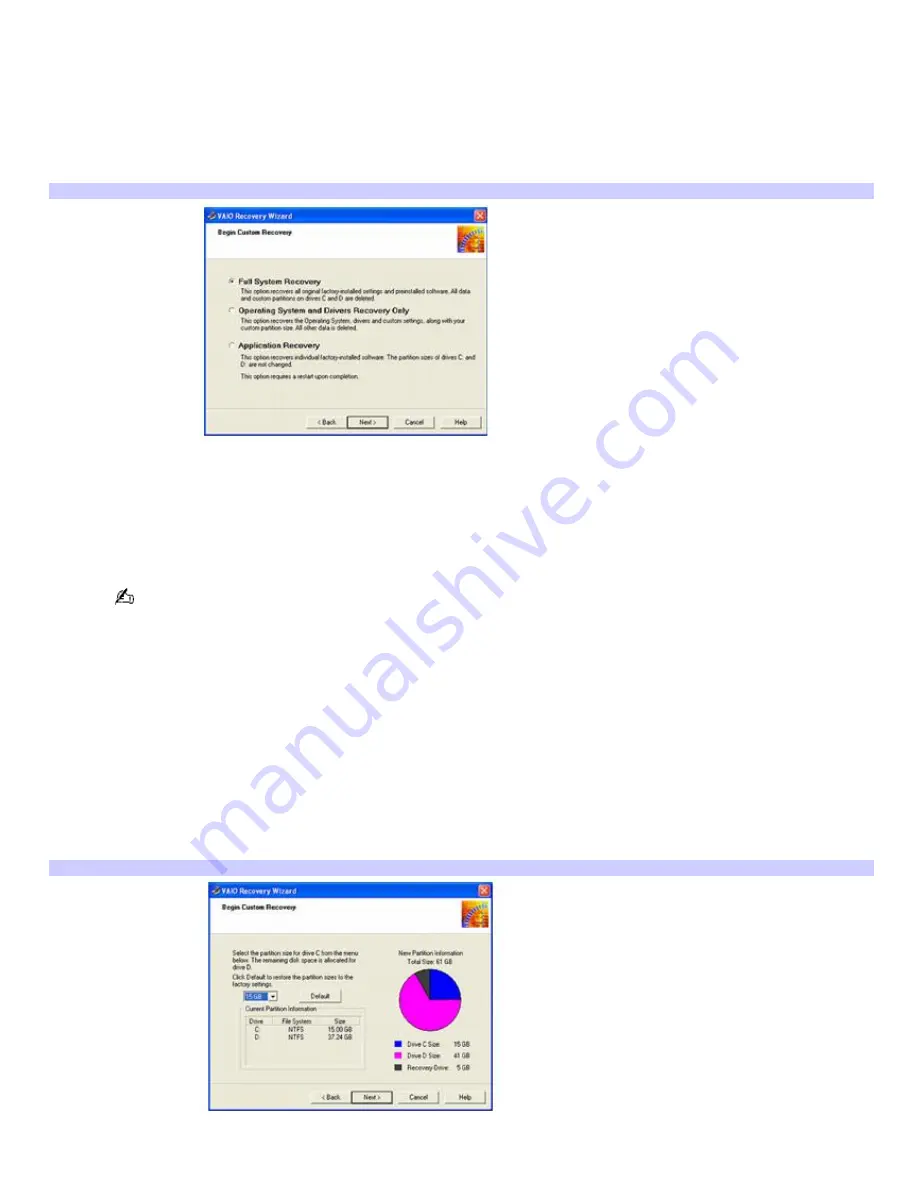
The Begin Custom Recovery window appears.
Begin Custom Recov ery window
2.
Select one of three options:
Full System Recovery
: Recovers all original factory-installed settings and software. Data on drives C and
D are deleted.
Operating System and Drivers Recovery Only
: Recovers the operating system and drivers. Data on
drives C and D are deleted.
Certain software, such as DVgate software, automatically saves data to the drive D partition. If you choose
not to have a drive D partition, change the software settings to enable file saving to a location on drive C.
Application Recovery
: Recovers factory-installed software without changing the drive C and drive D
partition sizes. If you select this option, you cannot return to the system recovery portion of the VAIO
Recovery Wizard without restarting your computer.
Full System Recovery
1.
Select the option,
Full System Recovery
and click
Next
.
In the section,
Current Partition Information
, the current partition size settings for your system are displayed.
In the section,
New Partition Information
, the pie chart shows the division of the hard disk according to your
partition size selections.
Begin Custom Recov ery window (Custom partition options)
2.
Select a size for the drive C partition, using the dropdown list. Click
Next
.
Drive D partition size is the remaining hard disk space that is not allocated to Drive C. The Recovery Drive size
Page 85
Содержание PCV-RS221 - Vaio Desktop Computer
Страница 22: ...5 Follow the on screen instructions to finish setting up your dial up connection Page 22 ...
Страница 72: ...2 From the Date Time tab change the settings as desired Click Apply then click OK Page 72 ...
Страница 80: ...3 In the Screen saver area open the drop down list box and select None Click Apply 4 Click OK Page 80 ...
Страница 99: ...4 Select the Tone or Pulse option Click OK Page 99 ...


