67
English
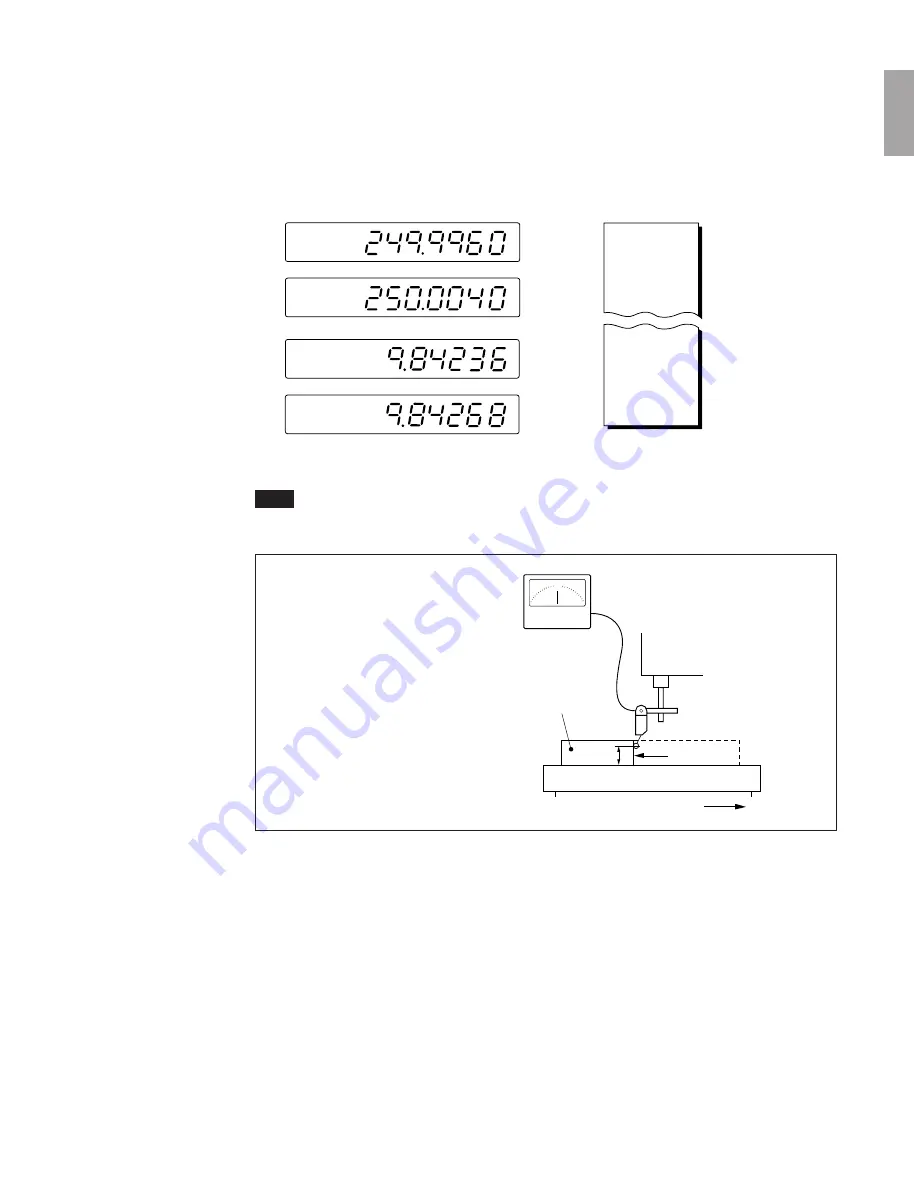
(mm display)
(mm display)
(inch display)
(inch display)
Be sure to write down the selected
compensation amount.
Note
When measuring surfaces A and C with the probe, the heights of the probe must be the same.
Otherwise, the measurement error may increase.
Note
–0.004 mm
or
0.004 mm
–0.00016"
or
0.00016"
3
Next, move the table away from the probe and remove the block gauge
a
, move the machine table
again, touch the surface C of the block gauge
b
with the probe of the electric micrometer or dial
gauge, and move the machine table until the meter reads “0”. The difference between the length L of
the block gauge
a
and the displayed value on the display unit is the linear error to be compensated.
Examples of setting linear compensation amounts are shown on the next page.
Electric micrometer
Block gauge
b
Spindle head
Machine table
1
Move the machine table.
3
Move it until the meter reads “0”
2
Touch
Surface C
0
s
Direction of movement
or
or
Содержание LH61
Страница 8: ......
Страница 78: ...70 English Assembly of the external reset input connector ...
Страница 152: ...144 Deutsch Zusammenstellung des Verbinders zur Eingang des externen Rückstellungssignals ...
Страница 160: ......


