Ad
minis
tra
ting t
he Camer
a
Setting the Camera — Camera setting Page
17
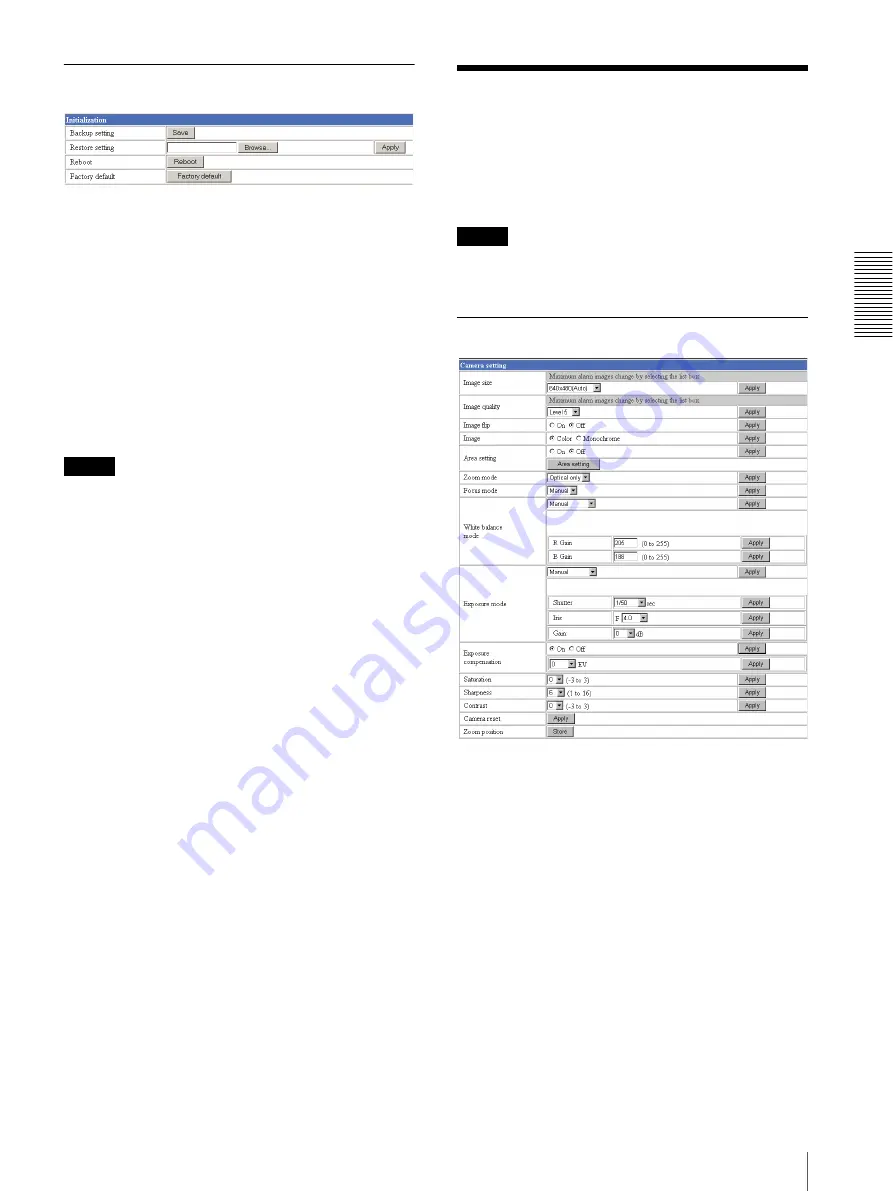
Initialization Section
Backup setting
Saves the setting data of the camera in a file.
Click
Save
, and follow the instructions on the browser to
specify the folder and save the setting data of the
camera. The file name preset at the factory is “snc-
z20.cfg.”
Restore setting
Loads the stored setting data of the camera.
Click
Browse
and select the file in which the setting data
is stored. Then, click
Apply
, and the camera is adjusted
according to the loaded data and restarted.
Note
The IP address setting in the Wired LAN setting section
(see page 21) on the Network setting page and the IP
address setting in the Wireless LAN setting section (see
page 22) cannot be set.
Reboot
Reboots the camera.
Click
Reboot
, and “The SNC-Z20 will be rebooted. Are
you sure?” appears. Click
OK
to reboot the camera.
Factory default
Resets the camera to the factory settings.
Click
Factory default
, and “All configuration
information will be initialized as factory setting. Are
you sure?” appears. Click
OK
to reset to the factory
settings.
Setting the Camera
— Camera setting Page
When you click
Camera
on the Administrator menu,
the Camera setting page appears.
Use this page to set the functions of the camera.
Note
To update the camera for the changed setting, click
Apply
on the changed item.
Camera setting Section
Image size
Select the size of the image to be transmitted to the
computer.
You can select from among the following options.
SNC-Z20N:
736 × 480 (Auto)
,
736 × 480 (Frame)
,
736 × 480
(Field)
,
640 × 480 (Auto)
,
640 × 480 (Frame)
,
640 ×
480 (Field)
,
320 × 240
,
160 × 120
SNC-Z20P:
736 × 544 (Auto)
,
736 × 544 (Frame)
,
736 × 544
(Field)
,
640 × 480 (Auto)
,
640 × 480 (Frame)
,
640 ×
480 (Field)
,
320 × 240
,
160 × 120
Frame
is suitable for still images, and
Field
is suitable
for animation.
If you select
Auto
, the image mode changes between
Frame
and
Field
automatically:
Frame
when the
subject is a still object, and
Field
when the subject is
moving.


