5-28
CCD-TRV107E/TRV108E/TRV208E/TRV408E
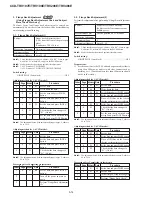
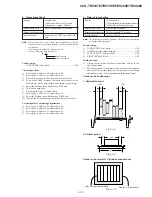
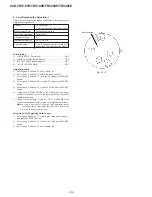
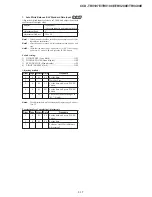
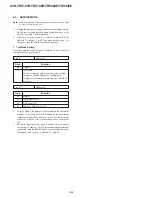
5-2. MECHANISM SECTION
ADJUSTMENT
Mechanism Section adjustments, checks, and replacement of
mechanism parts, refer to the separate volume “8mm Video
Mechanism Adjustment Manual IX M2000 Mechanism ”.
2-1. ADJUSTMENT REMOTE COMMANDER
Connect the adjustment remote commander to CN713 of VC-272
board via CPC jig for SB (J-6082-539-A). To operate the adjustment
remote commander, connect the AC power adapter (8.4Vdc) to the
DC IN jack of CPC jig for SB, or connect the L series Info-LITHIUM
battery to the battery terminal of CPC jig for SB.
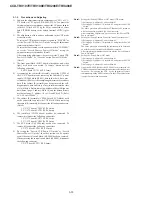
2-2. OPERATING WITHOUT CASSETTE
1)
Refer to “Section 2. DISASSEMBLY” and supply the power
with the cabinet assembly removed. (So that the mechanical
deck can be operated.)
2)
Connect the adjustment remote commander.
3)
Turn on the HOLD switch of the adjustment remote
commander.
4)
Close the cassette compartment without loading a cassette and
complete loading.
5)
Select page: 0, address: 01, and set data: 01.
6)
Select page: F, address: 20, set data: 01, and press the PAUSE
button of the adjustment remote commander.
7)
Select page: D, address: 10, set data: 10, and press the PAUSE
button of the adjustment remote commander.
8)
Disconnect the power supply of the unit.
By carrying out the above procedure, the unit can be operated
without loading a cassette.
Be sure to carry out “Processing after Operations” after
checking the operations.
Set the data of page: D, address: 10 to the following if the
sensor ineffective mode, forced VTR power supply On mode
or forced camera power supply ON mode are to be used
together.
Forced VTR power ON mode ........................................ 12
Forced camera power ON mode .................................... 11
[Procedure after checking operations]
1)
Select page: 0, address: 01, and set data: 01.
2)
Select page: F, address: 20, set data: 00, and press the PAUSE
button of the adjustment remote commander.
3)
Select page: D, address: 10, set data: 00, and press the PAUSE
button of the adjustment remote commander.
4)
Select page: 0, address: 01, and set data: 00.
5)
Disconnect the power supply of the unit.
2-3. TAPE PATH ADJUSTMENT
1. Preparations for Adjustment
1)
Clean the tape path face (tape guide, capstan shaft, pinch roller).
2)
Connect the adjustment remote commander.
3)
Turn on the HOLD switch of the adjustment remote
commander.
4)
Select page: 0, address: 01, and set data: 01.
5)
Select page: F, address: 20, set data: 08, and press the PAUSE
button of the adjustment remote commander.
(Be sure to perform “Processing after operation” after
completing adjustments.)
6)
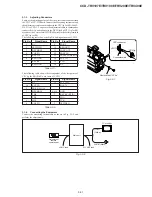
Connect the oscilloscope to CPC jig for SB.
Channel 1: PB RF (Pin
9
of CN713)
External trigger: SWP (Pin
5
of CN713)
7)
Playback the alignment tape for tracking. (WR5-1CP)
8)
Check that the oscilloscope RF waveform is normal at the
entrance and exit.
If not normal, adjust according to the separate volume “8mm
Video Mechanical Adjustment Manual IX M2000 Mechanism ”.
9)
Perform “Processing after operations”, after completing
adjustment.
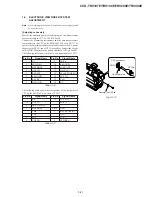
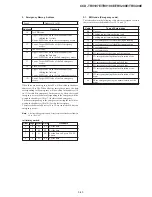
Test point of CPC jig for SB
Note:
Pin No. are those of CN713.
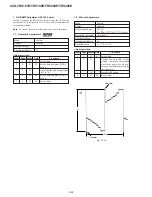
Table 5-2-1.
[Procedure after operations]
1)
Connect the adjustment remote commander, and turn on the
HOLD switch.
2)
Select page: 0, address: 01, and set data: 01.
3)
Select page: F, address: 20, set data: 00, and press the PAUSE
button of the adjustment remote commander.
4)
Select page: 0, address: 01, and set data: 00.
5)
Remove the power supply from the unit.
Fig. 5-2-1.
CH1
Entrance
side
Exit side
Check this section
(Normal waveform)
CH2
(Trigger)
V
Pin No.
14
9
3
5
4
Signal Name
BL
EVF VG
PB RF (MON)
BPF MONI
TMS
TDI
SWP
CAP FG
Pin No.
15
6,8,10
7
2
Signal Name
EVF VCO
BL 4.75
GND
REC RF (RF IN)
TDO
TCK
IR VIDEO
Содержание Handycam Vision CCD-TRV107E
Страница 52: ...SECTION 3 BLOCK DIAGRAMS 3 1 CCD TRV107E TRV108E TRV208E TRV408E ...
Страница 100: ...5 1 CCD TRV107E TRV108E TRV208E TRV408E SECTION 5 ADJUSTMENTS ...
Страница 169: ...CCD TRV107E TRV108E TRV208E TRV408E 216 Sony EMCS Co 2001L1600 1 2001 12 Published by DI Customer Center 9 929 927 11 ...
Страница 170: ...Revision History Ver 1 0 Date 2001 12 History Official Release Contents S M Rev issued 992992711 pdf Reverse ...

