5
GB
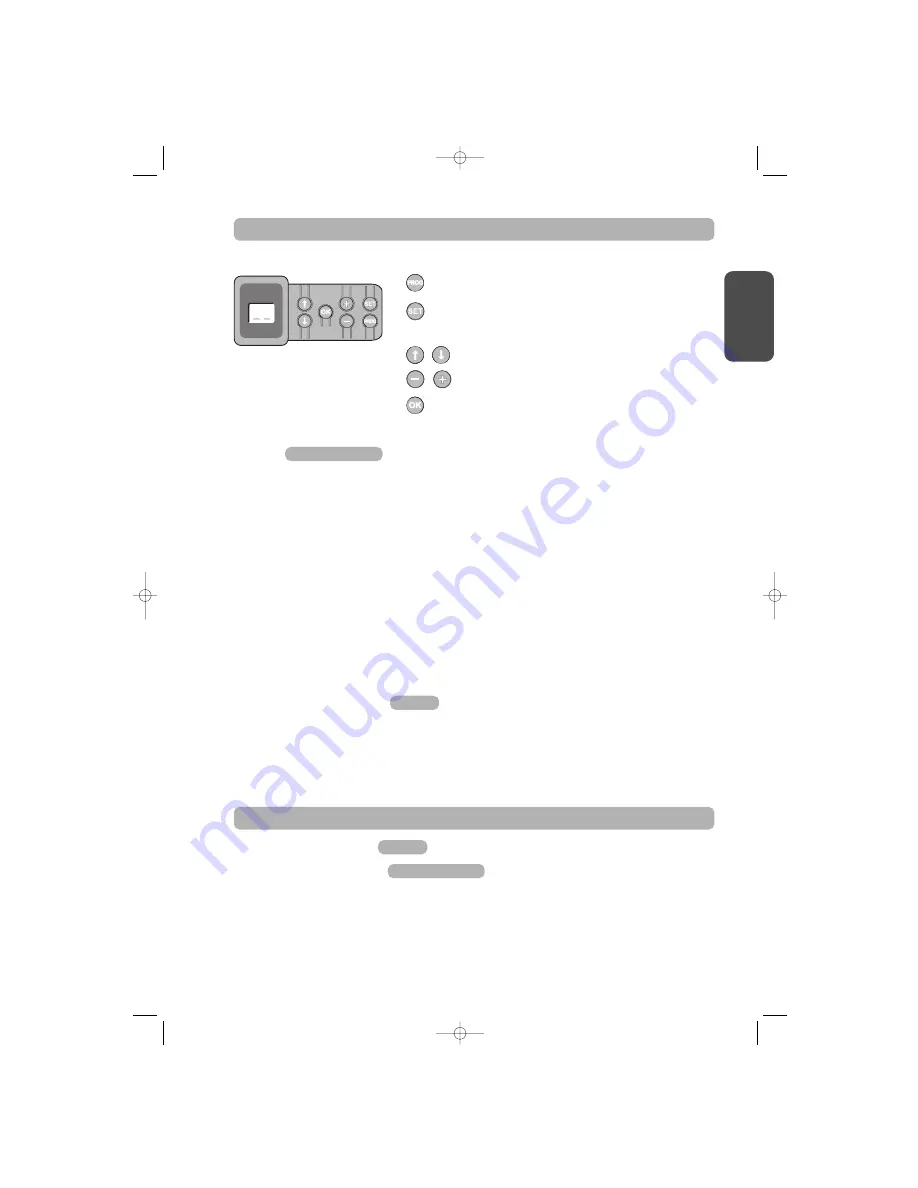
Programming button description
. Press for 2 s: memorise remote controls
. Press for 7 s: delete remote controls
. Press for 0.5 s: call up and exit the setup menu
. Press for 2 s: start learning
. Press for 7 s: clear learning and settings
. Stop learning
. Selecting a setting
. Modifying a setting value
. Using the forced mode
. Start the learning cycle
. Confirm setting selection
. Confirm setting value
Learning
Setting the type of door (Fig. 17).
The motor is already setup to work with up and over or sectional doors (Display S1). When the motor drive unit is used with a swinging door, change
the setup by pressing the “
+
” or “
-
” buttons until the S0 value is displayed.
Learning (Fig. 18).
[1].
Press the “
SET
” button until the light comes on (2 s).
The display shows “
S2
”
[2].
Press the “
-
” or “
+
” buttons until the transmission system runner moves to link up with the trolley:
. Pressing and holding the “
-
” button moves the runner in the
close
direction.
. Pressing and holding the “
+
” button moves the runner in the
open
direction.
[3].
Press the “
OK
” button to start the learning cycle.
The door moves to the closed position, then performs a complete open and close cycle.
. If learning was correct, the display will show “
C1
”.
. If the learning cycle was not completed correctly, the display will show “
S0
” or “
S1
”.
The learning cycle can be run at any time when the trolley is engaged and the display shows “
S2
”.
During the learning cycle:
. If the door is moving, pressing any button will stop the movement and interrupt the learning mode.
. If the door is stopped, pressing “
SET
” once will exit the learning mode.
You can call up the learning mode at any time, even when the learning cycle has already been executed and the display shows “
C1
”.
Memorising remote controls
Up to 32 control channels can be stored.
Running this procedure for a previously stored channel will clear it.
At this stage in the installation process, the Dexxo Pro motor drive unit is ready to run.
Fig. 19
Figs. 17 and 18
OPERATING TEST
Using the remote controls
Obstacle detection function
The detection of an obstacle during door opening will stop the door
(Fig. 21)
.
The detection of an obstacle during door closure will reopen the door
(Fig. 22)
.
Make sure that obstacle detection works when the door encounters an obstacle 50 mm from the ground.
Figs. 21 and 22
Fig. 20
PROGRAMMING
5048551A-GB 26/04/07 14:36 Page 5
www.garagedoorsonline.co.uk
01926 463888
www.garagedoorsonline.co.uk
www.garagedoorsonline.co.uk
01926 463888
www.garagedoorsonline.co.uk


