


To configure the SolarEdge meter using the device display:
1. Scroll to the
Communication
menu and select
RS485-X Conf
(X represents the
actual RS485 port to which the electricity meter is connected: 1 or E for the inverter;
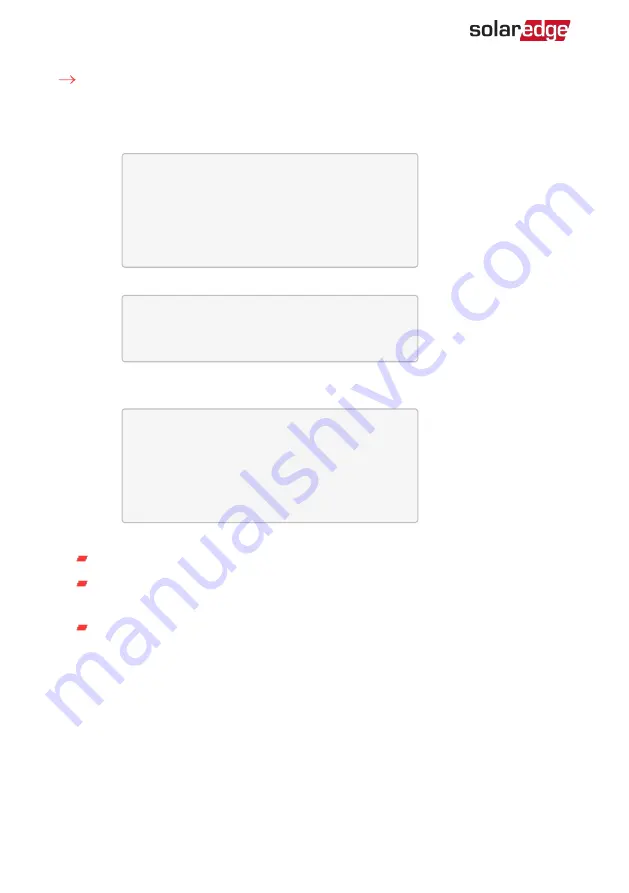
1 or 2 or E for the Commercial Gateway). The following screen is displayed:
D e v i c e T y p e < S E >
P r o t o c o l < M >
D e v i c e I D < 1 >
S l a v e D e t e c t < # >
L o n g S L V D e t e c t < # >
S l a v e L i s t < # >
M u l t i - I n v . S e t
2. Select
Device Type
è
Multi Devices
. A screen similar to the following is displayed:
D e v i c e T y p e < M L T >
M e t e r 1 < S E , 1 >
M e t e r 2 < - - - >
M e t e r 3 < - - - >
3. Select
Meter 2
è
Device Type
è
Revenue Meter
. A screen similar to the following
is displayed:
D e v i c e T y p e < M T R >
P r o t o c o l < S E >
D e v i c e I D < 2 >
C T R a t i n g < 2 0 0 >
M e t e r F u n c . < E + I >
T o p o l o g y < W y e >
P T S c a l i n g < 1 >
4. Configure the meter parameters as follows:
Select
Protocol
è
SE
.
Select
Device ID
and enter the Modbus address corresponding to the ID DIP
switch settings on the meter.
Select
CT Rating
and set the rating to the value that appears on the CT. The
default setting is 200 Amperes. If the displayed rating is 0 or you cannot change
the value, it means that there is no communication with the meter. Check that
the AC power to the meter is on.
Energy Meter with Modbus Connection MAN-01-00270-1.3
24
Device Configuration
Содержание SE-MTR240-NN-S-S1
Страница 1: ...Installation Guide Energy Meter with Modbus Connection For North America Version 1 3...
Страница 47: ......


