Scope / Multimeter
Operation and Controls
16
Main Body
The main body may display the following:
•
Menu - Select from a menu using the touch screen or the control buttons.
•
Meter/Scope Display - Up to two signal traces can be displayed simultaneously.
Each trace is displayed as voltage over time and the voltage level is recorded
on the vertical, or “y”, axis and time is presented on the horizontal, or “x”, axis
of the screen.
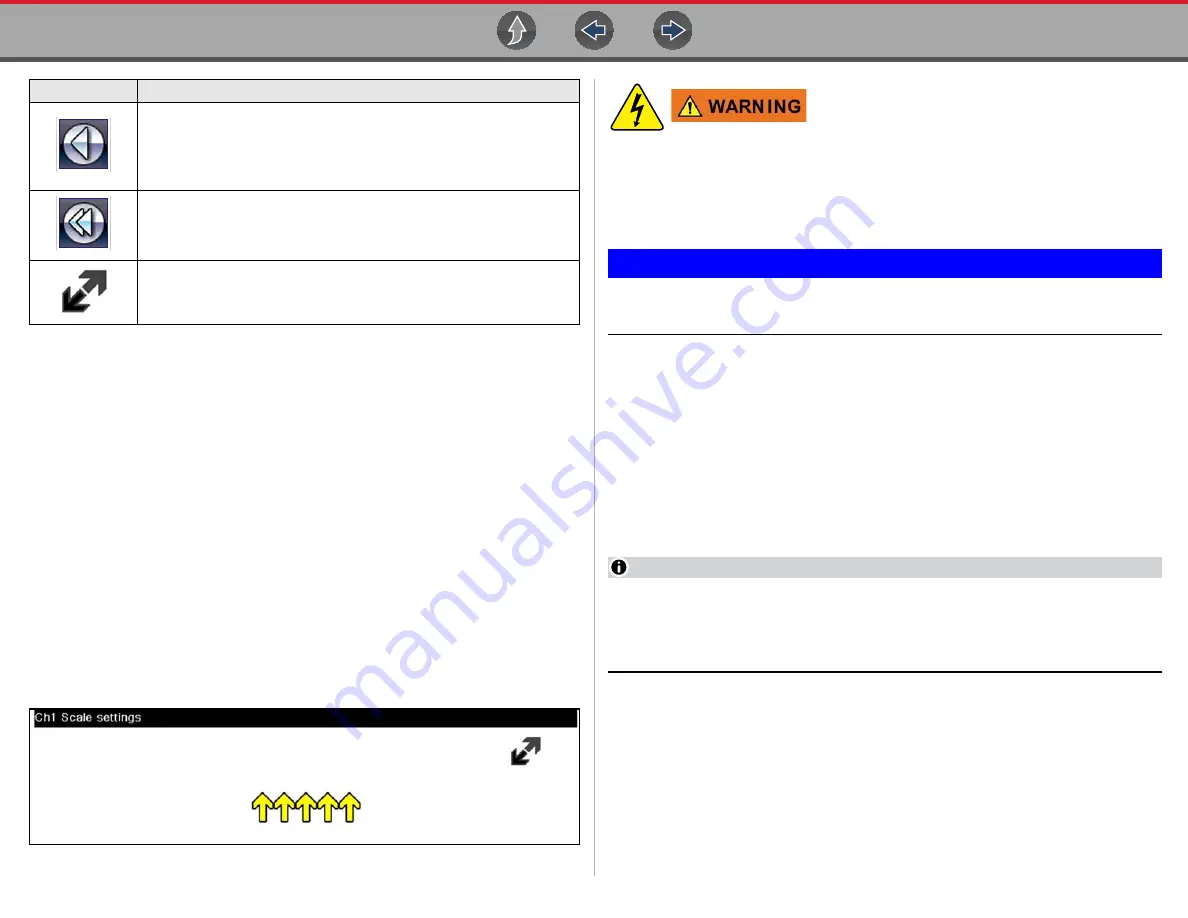
3.7.2 Measurement Out of Range (Alert)
When performing a test, if a group of arrows displays onscreen, this indicates that
the measurement is out of range for the scale selected.
•
Arrows pointing UP—measurement over maximum range
•
Arrows pointing DOWN—measurement under minimum range
Voltage measurements also display arrows in place of live values when the voltage
exceeds the input rating of the meter.
Figure 3-10
Risk of electrical shock.
• Do not exceed voltage limits between inputs as indicated on the rating label.
• Use extreme caution when working with circuits that have greater than 40
volts AC or 24 volts DC.
Electrical shock can cause personal injury, equipment damage, or circuit damage.
IMPORTANT
If arrows are displayed in the live voltage values, discontinue circuit
testing.
Correct an out-of-range condition by selecting a scale setting appropriate for the
signal being sampled. See
Scale (Vertical scale adjustment)
information.
3.8 Operation and Controls
This section describes the general operation and controls used to configure the
scope or meter to perform testing. All three functions share similar control panel
settings, see
for additional information.
NOTE
The information in the following sections is intended as a guide and general
overview of the controls and functions used within the Scope Multimeter. Not
all the settings or controls described throughout this section are applicable
with all functions.
z
To open a scope multimeter function:
1.
Select the
Scope Multimeter
icon from the home screen.
2.
Select either
Lab Scope
,
Graphing Multimeter
or
Digital Multimeter
from
the menu.
Step Back
- moves to the previous point in the data. To quickly step
backward, select this icon (yellow frame appears) then press and hold
the Y/
a
button.
(
Note:
To quickly step backward during data playback, press and hold
the icon down until a red frame appears around the icon.)
Back 1 Frame
- allows backward movement by one frame. To quickly
skip backward, select this icon (yellow frame appears around icon) then
press and hold the Y/
a
button.
Expand / Collapse
- Expands and collapses the Trace Detail area on the
screen
Icon
Function
Содержание Vantage Legend
Страница 1: ...User Manual ZEETM345A Rev A Start BC ...


