15
2. Spray the inside of the nozzle
and the outside of the contact
tip with anti-spatter compound.
3. Locate the torch over the joint
to be welded with the contact tip
approximately 3/4 inch from the
work surface.
4. Use a welding helmet with a shade
9 to 11 filter lens, depending on
operator preference.
NOTE
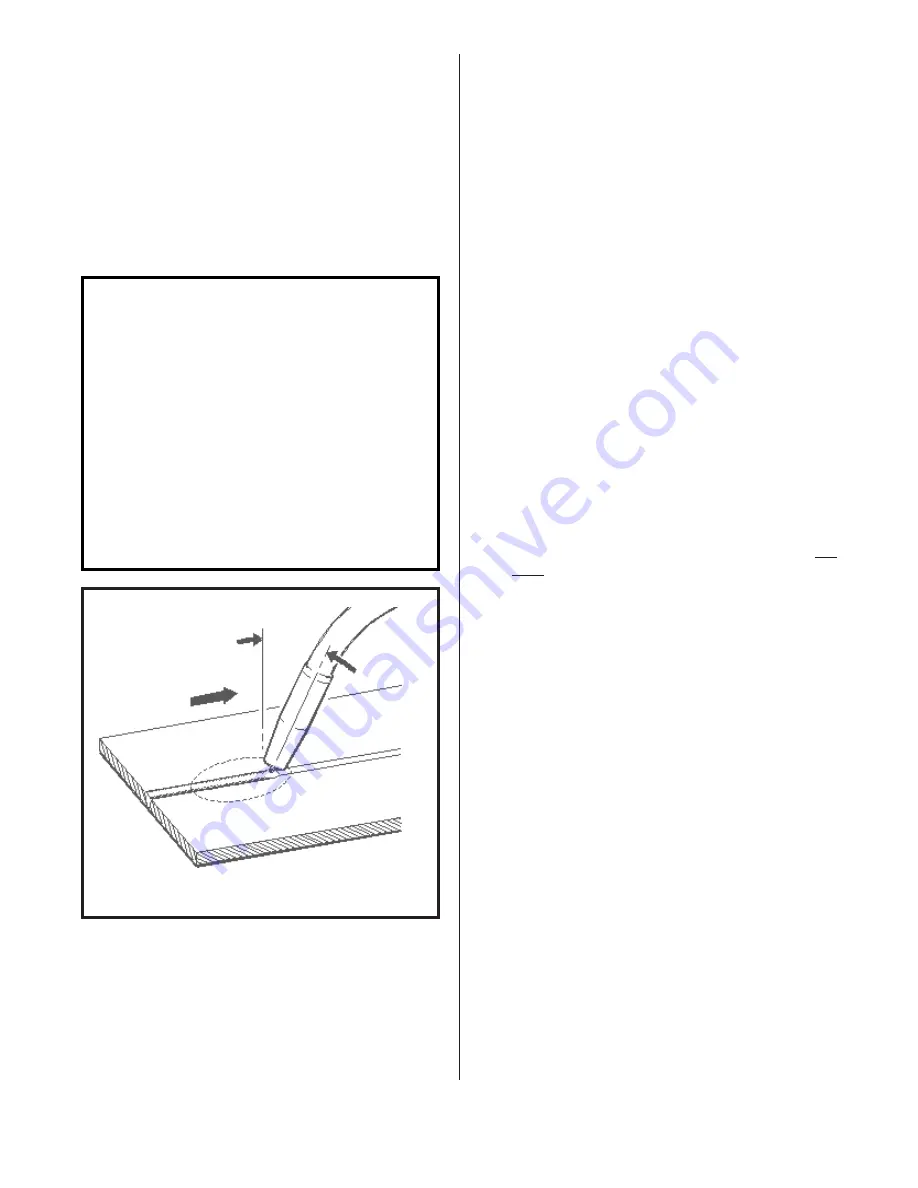
When welding steel, the ideal
position for holding the torch
is inclined approximately 30
degrees towards the direction
of travel. This allows the arc
to be seen easily, resulting
in greater control of the weld
pool. Most right-handed wel-
dors move from left to right.
This method, known as forehand
welding, provides a gas shield
for the cooling weld puddle
and helps in obtaining an
oxidation free weld deposit.
FIG. 18. TORCH POSITION FOR WELDING STEEL
- RIGHTHANDED WELDOR
WORK
SHIELDING
GAS
30 DEGREES
DIRECTION
OF TRAVEL
5. Squeeze the torch trigger. The
wire will feed and an arc will be
established. As the weld is
deposited, move the torch slowly
along the weld seam at a constant
speed, while maintaining a con-
stant arc length and a constant
tip-to-work distance.
OPERATING HINTS
BURN BACK
In the event the welding wire
burns back into the contact tip:
1. Remove the nozzle from the
torch.
2. Unscrew the contact tip from the
gas diffuser using a pair of
pliers as the tip will be very
hot.
3. Free the wire from the contact
tip and clean the end of the tip
so the new wire will slide
smoothly through the hole. DO
NOT use a drill or reamer to
clean the hole as they will
enlarge it and cause an erratic
arc. Replace the contact tip if
it is badly damaged.
4. Install the contact tip in the
torch and tighten it firmly with
an appropriate wrench.
5. Reinstall the torch nozzle.
6. If the wire continues to burn
back, check for erratic wire
feed, or speed up the wire by
increasing the WIRE SPEED con-
trol setting or reducing the
VOLTAGE control setting.
(continued on following page)


