


Installing Your Interactive Whiteboard
11
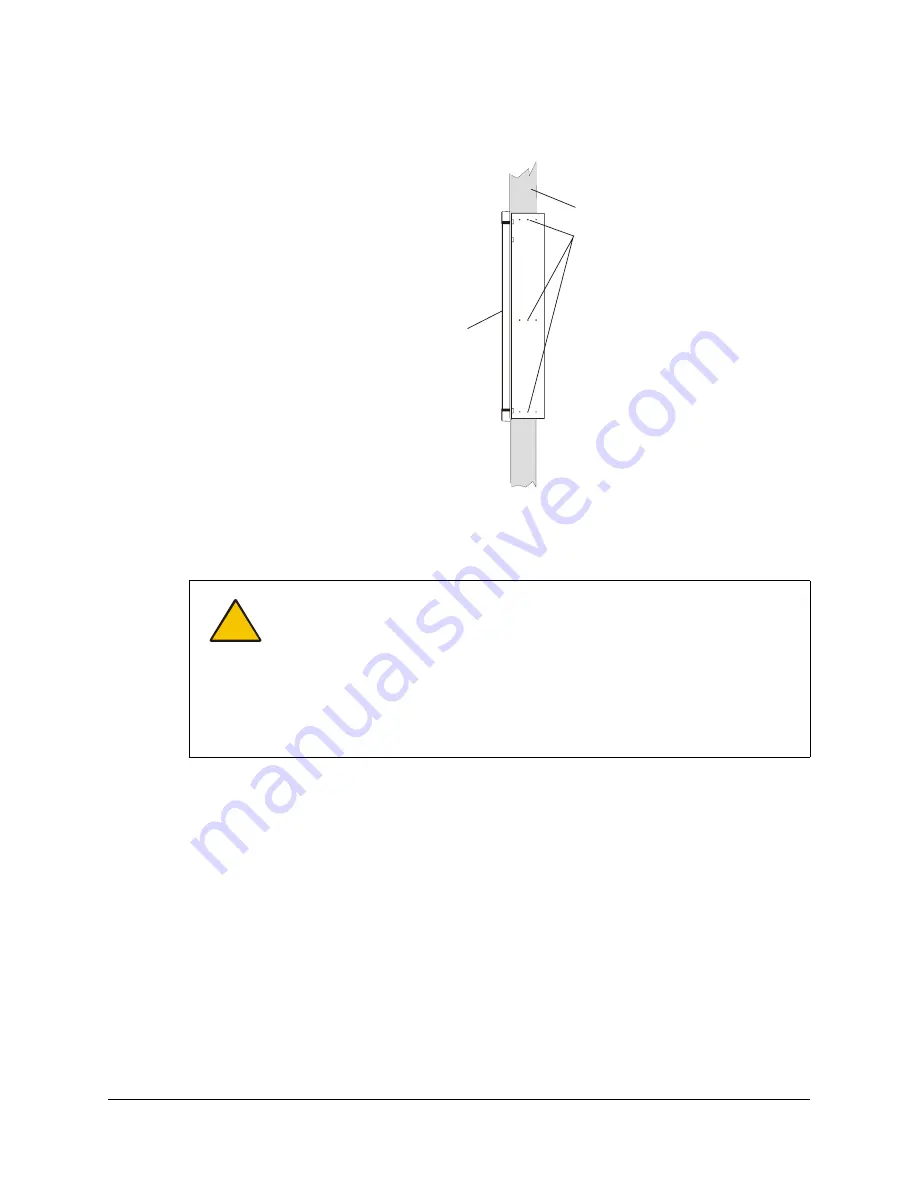
3. From the projection room side, insert one screw through the middle row and another through
the lower row of holes in each mounting bracket and into the vertical wood framing.
4. From the projection room side, if possible, insert an additional screw through each row of
holes in each mounting bracket.
5. Remove the covering from the back surface of the interactive whiteboard.
Dual Installation
If you like, you can install two in-wall units side by side. When you do this, you must leave a small
space between the unit frames. This space should be slightly greater than 1/4" (0.6 cm), which
means you must leave approximately 3 3/4" (9.5 cm) between the two wall openings.
Connecting the Cables
You need to connect two cables to the SMART Board interactive whiteboard: the modular
communications cable and a power supply cable.
NOTE:
To connect these cables, you must be in the projection room. You’ll connect the other ends
of these cables when you connect the components (page 21).
You’ll find the modular cable and the power supply in the accessory kit.
CAUTION
Don’t remove the protective cover from the back surface of the SMART Board
interactive whiteboard until you have completely installed it in the wall opening.
If this cover is accidentally removed, don’t leave any fingerprints on the back of
the screen. If you do smudge this surface, spray a soft cloth with alcohol-free
glass cleaner, and then gently and carefully dab the surface until the marks are
removed. Don’t spray the cleaner directly onto the back of the screen.
Never, under any circumstances, apply isopropyl alcohol, water or acetone to
the back surface of the interactive whiteboard. These fluids could damage the
diffusion coating, resulting in a permanent deterioration in display quality.
Projection Room Side
Frame of Interactive Whiteboard
Insert screws into
each row of holes
in each bracket
Front Side of SMART Board
Interactive Whiteboard
Stud
Содержание In-WallRear Projection Interactive Whiteboard
Страница 1: ...In WallRear Projection SMART Board TM Installation Guide Interactive Whiteboard...
Страница 14: ...8 Preparing to Install Your Interactive Whiteboard...
Страница 42: ...36 Preparing Your Interactive Whiteboard for Use...
Страница 48: ...42 Using and Maintaining the Interactive Whiteboard...
Страница 62: ...56 Appendix B Restoring the Projector Settings...
Страница 64: ...58 Waste Electrical and Electronic Equipment Regulations...


