Astro Time-Lapse
Astra Time-Lapse
photography faces the same challenges as astrophotography
in general. Namely, due to the dimness of the subject (the night sky), longer
exposures are required to record sufficient detail, and tracking is needed to
prevent star trailing during those exposures. But there are some differences
as well.
For astrophotography, the region of sky that is being photographed moves
over the course .of the exposure sequence. We generally repeat the process
to obtain a sequence of images, all of the same subject, and all framed
identically. This means that our camera is pointing in a different direction at
the end of the sequence compared to where it was pointing at the beginning.
This occurs because our subject has moved and the camera has moved along
with it.
In
Astra Time-Lapse
we take multiple images as well, and the camera moves
with each exposure. But, unlike in astrophotography, SAM returns the camera
to the starting point after each exposure is completed.
Now, when the frames are sequenced into a video, you see the night sky
moving about a fixed terrestrial reference point. By finding locations with
beautiful foreground settings you can produce breathtaking videos of the sky
moving over your location. [Visit our YouTube channel to see some examples].
Special Requirements For Astrophotography and Astro Time-Lapse
In order to track the movement of the night sky the camera has to be
continuously moved to offset the rotation of the Earth in order to hold the
subject perfectly steady on the sensor. The rotation of the camera needs to
take place about an axis that is parallel to Earth's rotational axis, and therefore,
the two axes must be aligned in order for tracking to work correctly.
18
A time-lapse video consists
of hundreds to thousands
of individual photos taken
over a long span of time
then replayed in a short
video, revealing natural
dynamics that occur much
to slowly for us to perceive
otherwise.
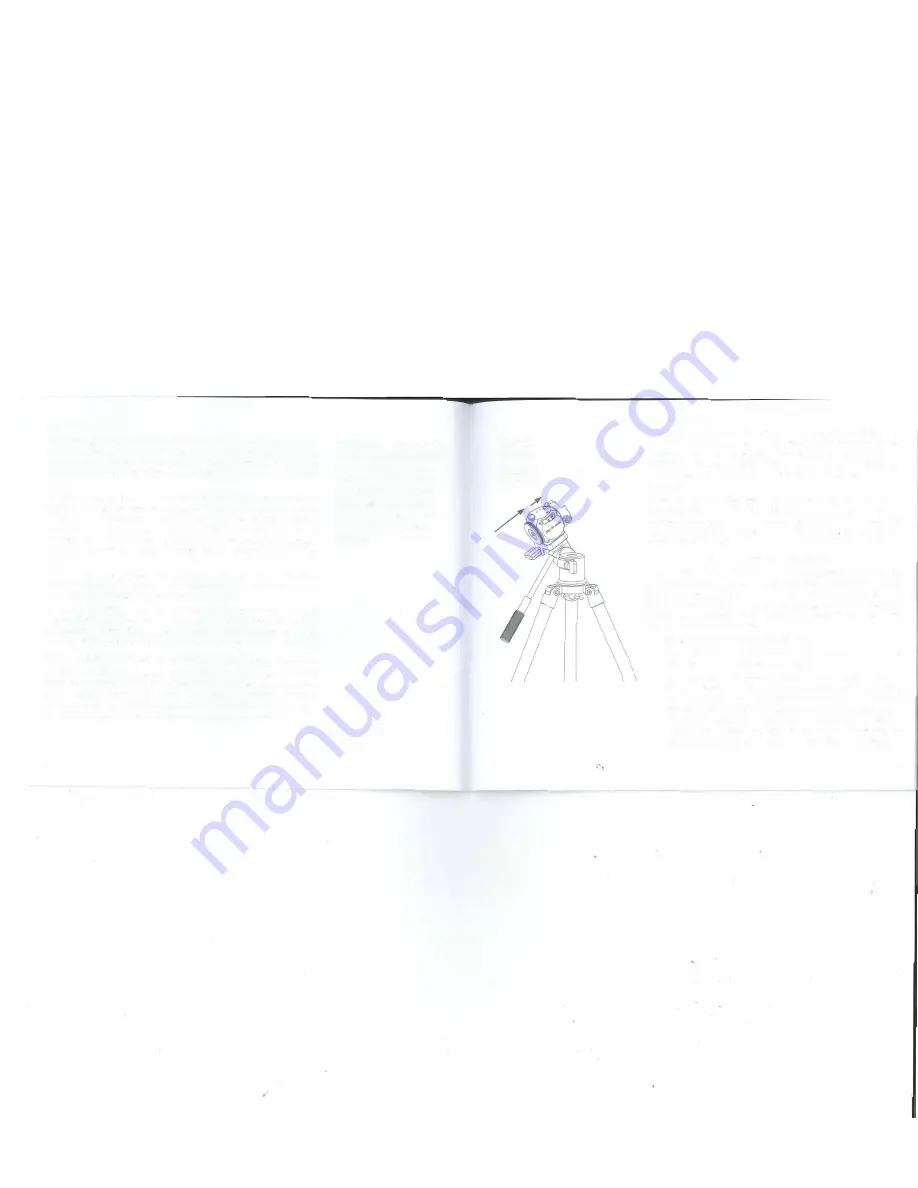
Look through
the Polar View
Finder and align
on Polaris, making
•
Polaris
adjustmentswith
/
your tilt/pan head
or ball mount.
Polar Alignment
Polar Alignment refers to the procedure for aligning SAM's rotational axis
with the Earth's rotational axis. If we extend Earth's rotational axis out
into space it intersects an imaginary point called the Celestial Pole. In the
Northern hemisphere we refer to that point as the North Celestial Pole,
or NCP for short. In the Southern hemisphere it is the South Celestial
Pole or SCP.
Because the celestial poles are imaginary points, there is nothing to see
at their locations. This can make pointing at them a bit of a challenge!
However, there are a couple of celestial land marks nearby the poles that
help us along. In the north it is Polaris, the North Star. In the south it is
the star Sigma Octanis.
Polar Alignment in the Northern Hemisphere
To polar align SAM with the NCP follow this procedure. It is best to do this
at dusk when you can just see Polaris, but before it is completely dark so
that you can more easily see what you are doing. Also, it's always good
practice to save the dark for taking your pictures, not for setting up your
equipment. The following steps assume you have a tilt/pan head or ball
mount attached to your tripod:
Set up your tripod and be sure that it is secure.
Attach SAM to the tilt/pan or ball head. The Polar View Finder
should be on top and the saddle facing north.
Now, angle the tilt/head or ball mount up and rotate so that you
can see Polaris in the field of view of the Polar View Finder. This is
all you will need to do when using short focal length lenses and/or
exposures that are only a few seconds long. If you are using longer
focal length lenses (e.g., greater than 100 mm or so) or exposures
exceeding 30- 60s then you may get better results by following the
steps outlined in Appendix I: Advanced Polar Alignment Procedures.
19


