DCN: 140-02302-01
Page 17
Set Clock:
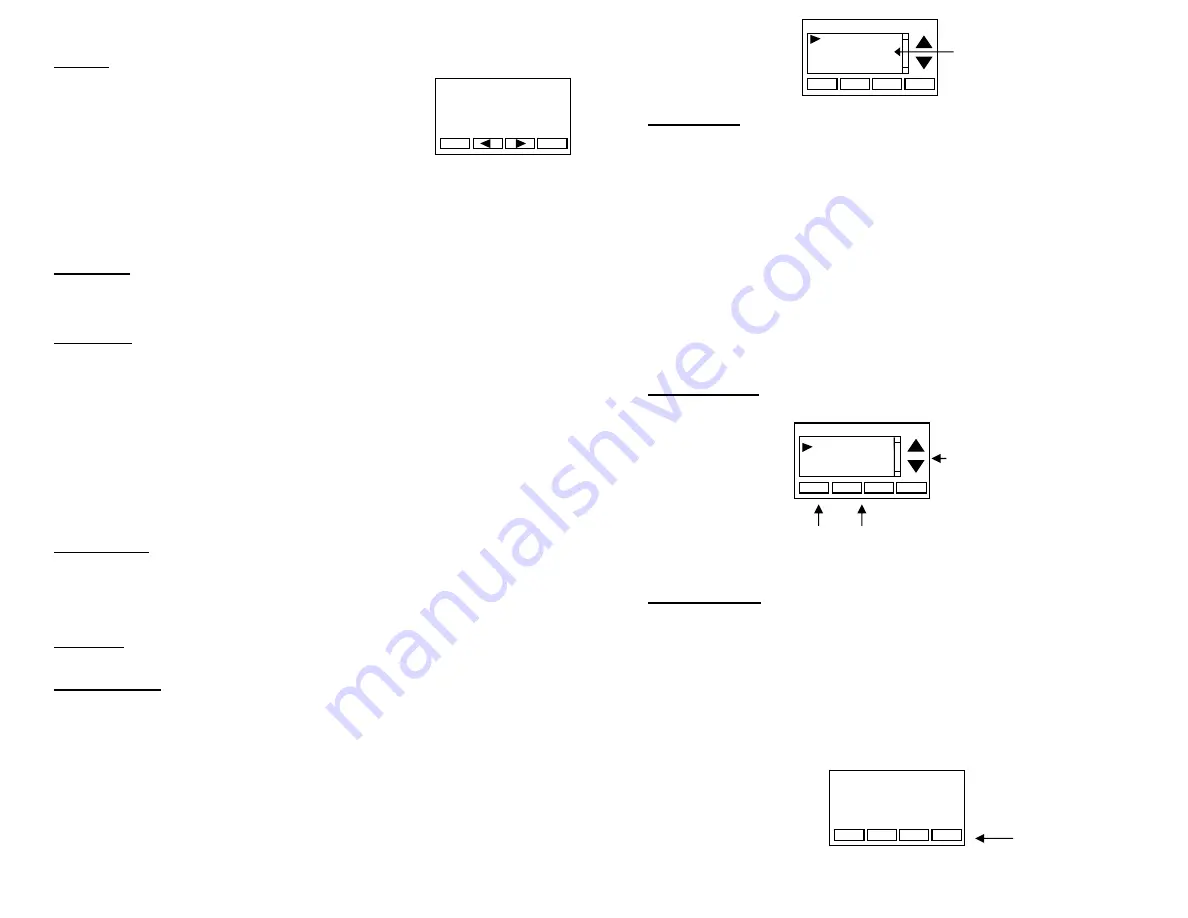
The Set Clock screen allows you to set the Thermostat’s internal clock.
To set the Time and Date, move the cursor with the navigation
arrows until the data you want to change is highlighted.
Using the + and – buttons to increment or decrement
the data to the desired setting.
When finished, press the
SET
button to return to the Main Menu screen or wait for screen
to timeout.
!
If the clock has been reset by an extended power outage, the Clock display on the
thermostat screen will be blinking. Pressing the MENU button will take you
directly to this screen to set the clock.
Filter Service:
Go to the Filter Service Screen.
Sets/resets the filter timer/alert.
Shows filter runtime in hours and the service interval alert in hours (typically 300 hrs)
Change the service interval with the +/- buttons.
Reset the service alert after you have changed the filter.
Maint Service:
Go to the Maintenance Service Screen.
Sets/resets the maintenance
timer/alert.
The Maintenance Service screen will show the accumulated Heat and Cool runtime hours
as well as the Service Interval that will be used to trigger a Maintenance alert.
Service interval is 3000 hours. Use the +/- buttons to adjust service interval.
Press reset to clear the service alert and reset the runtimes to zero.
When the combined HEAT and COOL Runtime hours equals the Service Interval hours, a
“Maint” message will be displayed as a reminder that the HVAC system may require
periodic maintenance. Pressing the Menu button will take you to the Filter Service screen.
The Reset button can be pressed and the HEAT and COOL Runtime values will be reset to
zero.
Screen Timeout: Minimized Screen.
Set the display timeout time in seconds. Options
are 0 or 15 to 120 (default set to 0 seconds). This is the time before the main thermostat
screen reverts to the minimized temperature only display screen, after the last button
press. The Minimized Screen feature is disabled by setting this time to “0”.
!
Any button press will restore the main thermostat screen display.
F/C Settings:
Go to the F/C Settings Screen.
Select which temperature display mode
you desire, Fahrenheit (F) or Celsius (C).
Sensor Calibration:
Go to the Sensor Calibration Screen. This screen allows you to
adjust the calibration of the internal and external sensors. You can change the
temperature calibration by +/- 7 degrees using the + and – buttons
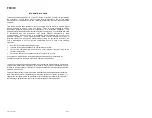
When the Sensor Calibration screen is selected it will show the current temperature being
displayed on screen and the current number of degrees of offset being applied (typically 0).
If the sensor’s actual temp is (75) with 0 degrees of offset and you want it to display 76,
then press “+” to add 1 deg and it will indicate (76) in the display with 1 deg offset.
!
You can refresh the info on this screen by pressing the right hand (blank) button.
When you close this screen, it may take a few seconds for the temperature displayed on
the main thermostat screen to update to the new temperature selected.
Back
Set
Set Clock
Time 08:00 AM
Date 01/01/11
Day Mon
+
-
DCN: 140-02302-01
Page 18
Backlite/Display:
Go to the Backlite/Display settings screen.
This menu allows you to set
the backlight timeout period and adjust the display contrast.
Backlite Timeout:
Sets the time from last button press that the backlite will timeout and
turn off. The timeout value is adjustable from 0 or 20 to 120 seconds. If set to “0”, the
Backlite will always be ON. If set in the range of 20 to 120 seconds, the Backlite will turn
OFF after the selected time expires.
ON Level:
Sets the backlight brightness when it is on. Adjustable from 0 to 100% in 5%
steps. Screen will change brightness as you adjust setting.
OFF Level:
Sets the backlight brightness when it is off. Adjustable from 0 to 100% in 5%
steps. Can be 0% = off or a low level for night viewing.
Contrast:
Sets the contrast level of the LCD display, adjustable from 0 to 20. Use this
control to adjust the sharpness of the display. To light and the display looks faded, too
dark and dark lines will appear in the display. Typically 10-15 is a good setting. Adjust as
needed.
Away Setpoints
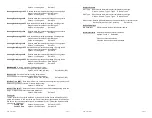
Away setpoints are used when the thermostat is set to the setback or away mode.
Thermostat Info
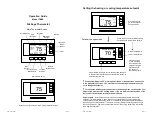
The Thermostat Info screen displays the current configuration of the thermostat. This
information is useful for quick check of firmware versions and HVAC system setup.
Thermostat information displayed is:
Thermostat -
Model and firmware version number.
System Type -
Standard or Heat Pump HVAC system
Fan Type –
if HVAC type = Standard: Gas or Elect
OR
Changeover –
if HVAC type =
Heat Pump: Changeover with cool or changeover
with heat.
Thermostat Info Screen
Use up/down buttons to select
setpoint to change
Use +/- buttons to increase or
decrease the temperature
Press DONE to store the
setting and exit back to the
main menu
Press and Hold
Setup
button
to go to the HVAC system
setup screen
Done
Setup
TM46 Ver 02.02.29
System Type: Standard
Fan Type: Gas
Thermostat Info
Status
Done
Set
Away Setpoints
-
+
Away – Heat 65
Away – Cool 80
Temp in parenthesis (78) is the remote sensor temp.
n/a is displayed when no sensor is attached
Done
Sensor Calibration
-
+
Internal (75) 0
Remote 1 (78) 1
Remote 2 n/a 0
Outside n/a 0


