.
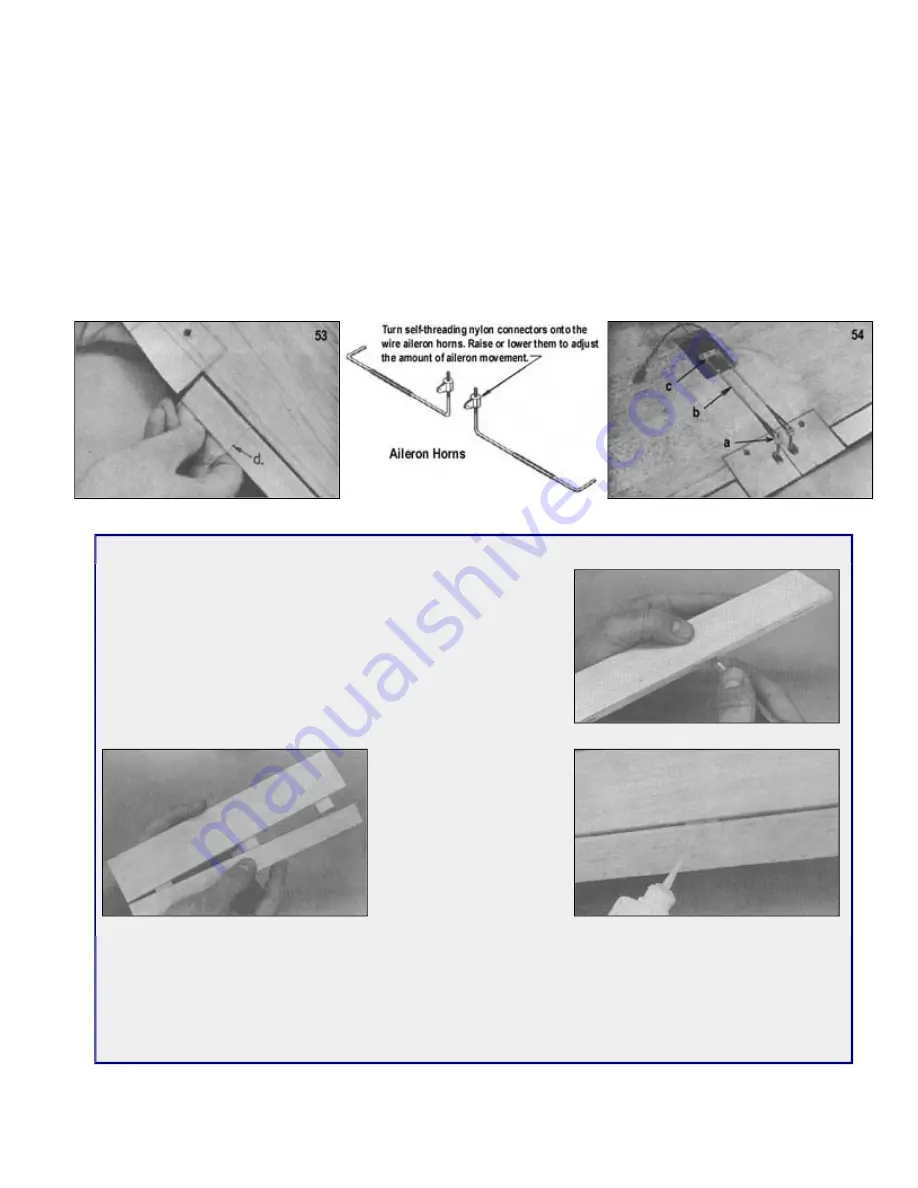
53.
a.
Glue the hinges into the ailerons and allow the glue to set up.
b.
Put a 1-1/2" wide strip of wax paper about 3" long, between the wing and the aileron horn wire to keep the epoxy
glue that is put into the slot and hole in the aileron from being squeezed onto the wing during assembly. Then
proceed with gluing the aileron hinges into the wing at the same time the horn wire is glued into the aileron.
c. Check positioning and clearance carefully before the glue sets, making sure the aileron is correctly located.
d.
Just before the glue sets up, pull the ends of the strip of wax paper over the horn wire, squeezing the glue into a
rounded shape and forming a skin over the wire.
e.
After the glue stiffens, any excess that is squeezed up over the aileron when the wax paper strip was pulled back
over the horn can be picked or trimmed off before it is fully cured.
54.
a.
Screw the nylon connectors supplied in the kit onto the threaded aileron horns.
b.
Hook the servo to the aileron horns with the rods and RC links.
c. A servo connector can be used at the other end instead of a "Z" bend, if desired. The Sig SIGSHl84 connector is
shown here but is not furnished in the kit.
INSTALLING EASY HINGES
Using a No.11 X-Acto blade (or similar) cut a slot approximately 1/2" in
depth and slightly wider than the hinge. After all slots have been cut,
insert an Easy Hinge halfway into each slot in one of the pieces to be
hinged. Then carefully slide the matching model part onto the other
half of the hinges. You'll find it easiest to slide the part onto the hinges
at an angle, one hinge at a time.
At this point the surface to
be hinged is attached but
not glued. Align the two
surfaces and adjust the
gap between them as
required. For best control
response, the gap should
be as small as possible but
big enough to allow the
control surface to move to
the maximum deflection
that you will require.
Place three or four drops of any brand of cyanoacrylate adhesive (thinnest variety) directly onto the Easy Hinge in
the gap. You will notice that the glue is quickly wicked into the slot as it penetrates both the wood and the hinge.
Continue this process, gluing the same side of all of the hinges. Then turn the surfaces over and repeat the gluing
process on the other side of each hinge. After the glue has cured, approximately three minutes, the joint can be
flexed. You may notice a slight stiffness in the joint. This can be eliminated by flexing the surface to full deflection
each direction a couple of dozen times. Don't worry about shortening the life of the hinge as they are almost
indestructible.


