Installation
178/293
Revision 11 • INSTALLATION AND OPERATING INSTRUCTIONS • NXPLUS C • 802-9081.9
Closing the cable
compartment cover
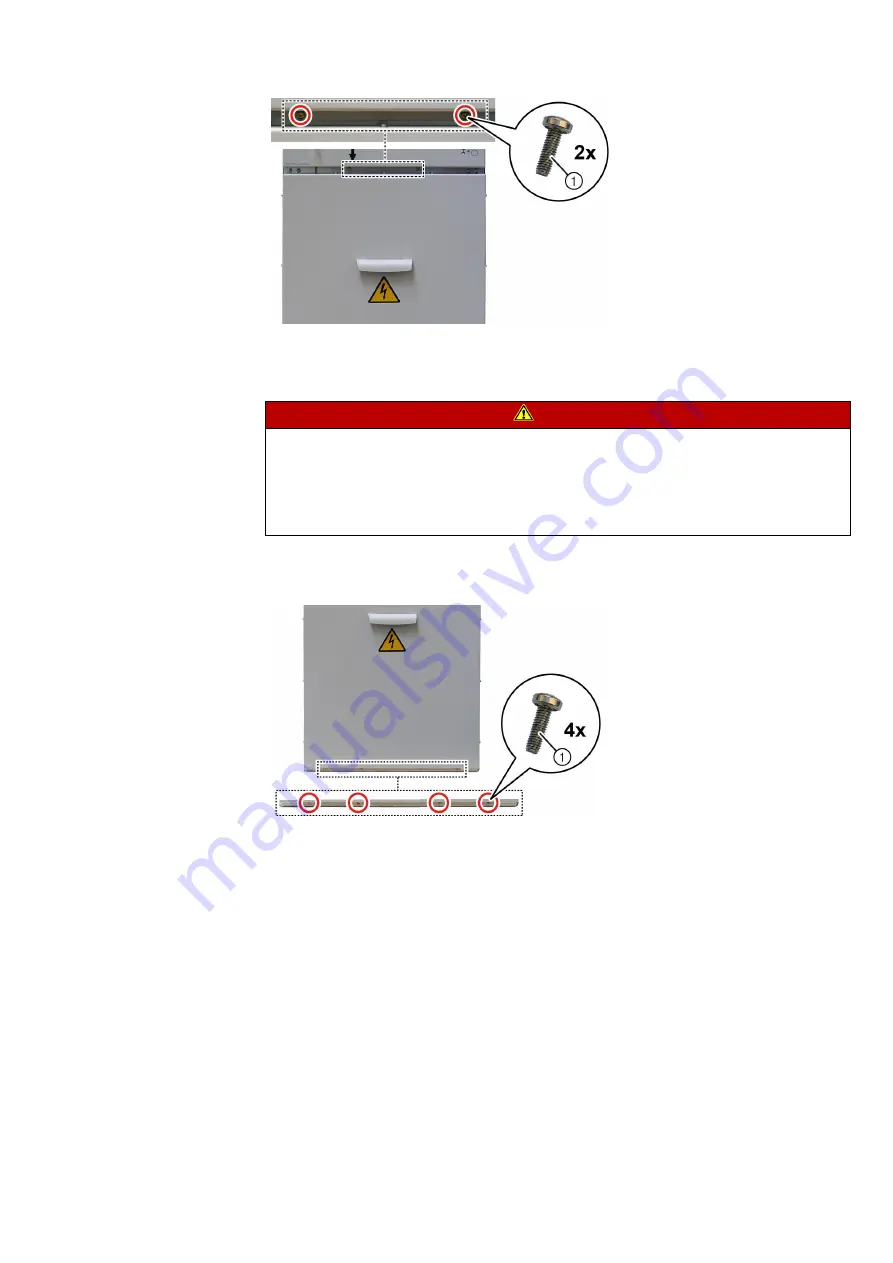
➭ Hook the cable compartment cover in.
➭ Fasten the cable compartment cover at the lower edge using 4 bolts with cutting ring M5
(tightening torque: 7 Nm).
Checking auxiliary cable
connections
➭ Check correct wiring according to the circuit diagrams.
➭ Check clamping and plug-in connections at random (perfect contact, labels, etc.).
Checking high-voltage
connections
➭ Check earthing of cable terminations on all connected high-voltage cables.
➭ If required, test cables (see page 266, "Cable testing").
Feeder without cables
➭ Earth and close the feeder. Cover the bushings with surge-proof caps.
Tyding up and visual
inspection
➭ Remove any attached instruction labels and documents that are not required anymore for
operation.
➭ Remove any tools, materials etc. that are not required anymore from the area of switchgear.
➭ Remove any dirt from the area of the switchgear (cleaning agent ARAL 4005 or HAKU 1025
and lint-free rag/brush).
➭ Fit all covers.
➭ Put the covers on the plug-in sockets of the capacitive voltage detecting systems.
➭ Touch up scratches and impacts in the surface painting. Available kit: Touch-up set (spatula
and paint) and paint pen.
Fig. 146: Fastening the front cover
①
Bolt with cutting ring
DANGER
Internal arcing hazard and explosion hazard
Will cause death, injury or considerable property damage.
If the cable compartment cover is not bolted tight, the switchgear is not arc-resistant.
➭ Bolt the cable compartment cover together with the switchgear frame. Use the bolts with
cutting ring supplied with the switchgear.
Fig. 147: Fastening the cable compartment cover
①
Bolt with cutting ring


