MX-FN23 DISASSEMBLY AND ASSEMBLY 8 – 3
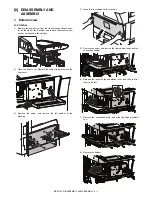
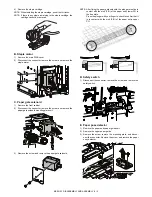
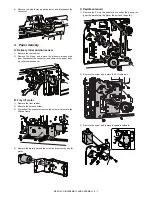
4) Remove the staple cartridge.
NOTE: When installing the staple cartridge, push it until it locks.
NOTE: If there is any staple remaining in the staple cartridge, the
cartridge cannot be removed.
B. Staple motor
1) Remove the main PWB cover.
2) Disconnect the connector, remove the screw, and remove the
staple motor.
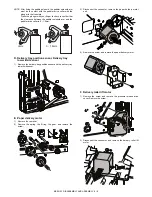
C. Paper gate solenoid
1) Remove the front cabinet.
2) Disconnect the connector, remove the screw, and remove the
paper gate solenoid mounting plate unit.
3) Remove the screw, and remove the paper gate solenoid.
NOTE: After fixing the paper gate solenoid, the plunger must be in
contact with the molt (F/R) of the paper entry lower PG in
the free state.
Press the plunger with your finger to check to confirm that it
is in contact with the molt (F/R) of the paper entry upper
PG.
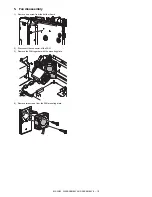
D. Safety switch
1)
Disconnect the connector, remove the screw, and remove the
safety switch.
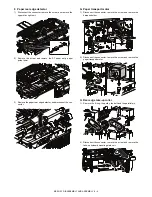
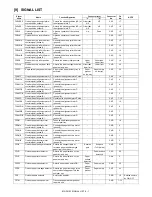
E. Paper pass detector
1)
Remove the paper entry paper guide unit.
2)
Remove the upper paper guide.
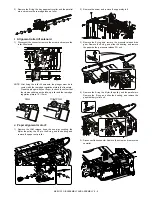
3)
Remove the screw, remove the mounting plate, and discon-
nect the connector. Remove the screw, and remove the paper
entry detector.


