


Creating and Using Personal Books
55
2.
Send/Receiv
e
Documents
5
Enter a 2-digit number from 01 to 20 (FO-DC500/525) or 01 to 40 (FO-
DC600).
•
This number will identify the personal book.
6
Enter a name for the personal book by pressing the letter entry keys.
(Make sure the Rapid Key overlay is down.)
Example: SHARP =
•
For more information on entering letters, see Step 5 on page 26
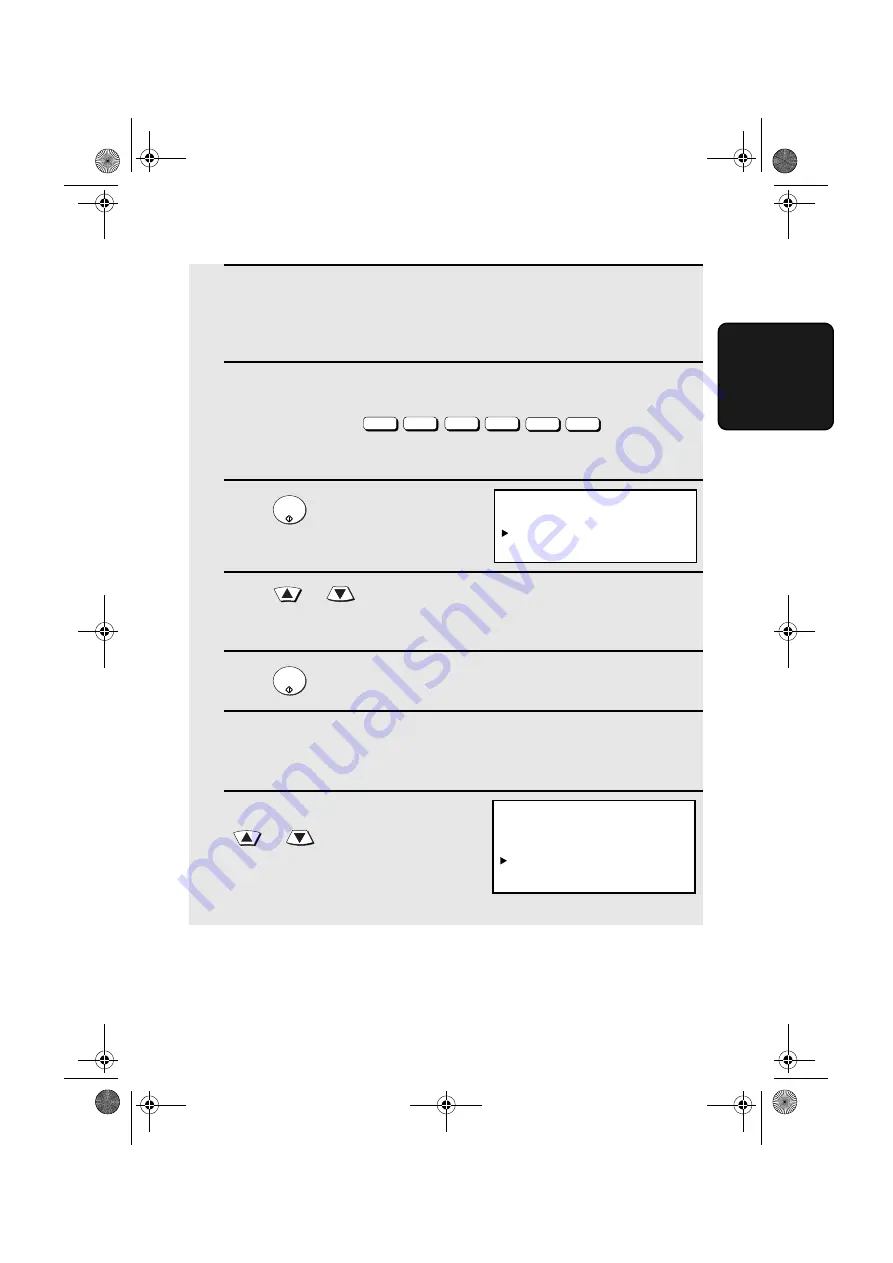
7
Press .
8
Press
or
to select YES if you wish to use the book name in
the header of faxes sent using the book.
Select NO to use the sender’s name entered on page 25.
9
Press .
10
If the network scanner option has been installed and user authentication
is enabled in the machine’s Web page (see page 116), go to Step 11.
Otherwise, go to Step 15.
11
The screen at right will appear. Press
or
to select YES if you wish
to store your login name for user
authentication in the book. Select NO if
you do not wish to store your login
name.
Caps Lock
S
H / }
A / |
R / $
P / =
START/
ENTER
START/
ENTER
PERSONAL BOOK SET
USING NAME AS FAX HEADER
1=YES
2=NO
PERSONAL BOOK SET
USING LOGIN NAME FOR
AUTHENTICATION
1=YES
2=NO
all.book Page 55 Thursday, May 13, 2004 8:51 AM
Содержание DC500 - B/W Laser - All-in-One
Страница 244: ...all book Page 242 Thursday May 13 2004 8 51 AM ...
Страница 245: ...all book Page 243 Thursday May 13 2004 8 51 AM ...
Страница 246: ...all book Page 244 Thursday May 13 2004 8 51 AM ...