


LOADING PAPER
2-3
2
Changing the paper size in paper tray 1
The following paper size settings are available for paper tray 1: A3 to A5 (11" x 17" to 8-1/2" x 5-1/2") and "EXTRA"*
1
.
Use the following procedure to change the size as needed.
*
1
This is limited to square or rectangular paper that is A3 to A5 (11" x 17" to 8-1/2" x 5-1/2") in size.
1
Pull out paper tray 1.
If paper remains in the tray, remove it.
2
Adjust the paper size slide to the paper
size.
Move the paper size
slide right or left to the
appropriate paper size.
If a size of paper other
than A3 to A5 (11" x 17"
to 8-1/2" x 5-1/2") is
loaded, set the size slide
to "EXTRA" and then set the specific paper size as
explained in "Specifying the size when the paper
size is set to "Extra" (except for the bypass tray)"
(page 2-13). (Be sure to set the specific paper
size; if you do not specify what the "extra" size is,
part or all of the image may not print.)
3
Adjust the guide plates A and B by
squeezing their lock levers and sliding
them to the appropriate paper size.
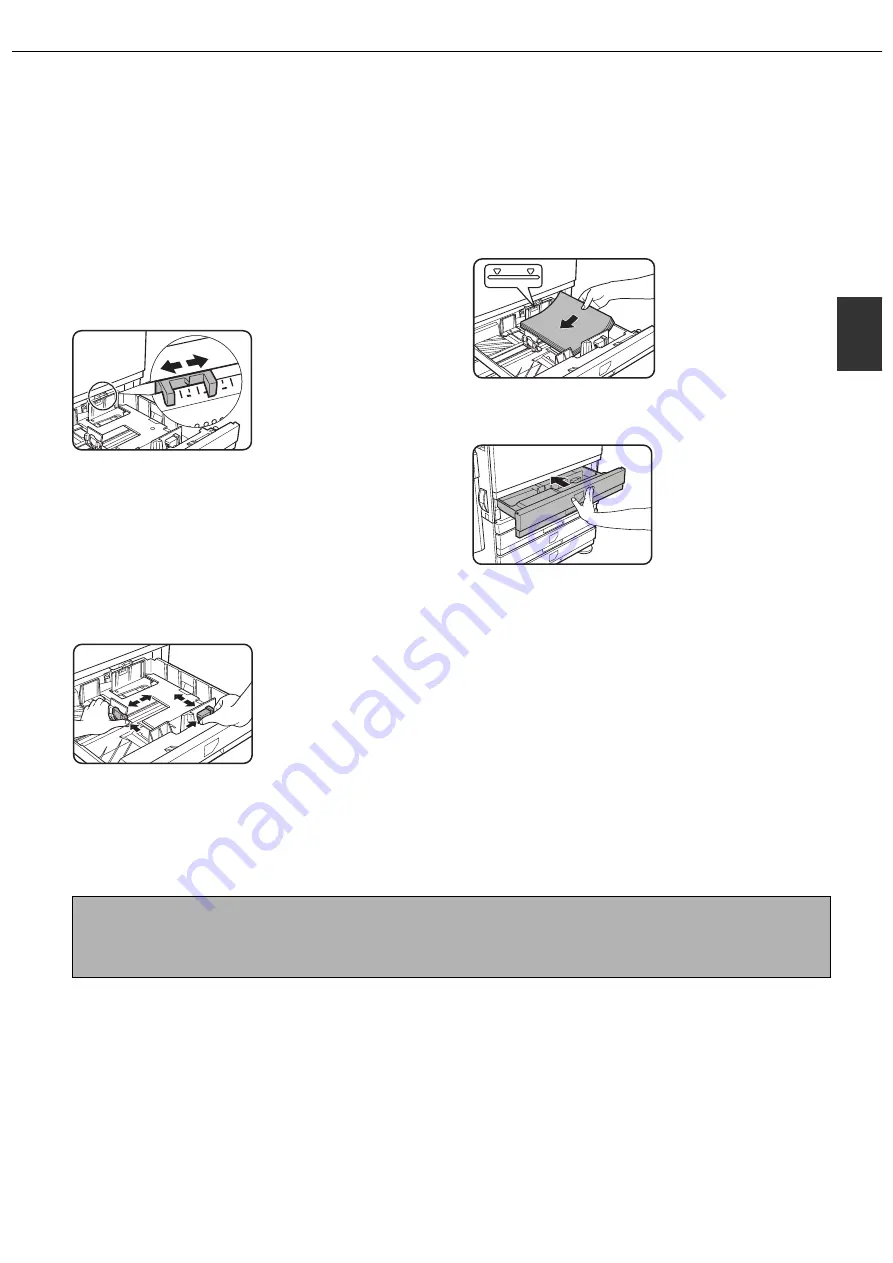
4
Load paper in the tray.
5
Gently push tray 1 into the machine.
Push the tray firmly all
the way into the
machine.
6
Set the paper type.
If you loaded a different type of paper than the
previous paper, be sure to set the new paper type
as explained in "Setting the paper type" (page
2-12).
7
This completes the procedure for
changing the paper size setting of paper
tray 1.
NOTE
If the size slide (step 2 on this page) is not set to the correct paper size, or if the paper type (page 2-12) is not set
correctly, incorrect paper selection or paper misfeeding may occur.
Содержание AR-C260P
Страница 8: ......
Страница 58: ......
Страница 70: ......
Страница 78: ...AR C260P OPERATION MANUAL for general information PRINTED IN JAPAN 2003K KS1 TINSE2196FCZZ ...


