


Explorer TX8
Installation Guide
700-0157 R001
13
DVR Menu Access
The TX8 DVR can be configured either locally or remotely:
•
On Screen Display (OSD) Configuration and Playback
Connect to VIDEO OUT on the TX8 front panel with an LCD monitor and use the trackball mouse
pointing device or the remote control to set the configuration settings. The password setting can be
changed in the System Settings Menu.
To configure the DVR, see Typical DVR Configuration Settings, on page 13.
•
Web Browser Configuration and Playback
Configure the network connection on the computer, then connect the DVR to a computer using an
RJ-45 cross-over Ethernet cable. (Newer laptop PCs do not require a cross-over cable.) Configure the
DVR via the vMax Web browser user interface.
To configure the Laptop network settings to use vMax Web, see vMax Web Laptop Configuration, on
page 24.
To configure the DVR, see Typical DVR Configuration Settings, on page 13.
G Sensor field calibration cannot be preformed remotely.
Typical DVR Configuration Settings
Once the unit is installed and power and cabling settings are complete, set up the DVR in the configuration
menus. These are the typical DVR configuration settings. If the customer or installer wishes to further
modify the settings, see Configuration Menu Descriptions, on page 40 for a complete description of all
available menu options.
These steps cover configuration in the DVR OSD. Configuration can be done in the DVR OSD with a
monitor and USB mouse or remotely with vMax Web in Internet Explorer 8 or 9 (32 bit version only).
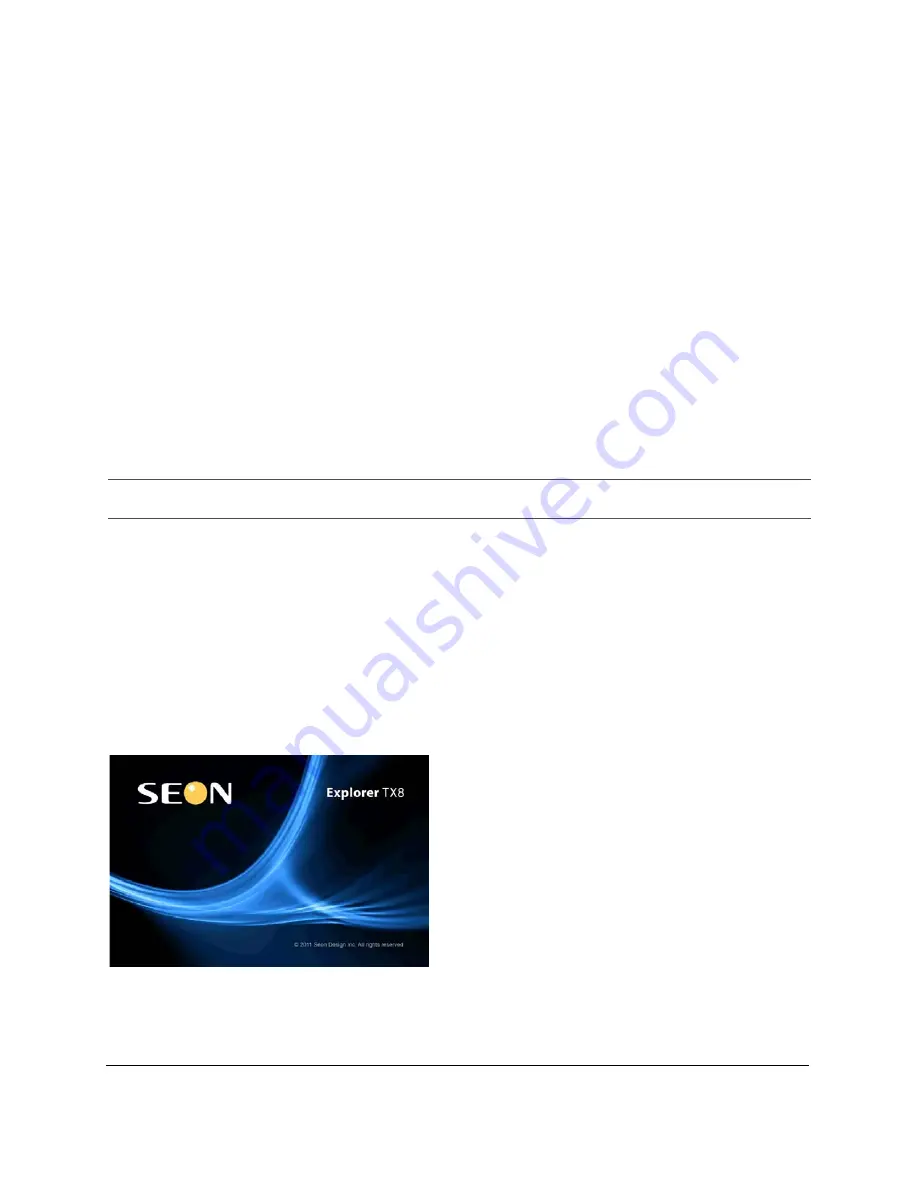
On power-up, with a monitor and USB mouse connected to the DVR, the Seon Explorer TX8 splash screen
(see Figure 9) appears briefly before the DVR enters live view.
Important:
The default network settings allow for connection to a laptop computer for configuration of the DVR only. For
remote network access, consult with your IT staff or Seon Design to configure the DVR to be on the same subnet as the laptop.
Figure 9
TX8 Splash Screen


