133
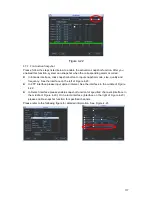
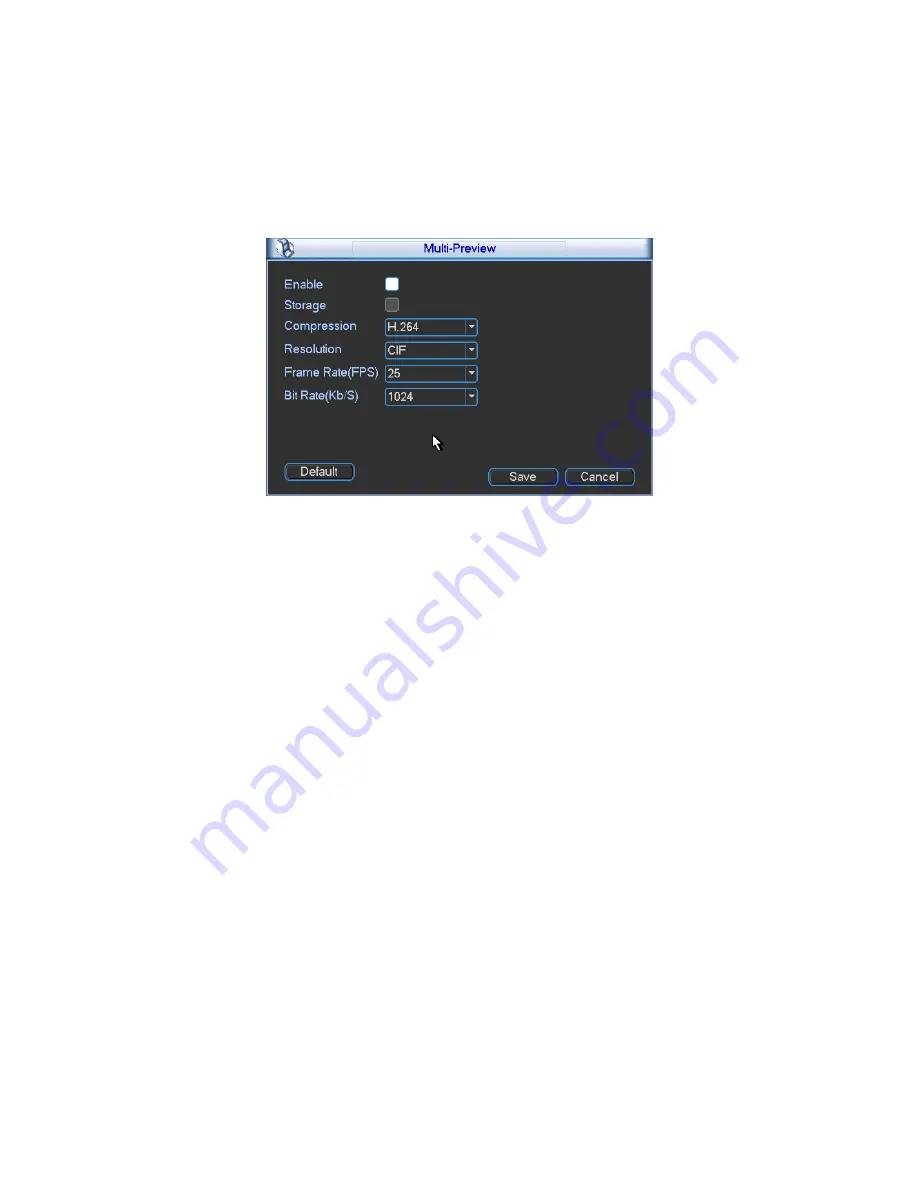
Right click mouse and then select multiple-channel preview; you can go to the following
interface. See Figure 4-17. Here you can enable and set multiple-channel preview so that
you can view several video at one channel.
z
Enable: Check the box here to enable this function.
z
Storage: This function is null right now.
z
Frame rate: PAL
:
1-25fps.NTSC:30fps.
z
Bit stream value: Default setup is 1024Kb/S.
Figure 4-17
4.5
Schedule
After system booted up, it is in default 24-hour regular mode. You can set record type and
time in schedule interface.
4.5.1 Schedule Menu
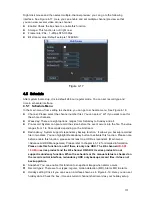
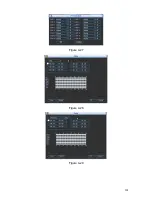
In the main menu, from setting to schedule, you can go to schedule menu. See Figure 4-18.
z
Channel: Please select the channel number first. You can select
“
all
”
if you want to set for
the whole channels.
z
Week day: There are eight options: ranges from Saturday to Sunday and all.
z
Pre-record: System can pre-record the video before the event occurs into the file. The value
ranges from 1 to 30 seconds depending on the bit stream.
z
Redundancy: System supports redundancy backup function. It allows you backup recorded
file in two disks. You can highlight Redundancy button to activate this function. Please note,
before enable this function, please set at least one HDD as redundant. (Main menu-
>Advanced->HDD Management) Please refer to chapter 4.5.1.2 for detailed information.
Please note this function is null if there is only one HDD. The 4/8-channel
HD-SDI
1.5U Mini
series product and the 4/8-channel HD-SDI 2U series product do not
support redundancy function. When the schedule or the manual status is checked on
the record control interface, redundancy HDD only backups record files. It does not
backup picture.
z
Snapshot: You can enable this function to snapshoot image when alarm occurs.
z
Record types: There are four types: regular, motion detection (MD), Alarm, MD & alarm.
z
Holiday setting: Click it you can see an interface shown as in Figure 4-19. Here you can set
holiday date. Check the box, it means current channel shall record as your holiday setup.
Содержание DVR-HD016240M
Страница 97: ...86 Figure 2 30 2 3 4 HD SDI 1080P 1U Series The connection sample is shown as in Figure 2 31...
Страница 99: ...88 Figure 2 32 2 3 6 General 1 5U series Please refer to Figure 2 33 for connection sample...
Страница 103: ...92 Figure 2 36 2 3 10 4HDD full D1 1 5U Entry level Series Please refer to Figure 2 37 for connection sample...
Страница 107: ...96 Figure 2 40 2 3 14 8HDD Full D1 2U Entry level Series Please refer to Figure 2 41 for connection sample...
Страница 130: ...119 HD SDI 1 5U Mini 2U Series Figure 3 18...
Страница 152: ...141 Figure 4 27 Figure 4 28 Figure 4 29...
Страница 157: ...146 Figure 4 34 Figure 4 35 Figure 4 36...
Страница 165: ...154 Figure 4 52...
Страница 169: ...158 Figure 5 3 Figure 5 4 Figure 5 5 Figure 5 6...
Страница 177: ...166 Figure 5 16 Figure 5 17 Figure 5 18 5 3 5 3 NTP Setup...
Страница 218: ...207 Figure 6 11...
Страница 244: ...233 Figure 7 39 Figure 7 40 Figure 7 41 Please refer to the following sheet for detailed information...
Страница 288: ...277 Maxtor DiamondMax 20 STM3250820AS 250G SATA...


