213
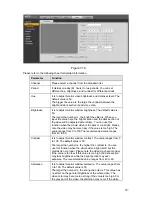
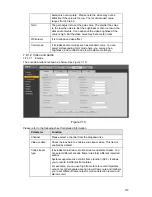
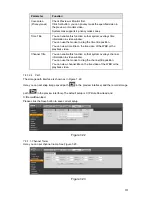
Parameter Function
Preset
z
Select Preset from the dropdown list.
z
Turn the camera to the corresponding position and Input the
preset value. Click Add button to add a preset,.
Tour
z
Select Tour from the dropdown list.
z
Input preset value in the column. Click Add preset button, you
have added one preset in the tour.
z
Repeat the above procedures you can add more presets in one
tour.
z
Or you can click delete preset button to remove one preset from
the tour.
Pattern
z
Select Pattern from the dropdown list.
z
You can input pattern value and then click Start button to begin
PTZ movement such as zoom, focus, iris, direction and etc.
Then you can click Add button to set one pattern.
Aux
z
Please input the corresponding aux value here.
z
You can select one option and then click AUX on or AUX off
button.
Light and
wiper
You can turn on or turn off the light/wiper.
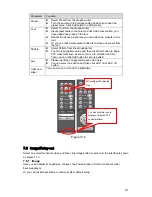
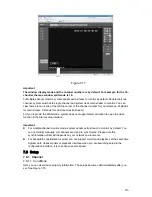
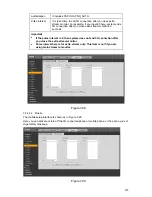
Figure 7-12
7.6
Image/Relay-out
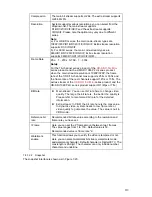
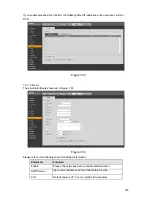
Select one monitor channel video and then click Image button in section 8, the interface is shown
as Figure 7-13.
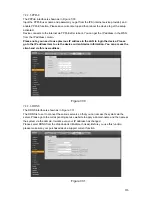
7.6.1 Image
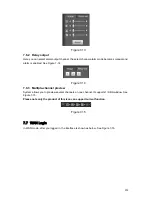
Here you can adjust its brightness, contrast, hue and saturation. (Current channel border
becomes green).
Or you can click Reset button to restore system default setup.
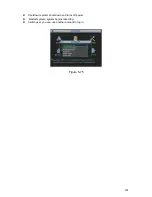
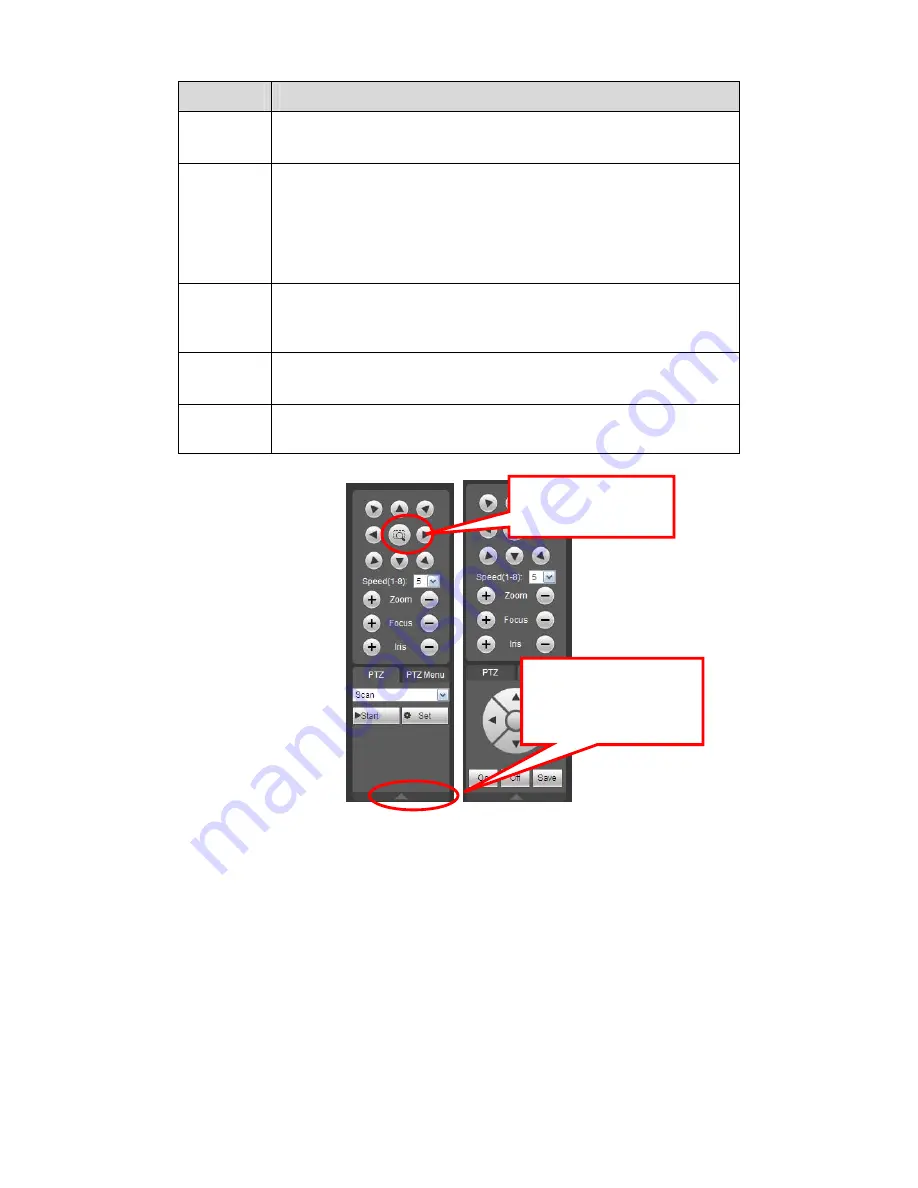
You can click this icon to
display or hide the PTZ
control platform.
3D Intelligent Positioning
Key
Содержание DVR-HD016240M
Страница 97: ...86 Figure 2 30 2 3 4 HD SDI 1080P 1U Series The connection sample is shown as in Figure 2 31...
Страница 99: ...88 Figure 2 32 2 3 6 General 1 5U series Please refer to Figure 2 33 for connection sample...
Страница 103: ...92 Figure 2 36 2 3 10 4HDD full D1 1 5U Entry level Series Please refer to Figure 2 37 for connection sample...
Страница 107: ...96 Figure 2 40 2 3 14 8HDD Full D1 2U Entry level Series Please refer to Figure 2 41 for connection sample...
Страница 130: ...119 HD SDI 1 5U Mini 2U Series Figure 3 18...
Страница 152: ...141 Figure 4 27 Figure 4 28 Figure 4 29...
Страница 157: ...146 Figure 4 34 Figure 4 35 Figure 4 36...
Страница 165: ...154 Figure 4 52...
Страница 169: ...158 Figure 5 3 Figure 5 4 Figure 5 5 Figure 5 6...
Страница 177: ...166 Figure 5 16 Figure 5 17 Figure 5 18 5 3 5 3 NTP Setup...
Страница 218: ...207 Figure 6 11...
Страница 244: ...233 Figure 7 39 Figure 7 40 Figure 7 41 Please refer to the following sheet for detailed information...
Страница 288: ...277 Maxtor DiamondMax 20 STM3250820AS 250G SATA...

