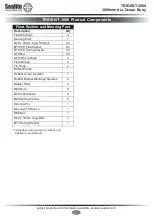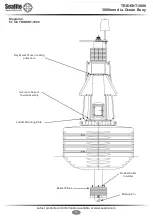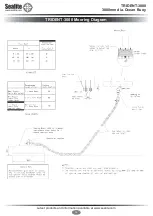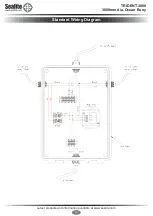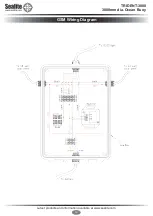
TRIDENT-3000
3000mm dia. Ocean Buoy
Latest products and information available at www.sealite.com
9
Check Components
Unpack all components from container. Inspect all components for any damage. Please alert Sealite if any component is missing or damaged.
Assembly
Step 1
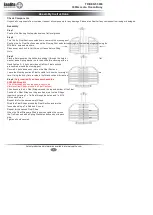
Position the Mooring Post upside down on flat level ground.
Step 2
Turn the 4 x Float Sections upside down, to match the mooring post.
Position the 4 x Float Sections around the Mooring Post and start securing 2 x float sections together using 8x
M16 Bolts, nuts and washers.
Please coat each bolt in Anti-Seize or Grease before fitting
Nuts.
Step 3
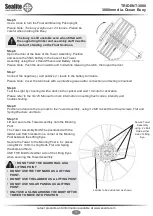
Place a flat washer on the bolt before sliding it through the hole in the Float Section, then fit a second flat
washer and a Spring washer on to the bolt before securing with a nut.
Hand tighten 2 – 4 bolts per side until all four Float sections
are secured around the mooring post.
Secure 8 x bolts down each joint on the Float Sections.
Leave the Mooring post and Float to settle for 4 hours or overnight before tightening each bolt a second
time.
Giving the buoy time to relax in the fitted position will create a better joint.
Step 4
(Only required if you have purchased the
SLB3000-Strap Kit.
This Kit includes all parts required to secure the
Stainless Steel Straps around the Float Sections)
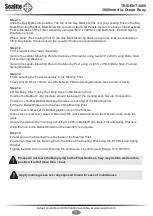
Fit and secure the 4 x Float Straps around the top and bottom of the Float.
Position 2 x Float Straps on the ground and join the two Straps
together by placing 1 x Tie Rod through the holes and 1 x M16
Nut on each side.
Repeat this for the second set of Straps.
Wrap the Float Straps around the Float Section and join the
loose side using a Tie Rod and 2 x nuts.
Repeat for the second Float Strap
When the Float Straps are fitted in position tighten the nuts on
the Tie Rods and add a Spring Washer and second nut to each
side.
Tighten all nuts securely.
Assembly Instructions


