65
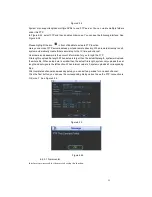
Please highlight icon
to select the corresponding function.
After all the setups please click OK button, system goes back to the previous menu.
Warning!
System menu color, language, time display mode, video format, IP address, user account will not
maintain previous setup after default operation!
6.7
Advanced
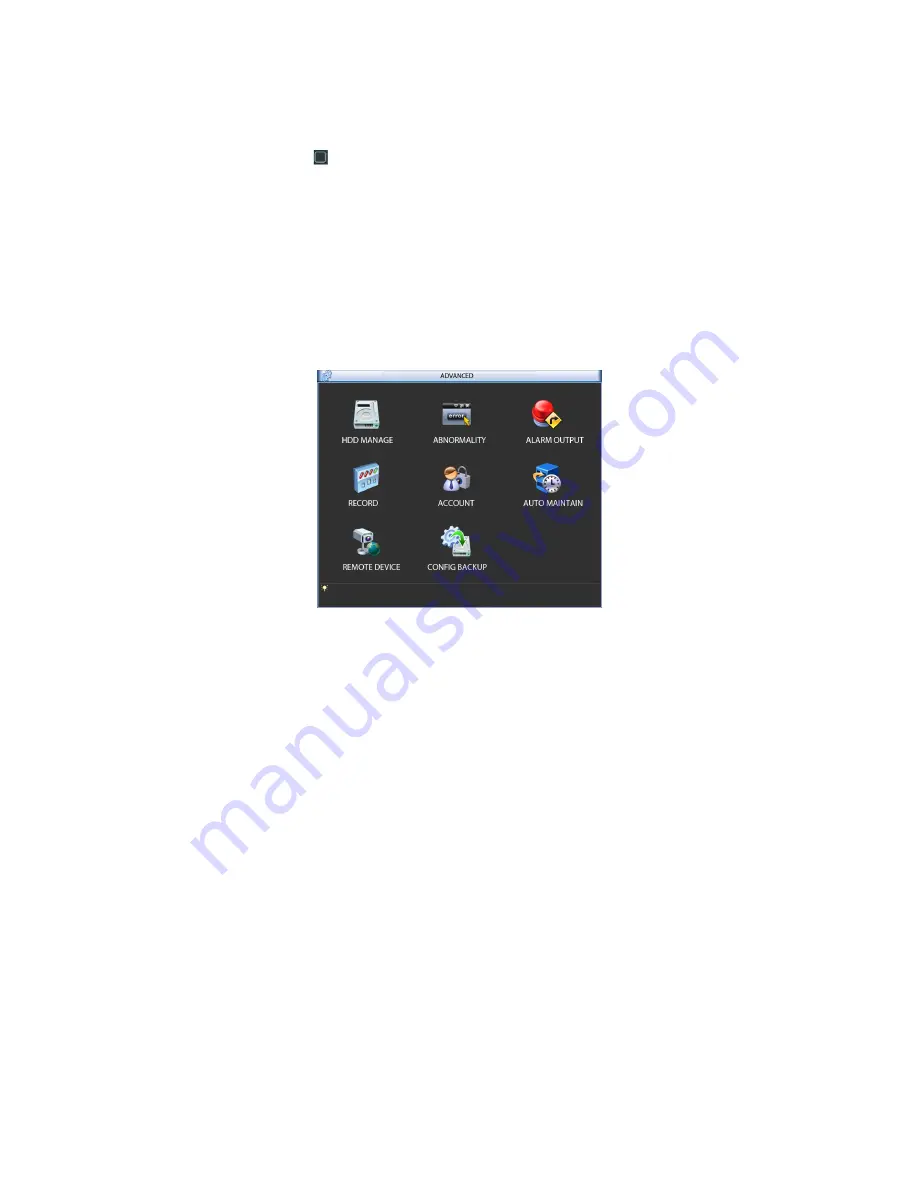
Double click advanced icon in the main window, the interface is shown as below. See Figure
6-54.There2 are total eight function keys: HDD management, alarm output, abnormity, manual
record, account, auto maintenance, TV adjust and video matrix.
Figure 6-54
6.7.1
HDD Management
Here is for you to view and implement hard disk management. See Figure 6-55.
You can see current HDD type, status, capacity and record time. When HDD is working properly,
system is shown as O. When HDD error occurred, system is shown as X.
Alarm set: Click alarm set button, the interface is shown as below. See
错误!未找到引用源。
.
(This interface is just like the abnormity setup). Please refer to chapter 5.5.2 for detailed
information.
HDD operation: You can select HDD mode from the dropdown list such as read-only or you
can erase all data in the HDD. Please note system needs to reboot to get all the modification
activated.
Содержание The Networker POE series
Страница 1: ... The Networker POE Series DVR User s Manual 866 414 2553 ...
Страница 57: ...57 Figure 6 37 Figure 6 38 Figure 6 39 Figure 6 40 ...
Страница 78: ...78 Figure 7 5 ...
Страница 89: ...89 8 16 Figure 8 16 Figure 8 16 General Setup ...
Страница 102: ...102 Figure 8 32 UNPN 8 3 2 6 Alarm Alarm setup interface is shown as in Figure 8 33 Figure 8 33 Alarm Setup ...
Страница 129: ...129 Teclast Ti Cool 512M Teclast Ti Cool 1G Teclast Ti Cool 2G ...
Страница 137: ...137 Figure 14 12 ...


