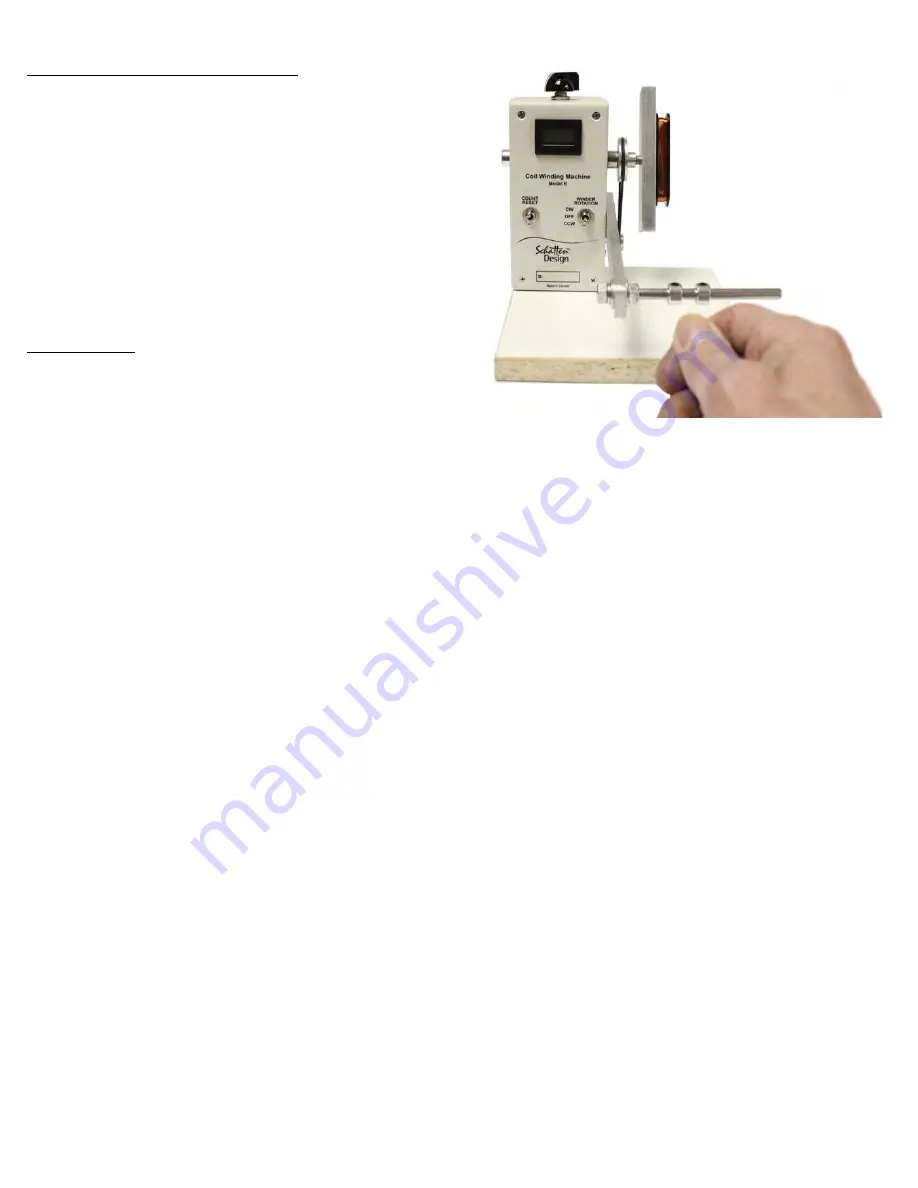
Attaching A Bobbin To The Winder Arm
We have found that the simplest and usually the best method
for securing a bobbin to the winding arm is by using a piece of
double sided tape. Supplied with the machine is a sample of this
type of tape. It can be a cloth or a fiber glass woven double
sided tape (usually marketed as a carpet tape) and can be found
in most hardware stores. Notice from the sample that the tape is
folded in two to provide the best conformity. The same piece of
tape can normally be used numerous times.
Before pressing the bobbin into place, visually make
sure that the bobbin is centered on the arm so that the coil
winds evenly.
Starting A Wind
1)Place your spool of coil wire about 3 or 4 feet behind you and
about on the level of the winder base so that the wire may
unspool end on. It will help if the leading edge of the spool is
tipped up about 15 degrees.
2) Take a bit of masking tape and tape the end of the coil wire to underside of the winding arm. This should provide enough
‘free’ wire after the wind is completed to solder to the bobbin’s eyelets or to the lead out wires.
3) Rotate the winder arm by hand to run the coil wire around the bobbin about 6 turns.
4) Run the wire under the limit shaft and adjust the inner limit collar so that the wire winds inside of the inner bobbin edge.
You should be rotating the winder by hand to make this adjustment.
5) Repeat the same procedure to set the outer limit collar.
6) The coil wire is grasped lightly between thumb and forefinger so that it may be controlled and moved between the set
limits. The pressure that is exerted on the wire by the thumb and forefinger provides the winding tension.
7) When you are satisfied that the limits are properly set, turn the machine on at low speed. Slowly move the wire back and
forth between the limits to again check that the wire is winding properly within the bobbin.
8) If everything is satisfactory, increase the speed as required.


