


203
Chapter 5 Client Mode
5.1
Administrator Quick Setup Instruction
Make sure to switch the mode into Client Mode, then open a Microsoft Internet Explorer,
Mozilla Firefox or Apple Safari browser, and input
http://10.64.64.64
(
Default Gateway
)
into
browser’s blank.
Notice: If the homepage doesn’t appear, please check if the TCP/IP configuration is obtaining
IP address automatically or not. If you don’t know how to do, please refer to “
1.5 Get
your IP Automatically & Manually
”.
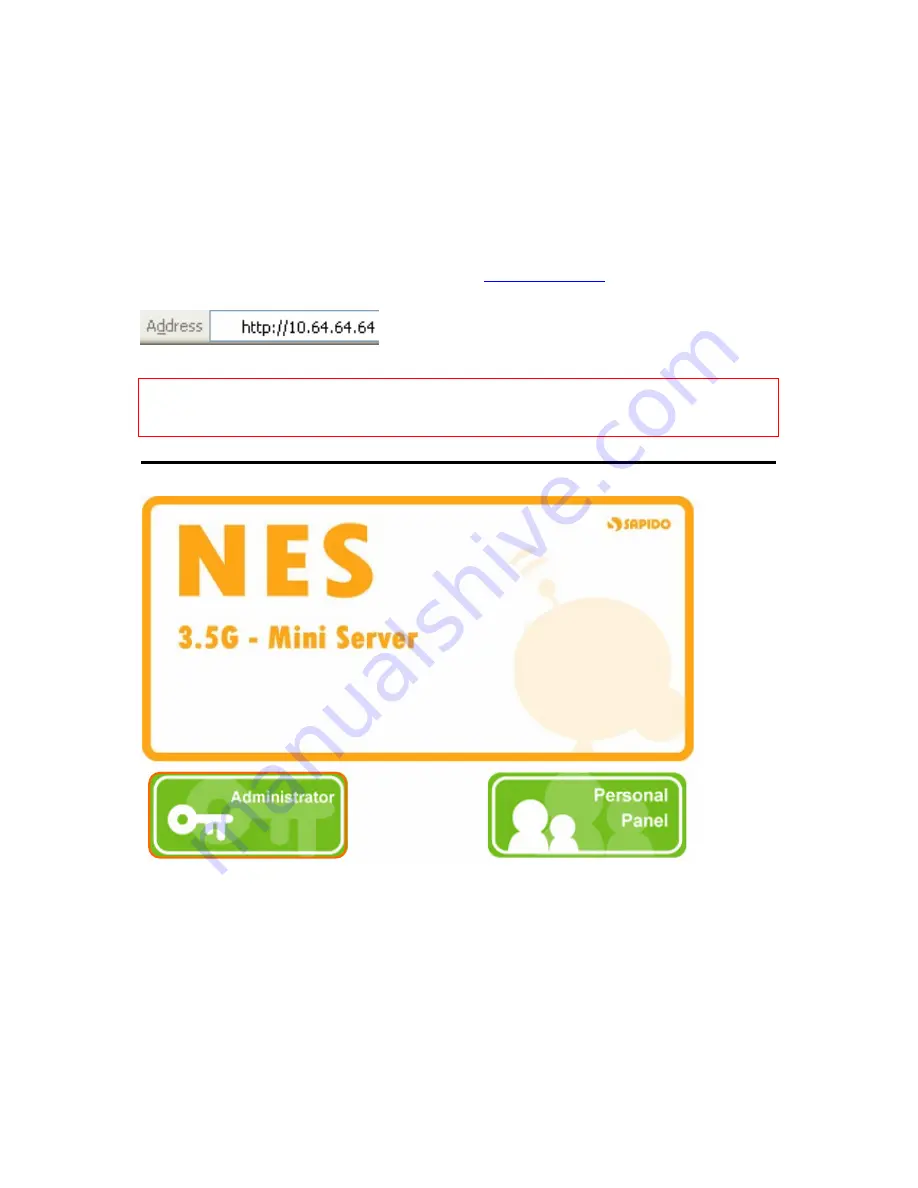
Home Page
Please click on “
Administrator
” button to login to setup at first time, also can change any
settings in future. Only the Administrator has the right to set and change all settings.
Содержание Gr-1100
Страница 1: ...1 ...
Страница 16: ...16 1 3 1 Product Appearance Introduction ...
Страница 19: ...19 Step2 Click on Properties button Step3 Double click on Internet Protocol TCP IP ...
Страница 24: ...24 If it can t work it will show Request timed out ...
Страница 35: ...35 ISP and then click on Next button to connect to 3 2 2 LAN Setup ...
Страница 78: ...78 5 Apply Cancel Click on Apply button to continue Click on Cancel button to clean the setting on this page ...
Страница 104: ...104 Step 3 Click Next Step 4 Click the Local printer attached to this computer and then click Next ...
Страница 105: ...105 Step 5 Click the Create a new port and select the Standard TCP IP Port and then click Next Step 6 Click Next ...
Страница 125: ...125 ...
Страница 127: ...127 3 8 Logout To logout the router via click on Logout button in Menu and system will return to Login homepage ...
Страница 134: ...134 3 10 Site Map The GR 1100 provides site map clicking for each icon and do the setting easily from the home page ...
Страница 169: ...169 Step 6 Input Username and Password of your own You will see like as below monitor screen ...
Страница 175: ...175 Step 3 Click Next Step 4 Click the Local printer attached to this computer and then click Next ...
Страница 176: ...176 Step 5 Click the Create a new port and select the Standard TCP IP Port and then click Next Step 6 Click Next ...
Страница 202: ...202 Site Map The GR 1100 provides site map clicking for each icon and do the setting easily from the home page ...
Страница 238: ...238 Step 3 Click Next Step 4 Click the Local printer attached to this computer and then click Next ...
Страница 239: ...239 Step 5 Click the Create a new port and select the Standard TCP IP Port and then click Next Step 6 Click Next ...
Страница 265: ...265 5 9 Site Map The GR 1100 provides site map clicking for each icon and do the setting easily from the home page ...
Страница 267: ...267 ...
Страница 269: ...269 Step5 1 Click on the mail 2 Click on the address https www dyndns org account confirm xxx Step6 Click on login 2 ...
Страница 270: ...270 Step7 Click on the My Services under Account Step8 And then click on Add Host Services ...


