27
Hiding Partial Image <PRIVACY MASK>
3
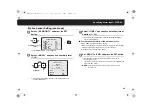
Specify the masking size and press the SET
button.
• From the datum point at the upper left corner of the area, the
size can be scaled up or down, as well as side to side.
R
Returns to the “MASK NO.SELECT” screen.
To repeat a masking setting, repeat steps from
1
to
3
.
■
To preview the entire specified “MASK NO.”
Select “PREVIEW” and press the SET button.
To return to the previous screen, press the SET button.
■
To cancel the masking setting
Change “ON” of the MASK number to “OFF” in “MASK NO.SELECT”
screen.
■
To change the previously specified masking setting
Choose “ON” instead of “OFF” in “MASK NO.SELECT" screen, and
press the SET button.
After canceling the previous masking setting, set the masking
position again.
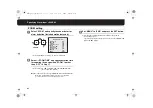
4
Set “MENU” to “END” and press the SET button.
R
Finishes the settings screen and returns to the normal
monitoring screen.
The specified masking position appears on the screen.
• If you want to return to the previous screen, select “BACK” and
press the SET button.
Privacy Masking Setting (continued)
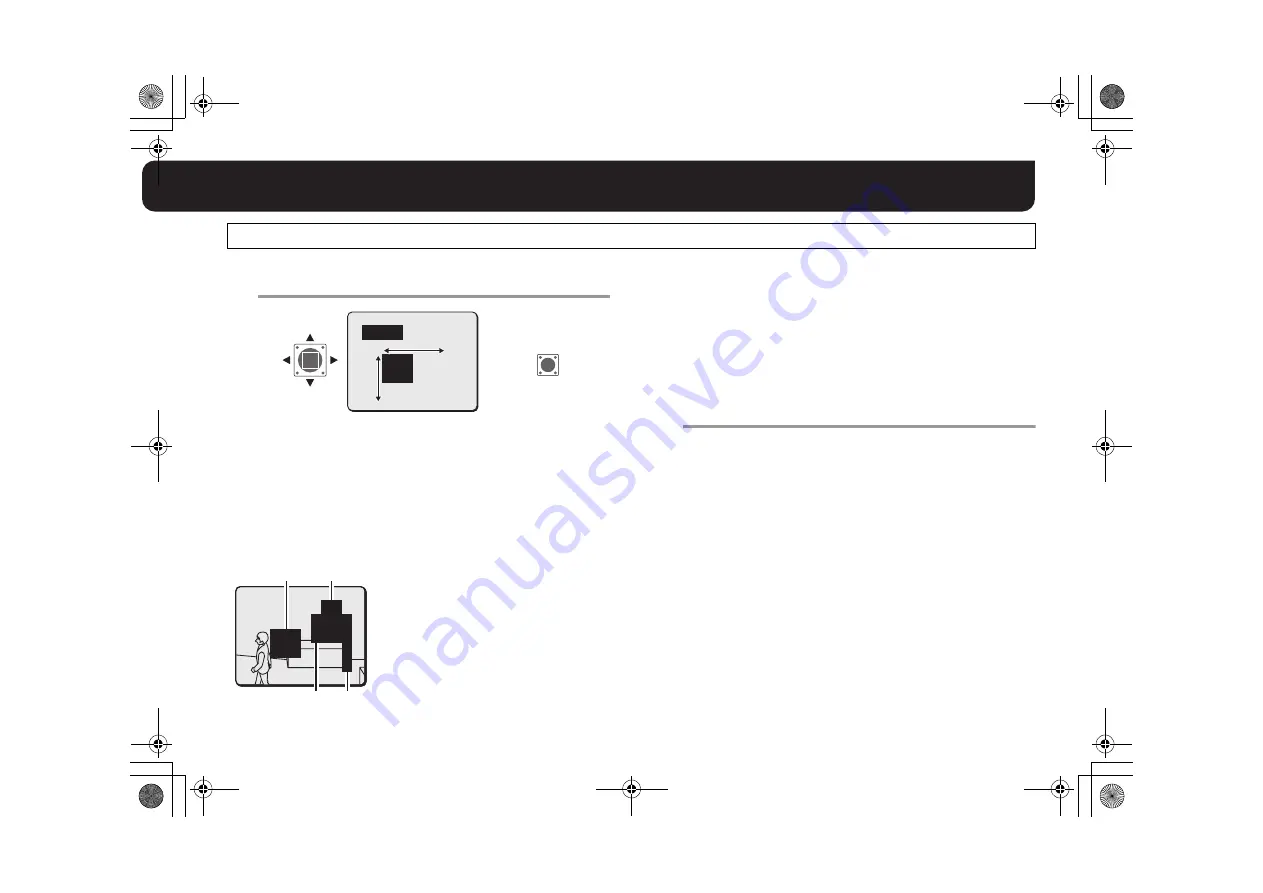
MEMO:
When multiple masking positions
overlap, the masking setting with the
smaller “MASK NO.” will be preceded.
111
111
SIZE
SET
R
3
MASK 1
2
4
4
4
3333
3333
22
22
111
111
(Example: 4 maskings)
L5BH2_BK2_US_XE(GB).book 27 ページ 2006年3月2日 木曜日 午後8時41分


