


4.4. Setting up Wireless Imager from Projector menu
This section describes how to configure network settings for Wireless Imager from the projector’s menu.
You can configure Wireless Imager settings with the projector’s remote control unit or control panel.
You can store three separate network settings (LAN 1 ~ LAN 3) in Wireless Imager.
If you are using Wireless Imager in multiple network environments, you can easily change from one
network setting to another by creating and saving the settings suitable for each network. See [1.5
Factory Default Settings] in Chapter 1 for more details.
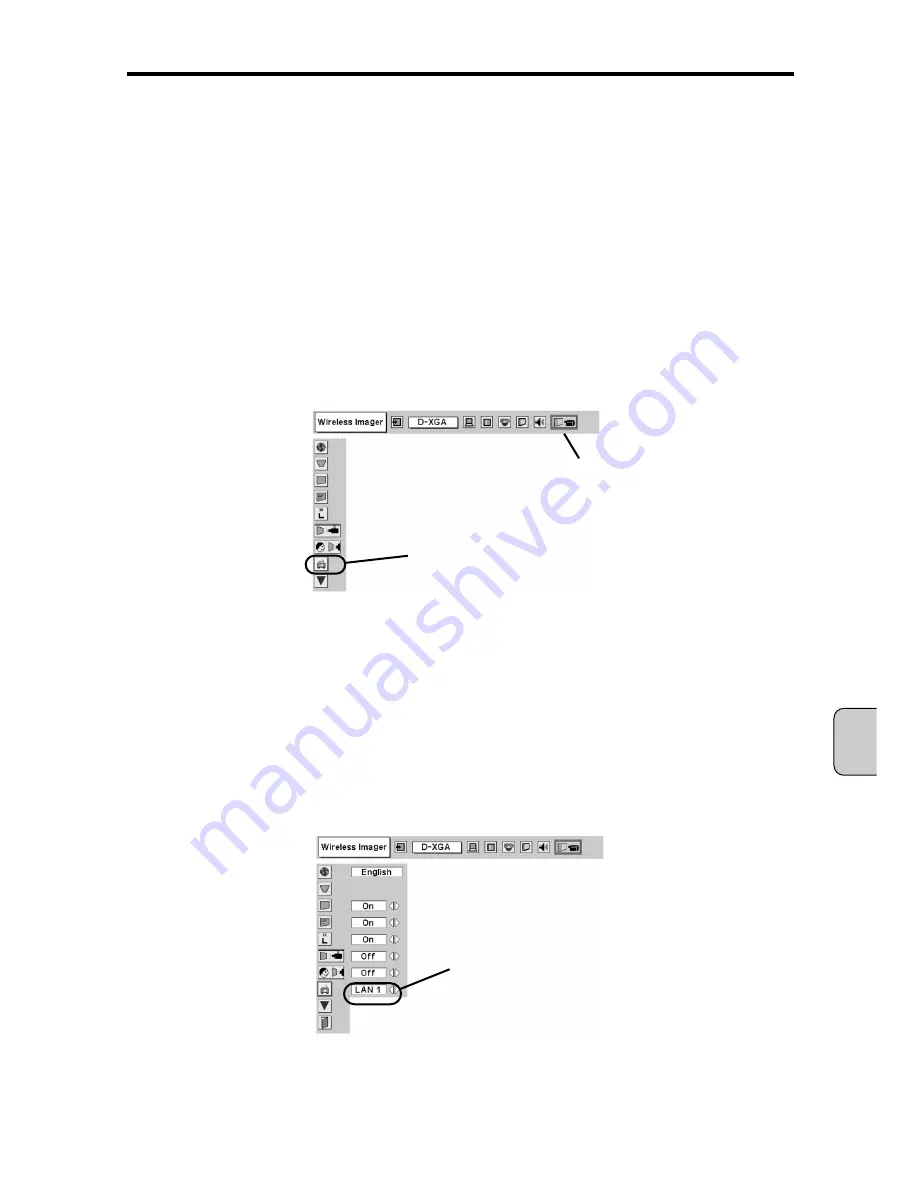
1. Power on the projector to display the menu on the screen.
Press MENU button, and select SETTING MENU > Wireless Imager, and press SELECT button.
2. Using the pointer [
/
], select the target network to be configured from LAN 1, LAN 2, or
LAN 3.
In the following example, we will select LAN 1.
[NOTE]
If you have already configured network settings for LAN 1, LAN 2 and/or LAN 3, and
just want to switch from one LAN setting to another, select the target LAN using the
pointer [
/
] and press [SELECT] button. Then the network configuration screen
appears. Press MENU button to close this screen. The selected Configuration set
will be activated.
▼
▼
▼
▼
Chapter 4. Setting up Wireless Imager
— 45 —
English
Setting menu
Wireless Imager
LAN Selection
Содержание POA-WL11
Страница 2: ... 2 ...
Страница 68: ... 2 ...
Страница 134: ... 2 ...
Страница 200: ... 2 ...
Страница 266: ... 2 ...
Страница 331: ... 67 ...
Страница 332: ...Printed in Japan 1AA6P1P3640 IDDDA SANYO Electric Co Ltd ...


