10
LISTENING TO THE RADIO
Before use
When the unit is shipped from the factory, its AM frequency band is set as
“522-1611 kHz (in 9 kHz steps)”.
If your local AM broadcast system is organized in 10 kHz steps, change
the frequency band to “520 - 1610 kHz (in 10 kHz steps)” as follows.
1.
Press the TUNER/BAND button on the remote control to select “AM”.
2.
While pressing the
n
button on the main unit, press the FUNCTION
button. The frequency band will be changed.
Note:
-
To return to the original setting, repeat steps above.
-
To turn the unit on and listen to the last received station, press the
TUNER/BAND button.
Automatic/Manual tuning
1.
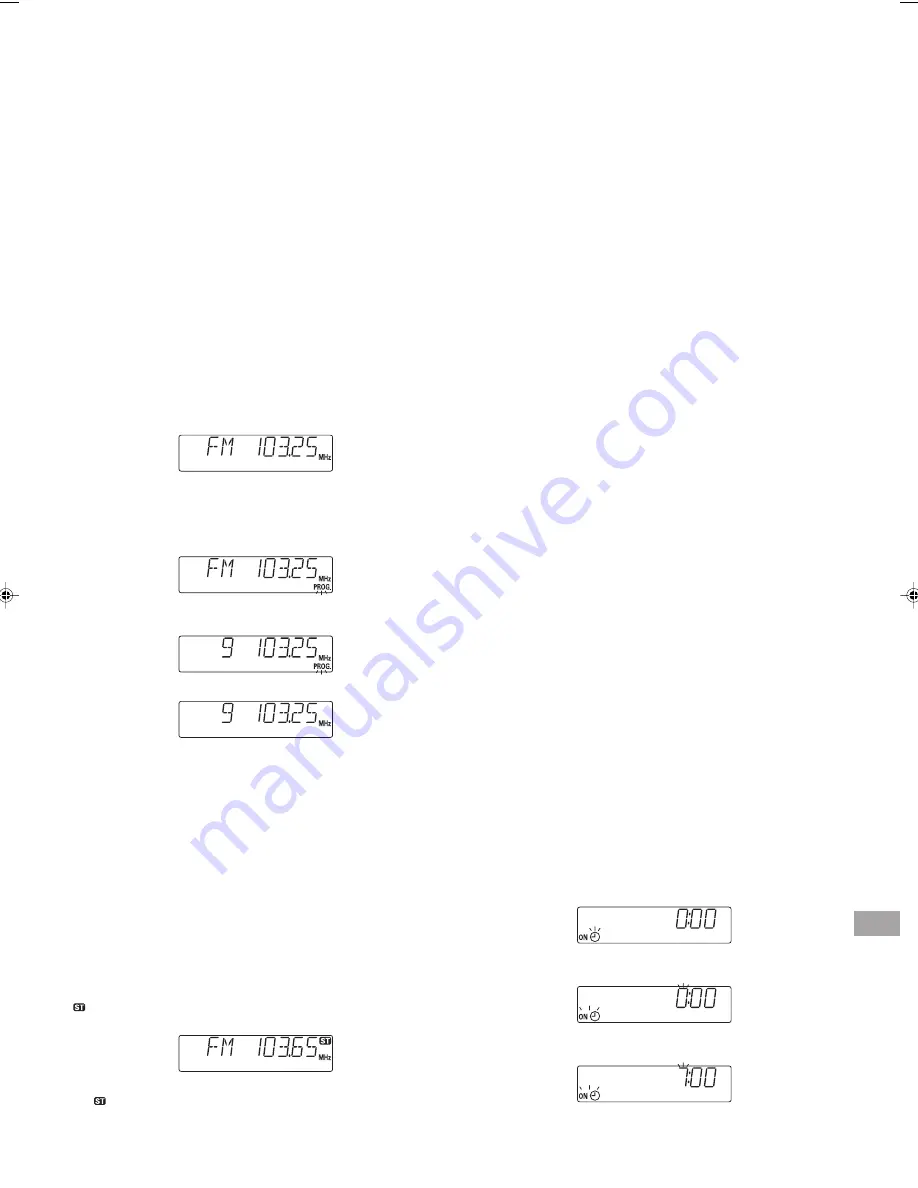
Press the TUNER/BAND button to select FM or AM. The radio
frequency appears on the display.
2.
Automatic tuning
Press the
f
or
e
button for at least 1 second to tune in a station.
The unit will scan up or down the band and receive the next receivable
station. Press the button to continue.
Manual tuning
Press the
f
or
e
button briefly until the desired frequency is
displayed.
To preset stations
Up to 24 stations for FM band, 12 stations for AM band can be preset.
1.
Tune in the station to be preset as described above.
2.
Press the MEMORY button.
3.
While “PROG.” is blinking, press the PRESET FOLDER SELECT
button to select the channel to be preset.
4.
While “PROG.” is blinking, press the MEMORY button.
-
The number button(s) on the remote control can be used to preset the
station directly.
In this example, press 0, 9 after the step 2 above. Then step 4 is
omitted.
5.
Repeat steps above to add more preset stations.
When presetting a new station, the previous preset station is cleared.
Listening to preset stations
Up to 24 stations for FM band, 12 stations for AM band can be preset.
1.
Press the TUNER/BAND button to select FM or AM.
2.
Press the PRESET FOLDER SELECT button to select the desired
channel number.
-
The number button(s) on the remote control can also be used.
Always press 2 number buttons with 4 seconds.
To receive FM stereo broadcasts (Remote control only)
“
” appears when an FM stereo broadcast is received under stereo
receiving mode.
-
If the signal from an FM stereo station is weak and reception is poor,
“
” blinks. Press the FM MODE REPEAT button to change to the
monaural mode. The reception may be improved, but the sound will
be monaural.
When beat is heard (Main unit only)
Beat (a high-pitched noise) may sometimes be heard during radio
broadcasting. If this occurs, while press and hold the
n
button, press the
MEMORY button to select “BC-A” or “BC-B”. Select the setting that gives
the best result.
RECORDING
Recording copyright material without permission of the copyright owners
is usually an infringement. If you wish to re-record copyright material,
permission from the copyright owner is necessary. SANYO does not
approve of, and cannot be held responsible for, any unlawful use of this
machine.
Recording compact discs (Synchronous recording)
1.
Load a blank cassette.
2.
Select “CD” function.
3.
Load the disc to be recorded.
-
Select the track number if required.
-
For programmed recording, programme the material in advance (as
described under “Programmed play”).
4.
Press the REC button. The PLAY button is engaged simultaneously
and CD recording starts.
-
When you want to record music as you listen, press the REC button.
Recording starts automatically from the beginning of the track.
5.
Press the STOP/EJECT button to stop recording.
The CD player enters automatically pause mode.
Recording from the tuner
1.
Load a blank cassette.
2.
Tune in the radio station to be recorded.
3.
Press the REC button to start recording.
4.
Press the STOP/EJECT button to stop recording.
When beat is heard (Main unit only)
Beat (a high-pitched noise) may sometimes be heard during the recording
of radio broadcasts. If this occurs, while press and holding the
n
button,
press the CLOCK TIMER button to select “BC-1” or “BC-2”. Select the
setting that gives the best result.
Safeguards against accidental erasure
out the tabs on the end of the cassette tape (where the tape is not exposed)
using a screwdriver or similar implement (Fig. 9).
If a tab is broken out in error and you wish to re-record the tape, simply
block the tab hole using adhesive tape and tape can be used for recording
again.
TIMER OPERATION (Using the main unit)
To setting the timer
Example:
Waking up 7:30 every day and listening to the radio until 8:15.
1.
Turning the power on before setting, select the desired function and
volume. In this example, “TUNER” function is selected.
2.
Press the CLOCK TIMER button for at least 3 seconds.
The previous timer on-time appears. “
0
” blinks, “ON” appears.
3.
Press the MEMORY button.
“ON
0
” and “hour” section blink.
4.
Turn the VOLUME control to set “hour” section.
SZ000792-1450XE(En)
01/19/2006, 10:40 AM
10


