85
GB
Setting the clock format
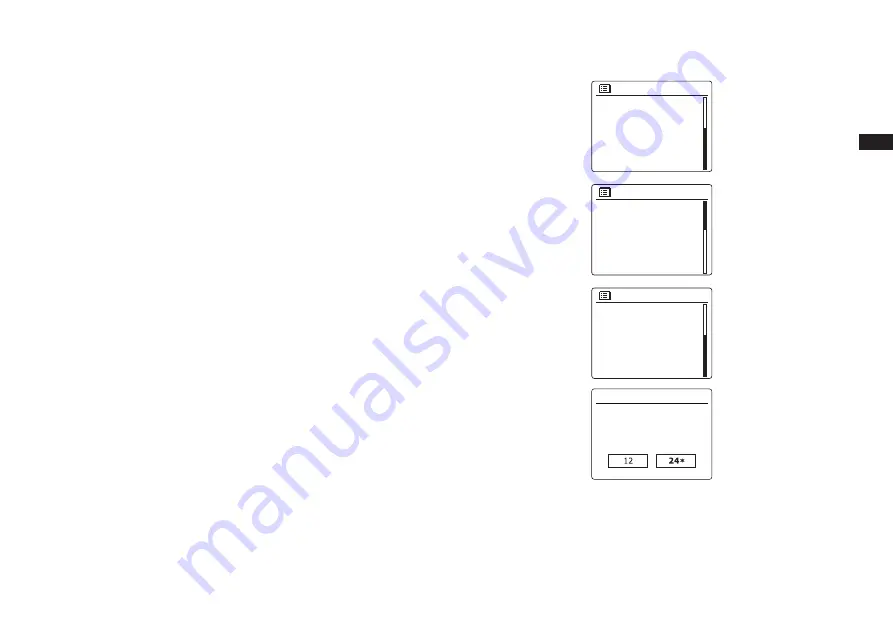
The clock display used in standby mode and on the playing mode screens can be set to 12 or 24
hour format. The selected format is then also used when setting the alarms.
1. With your radio switched on, press and hold the Menu button to access the menu for the
current mode.
2. Press the Folder Up or Down buttons on the remote control (or the Tuning Up or Down buttons
on the panel) until 'System settings' is highlighted on the display. Press the Select button
to
enter the system settings menu.
3. Press the Folder Up or Down buttons until 'Time/Date' is highlighted on the display. Press the
Select button to enter the time setup.
4. Press the Folder Up or Down buttons until 'Set format' is highlighted on the display. Press the
Select button to enter the clock format menu. The current clock display format is marked with
an asterisk.
5. Press the Folder Up or Down buttons to select either 12 or 24 hour format. Press the Select
button to confirm your choice of clock format. The display will then revert to the previous menu.
If the 12 hour clock format is chosen, the radio will then use the 12 hour clock for the setting of
alarms, and will display a 12 hour clock with an AM or PM indicator when in standby mode.
12/24 hour format
Date/Time
Main menu
SD
Bluetooth
Aux in
Sleep
Alarms
System settings
>
System settings
Backlight
Equaliser
Streaming audio quality
Network
Time/Date
Inactive Standby
>
>
>
>
>
>
>
Time/Date
Set Time/Date
Auto update
Set format
Set timezone
Daylight savings
Clock style
Содержание DDR-75BT
Страница 1: ...Version 1 DDR 75BT GB...


