3
4
5
6
ENGLISH
Photo Mode : Setting Various Functions
62
62
ESPAÑOL
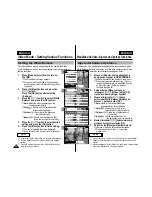
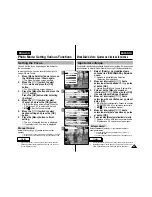
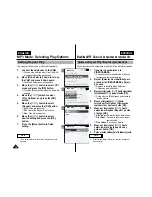
Setting the Light
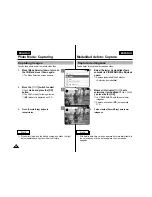
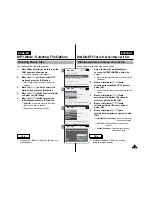
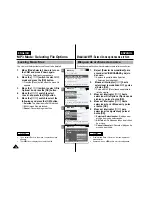
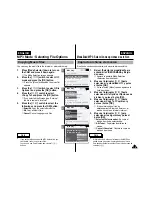
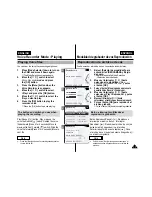
The Light only works in Photo Mode and allows the user to take
photographs in dark places such as during the night, shaded or dark
areas and indoors.
1.
Move [Mode Selector] down to turn on
the CAM and move it down again.
◆
The Mode Selection screen appears.
2.
Move the [
▲
/
▼
] switch to select
Photo
mode and press the [OK]
button.
◆
The Photo Capture screen appears.
3.
Press the [Menu] button and move the
[
▲
/
▼
] switch. Press the [OK] button
after selecting <Settings>.
4.
Move the [
▲
/
▼
] switch to select
<Light> and press the [OK] button.
5.
Move the [
▲
/
▼
] switch to select
desired setting and press the [OK]
button.
◆
Auto
: Set the light automatically.
◆
On(
)
: Turn on the light.
◆
Off(
)
: Turn off the light.
6.
Press the [Menu] button to finish
setting.
◆
The icon of selected function is displayed.
Notes
✤
If you select <Back> in the menu, the previous menu
appears.
✤
Press and hold the [Menu] button in Photo View, you
can move to <File Options> directly.
✤
If the battery is low and the battery charge icon blinks,
the light will not operated
and light icon is set to off state.
Modalidad de foto: Ajustes de diversas funciones
Ajuste de luz
La luz sólo funciona en la modalidad Photo <Foto> y permite a los
usuarios hacer fotos en lugares oscuros, por la noche, en áreas
oscuras o con sombra y en interiores.
1.
Baje el [Selector de modalidad] para
encender la VIDEOCÁMARA y bájelo
de nuevo.
◆
Aparece la pantalla Mode Selection
<Selección de modalidad>.
2.
Mueva el interruptor [
▲
/
▼
] hasta
seleccionar la modalidad
Photo
y
pulse el botón [OK].
◆
Aparece la pantalla Photo Capture <Capturar foto>.
3.
Pulse el botón [Menu] y mueva el
interruptor [
▲
/
▼
]. Pulse el botón [OK]
tras seleccionar Settings <Ajustes>.
4.
Mueva el interruptor [
▲
/
▼
] hasta
seleccionar Light <Luz> y pulse el
botón [OK].
5.
Mueva el interruptor [
▲
/
▼
] hasta
seleccionar el ajuste que desea y pulse
el botón [OK].
◆
Auto <Autom.>:
Fija la luz automáticamente.
◆
On <Act.> (
)
: Enciende la luz.
◆
Off <Des.> (
)
: Apaga la luz.
6.
Pulse el botón [Menu] para finalizar el ajuste.
◆
Aparece el icono de la función seleccionada.
Notas
✤
Si selecciona Back <Volver> en el menú, aparece el menú
anterior.
✤
Mantenga pulsado el botón [Menu] en Photo View <Ver foto>,
así podrá ir directamente a File Options <Opciones de archivo>.
✤
Si la batería está baja y el icono aparece de forma intermitente,
la luz no funciona y el icono de luz aparece con el estado de
apagado.
800
Photo Capture
View
Capture
Settings
Back
EIS
Size
800
¡¿
¡¿
600
On
White Balance
Auto
Focus
AF
Photo Settings
Photo Settings
Photo Settings
EIS
Size
800
¡¿
600
On
White Balance
Auto
Focus
AF
Light
Auto
EIS
Size
800
¡¿
¡¿
600
On
White Balance
Auto
Focus
AF
Photo Settings
Photo Settings
EIS
Size
800
¡¿
600
On
White Balance
Auto
Focus
AF
Light
On
Capturing...
BLC
800
Photo Capture
Содержание VP-M102
Страница 69: ...ENGLISH MEMO 68 68 ESPAÑOL NOTAS ...
Страница 129: ...128 128 ENGLISH MEMO ESPAÑOL NOTAS ...

