3
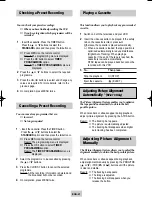
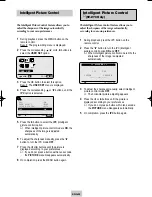
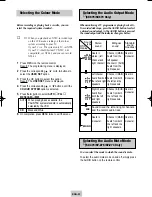
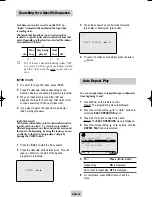
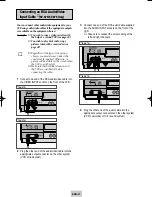
Connect one end of the RCA audio cable supplied
into the AUDIO INPUT sockets on the front of the
VCR.
➢
Take care to respect the colour coding of the
left and right channels.
4
Plug the other end of the audio cable into the
appropriate output connectors on the other system
(VCR, camcorder or Hi-Fi sound system).
ENG-27
You can connect other audio/video equipment to your
VCR using audio/video cables if the appropriate outputs
are available on the equipment chosen.
Examples
◆
You wish to copy a video cassette with
the help of a second VCR (see page 28).
◆
You wish to play back and/or copy
pictures taken with a camcorder (see
page 28).
☛
◆
Regardless of the type of connection
chosen, you must always connect the
coaxial cable supplied. Otherwise, no
picture will be visible on the screen when
the VCR is switched off.
◆
Make sure that both the television and
the VCR are switched off before
connecting the cables.
1
Connect one end of the RCA audio/video cable into
the VIDEO INPUT socket on the front of the VCR.
2
Plug the other end of the audio/video cable into the
appropriate output connector on the other system
(VCR or camcorder).
Connecting an RCA Audio/Video
Input Cable
★
(SV-675/SV-275 Only)
LINE IN 2
PROG
VIDEO L AUDIO R
EJECT
STANDBY/ON
LINE IN 2
PROG
VIDEO L AUDIO R
EJECT
STANDBY/ON
★
(SV-675)
★
(SV-675)
LINE IN 2
LINE IN 2
★
(SV-275)
★
(SV-275)
02124A SV-675/XSA-eng 3/8/04 6:55 PM Page 27

