5-11
Samsung Electronics
Disassembly and Reassembly
Service Manual
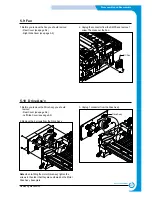
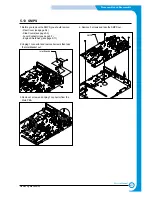
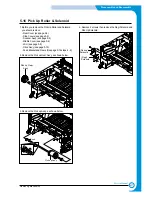
5.9 Fan
1. Before you remove the Fan you should remove:
- Rear Cover (see page 5-2)
- Right Side Cover (see page 5-3)
2. Unplug the connector from the SMPS and remove 1
screw. Then take out the Fan.
DC Fan
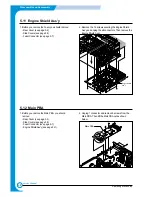
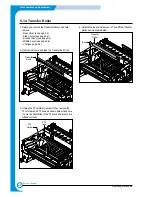
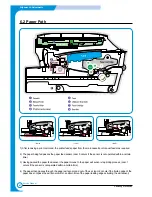
5.10 Drive Ass’y
1. Before you remove the Drive Ass’y, you should
remove:
- Rear Cover (see page 5-2)
- Left Side Cover (see page 5-3)
2. Remove the 6 screws from the Drive Ass’y.
Note when re-fitting the motor Drive Ass’y tighten the
screws in the order that they are numbered on the Motor
Drive Ass’y base plate.
3. Unplug 1 connector from the Drive Ass'y.
Drive Ass’y
Содержание scx-4100 series
Страница 13: ...2 6 Reference Information Samsung Electronics Service Manual 2 4 2 A4 2 Pattern ...
Страница 14: ...2 7 Samsung Electronics Reference Information Service Manual 2 4 3 A4 IDC 5 Patten ...
Страница 15: ...2 8 Reference Information Samsung Electronics Service Manual MEMO ...
Страница 21: ...3 6 Specifications Samsung Electronics Service Manual MEMO ...
Страница 23: ...4 2 Summary of Product Samsung Electronics Service Manual 4 1 2 Rear View ...
Страница 24: ...4 3 Samsung Electronics Summary of product Service Manual 4 1 3 Control Panel ...
Страница 25: ...4 4 Summary of Product Samsung Electronics Service Manual 4 2 System Layout SCAN PART ...
Страница 39: ...4 18 Summary of Product Samsung Electronics Service Manual MEMO ...
Страница 57: ...5 18 Disassembly and Reassembly Samsung Electronics Service Manual MEMO ...
Страница 93: ...7 28 Troubleshooting Samsung Electronics Service Manual MEMO ...
Страница 110: ...9 9 9 1 Samsung Electronics Block Diagram Service Manual 9 Block Diagram ...

