English - 4
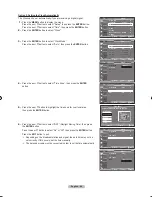
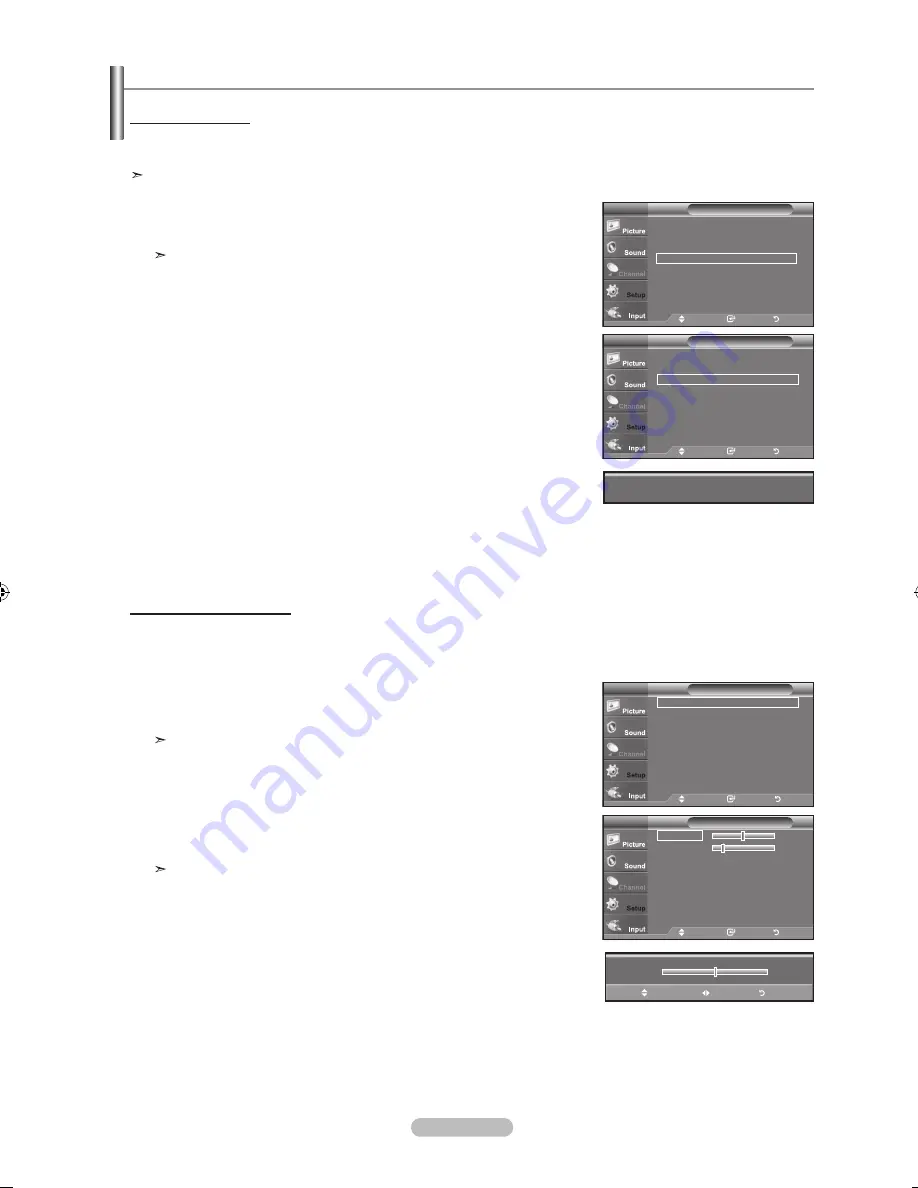
1.
Press the
MENU
button to display the menu.
Press the ▲ or ▼ button to select "Setup", then press the
ENTER
button.
Press the ▲ or ▼ button to select "PC", then press the
ENTER
button.
Change to the PC mode first.
2.
Press the ▲ or ▼ button to select "Auto Adjustment", then press the
ENTER
button.
Press the
ExIT
button to exit.
How to Auto Adjust
Use the Auto Adjust function to have the TV set automatically adjust the video signals it receives.
The function also automatically fine-tunes the settings and adjusts the frequency values and positions.
This function does not work in DVI-Digital mode.
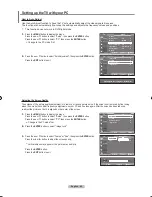
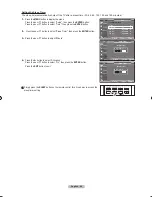
Setting up the TV with your PC
1.
Press the
MENU
button to display the menu.
Press the ▲ or ▼ button to select "Setup", then press the
ENTER
button.
Press the ▲ or ▼ button to select "PC", then press the
ENTER
button.
Change to the PC mode first.
2.
Press the
ENTER
button to select "Image Lock".
3.
Press the ▲ or ▼ button to select "Coarse" or "Fine", then press the
ENTER
button.
Press the ◄ or ► button to adjust the screen quality.
Vertical stripes may appear or the picture may be blurry.
Press the
ENTER
button.
Press the
ExIT
button to exit.
Adjusting the Screen Quality
The purpose of the picture quality adjustment is to remove or reduce picture noise. If the noise is not removed by fine tuning
alone, then make the vertical frequency adjustments on your PC and fine tune again. After the noise has been reduced,
re-adjust the picture so that it is aligned on the center of the screen.
PC
Image Lock
►
Position
►
Auto Adjustment
►
Image Reset
►
TV
Move
Enter
Return
PC
Image Lock
►
Position
►
Auto Adjustment
►
Image Reset
►
TV
Move
Enter
Return
Setup
▲
More
blue Screen
: Off
►
Melody
: Medium
►
PC
►
Home Theater PC : Off
►
Light Effect
: In Watching TV
►
Energy Saving
: Off
►
▼ More
TV
Move
Enter
Return
Image Lock
Coarse
0
Fine
18
TV
Move
Enter
Return
0
▲
Coarse
▼
Move
Adjust
Return
Auto Adjustment in Progress. Please Wait
BN68-01310A-00Eng_0709.indd 45
2007-07-20 �� 3:26:06
Содержание LN-T7081F
Страница 93: ...This page is intentionally left blank ...
Страница 185: ...Cette page est laissée intentionnellement en blanc ...
Страница 277: ...Esta pagina se ha dejado en blanco expresamente ...


