English
- 15 -
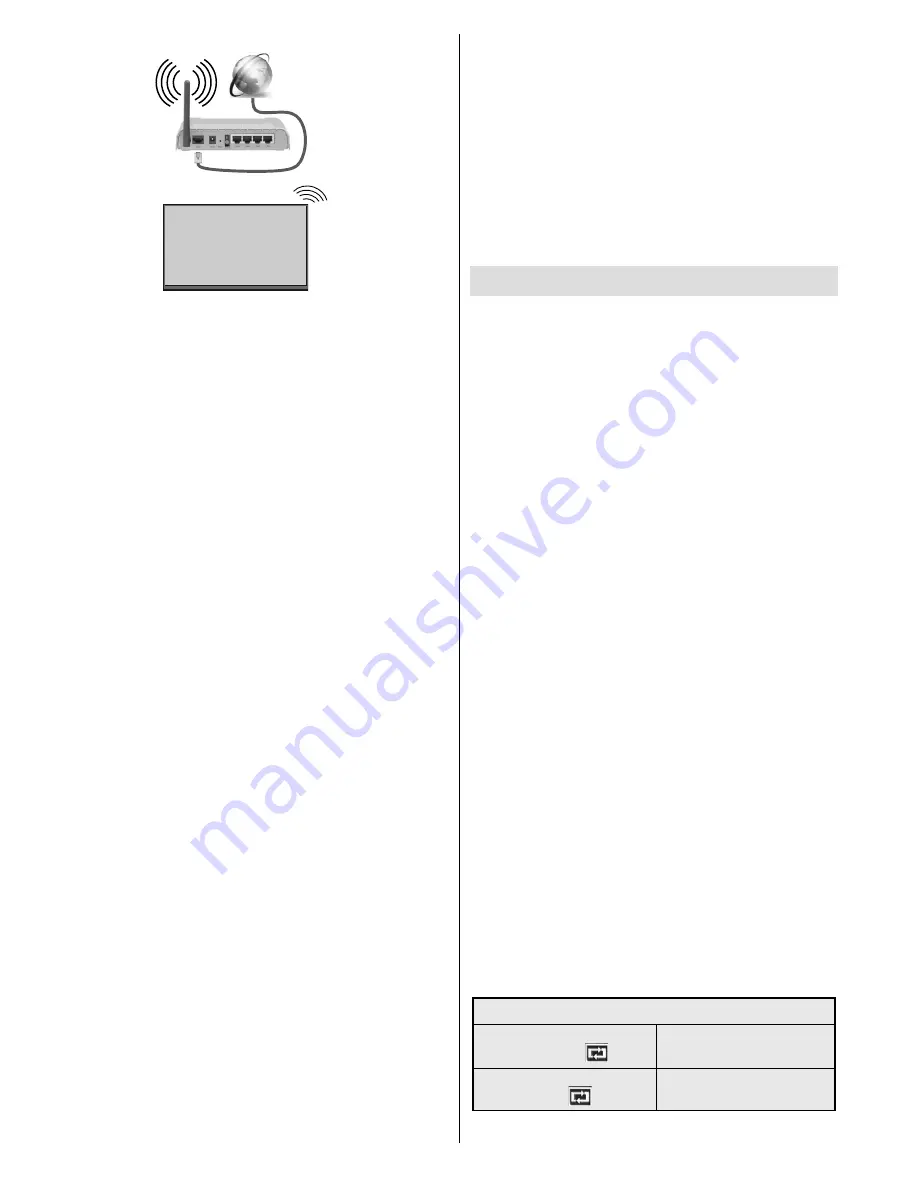
Broadband
ISP
connection
A network with hidden SSID (wireless network name)
can not be detected by other devices. If you want to
connect to a network with hidden SSID, select
Add
new network
option under the
Other options
caption.
Add the network by entering its name manually using
the related option. To make your modem’s SSID
visible, you should change your SSID settings via the
modem’s software.
If your router has WPS, you can directly connect to
the modem/router without entering a password or
adding the network first.
Select
Connect via WPS
option under the
Network Settings>Wi-Fi
menu on
the home screen. Go to your modem/router device and
press the WPS button on it to make the connection.
You will see a connection confirmation on your TV
once the devices have paired. Select
OK
to proceed.
No further configuration is required.
•
A Wireless-N router (IEEE 802.11a/b/g/n/ac) with
simultaneous 2.4 and 5 GHz bands is designed
to increase bandwidth. These are optimized for
smoother and faster HD video streaming, file
transfers and wireless gaming.
• The frequency and channel differ depending on
the area.
• The transmission speed differs depending on the
distance and number of obstructions between the
transmission products, the configuration of these
products, the radio wave conditions, the line traffic
and the products that you use. The transmission may
also be cut off or may get disconnected depending
on the radio wave conditions, DECT phones or any
other WLAN 11b appliances. The standard values of
the transmission speed are the theoretical maximum
values for the wireless standards. They are not the
actual speeds of data transmission.
• The location where the transmission is most effective
differs depending on the usage environment.
•
The Wireless feature of the Display supports 802.11
a,b,g & n type modems. It is highly recommended
that you should use the IEEE 802.11n communication
protocol in order to avoid any possible problems while
watching videos.
• You must change your modem’s SSID when there are
any other modems around with the same SSID. You
can encounter connection problems otherwise. Use
a wired connection if you experience problems with a
wireless connection.
Note:
Android system allows only one network connection at a
time. If the Display is connected to the network both wirelessly
and via ethernet (wired) while it is on android source, the
ethernet connection will take priority. Since if this is the case,
WLAN connection can not be established. Unplug the ethernet
cable to allow wireless connection.
Media Playback via USB Input
You can connect 2.5” and 3.5” inch (hdd with external
power supply) external hard disk drives or USB
memory stick to your Display by using the USB input/s
of the Display.
IMPORTANT!
Back up the files on your storage
devices before connecting them to the Display.
Manufacturer will not be responsible for any file
damage or data loss. Certain types of USB devices
(e.g. MP3 Players) or USB hard disk drives/memory
sticks may not be compatible with this Display. The
Display supports FAT32 and NTFS disk formatting.
Wait a little while before each plugging and unplugging
as the player may still be reading files. Failure to do
so may cause physical damage to the USB player
and the USB device itself. Do not pull out your drive
while playing a file.
You can use USB hubs with your Display’s USB
input/s. External power supplied USB hubs are
recommended in such a case.
It is recommended to use the Display’s USB input/s
directly, if you are going to connect a USB hard disk.
Note:
When viewing image files the
Media Browser
menu
can only display 1000 image files stored on the connected
USB device.
Media Browser Menu
You can play photo, music and movie files stored on
a USB disk by connecting it to your Display. Connect
a USB disk to one of the USB inputs located on the
side of the Display. Pressing the
Menu
button while
in the
Media Browser
mode will access the
Picture
,
Sound
and
Settings
menu options. Pressing the
Menu
button again will exit from this screen.
You
can set your
Media
Browser
preferences by using
the
Settings
menu.
Loop/Shuffle Mode Operation
Start playback with the
Play
button and activate
All files in the list will be contin
-
uously played in original order
Start playback with the
OK
but-
ton and activate
The same file will be played
continuously (repeat)


