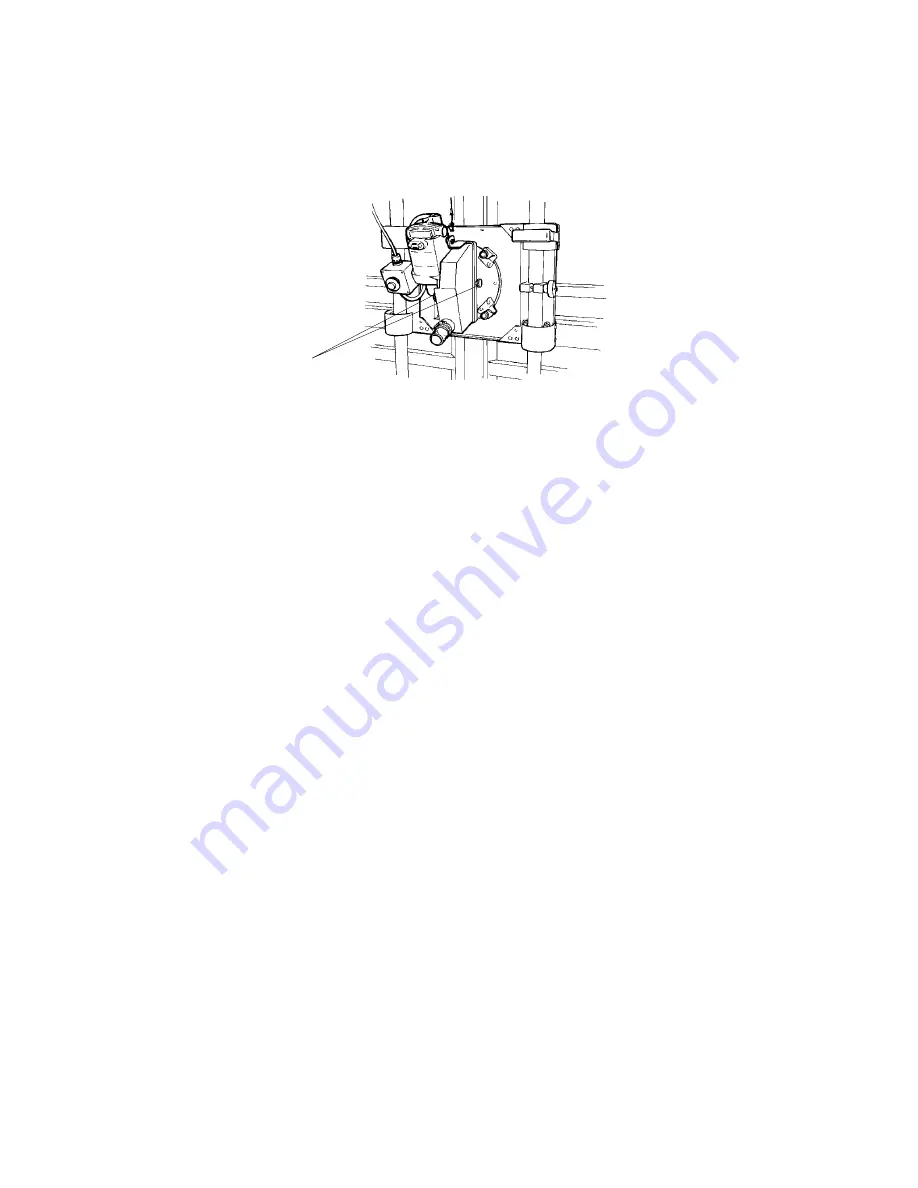
2. Lock the carriage lock.
3. Loosen the wing nut on the router base.
4. Rotate the motor counterclockwise and remove it.
5. Using the wrench kit provided, loosen the collet and remove the bit.
6. Install the new bit and tighten the collet securely.
Torque
Knobs
Figure 21: Installing the Blade Guard (Models 6400, 6800)
Starting and Stopping the Motor
C-4, SR5, and H-Series saws.
Start the motor by lifting on the paddle switch located under the saw handle.
Stop the motor by pressing the same switch down.
Models 6400, 6800, and SR-5U saws.
Start the motor by pulling the start-stop switch out. Stop the motor by
pressing the same switch in.
Models 7400 and 7400XL saws.
Start the motor by pushing the red button ON. Stop the motor by pressing the
black button OFF.
Models SR-5, SR-5U, and 3400 routers
have a switch on the front of the router motor. Press ON or OFF as
required.
TR-2 routers.
Start the motor by pulling the start-stop switch out. Stop the motor by pressing the same switch in.
Rotating the Turntable on the Carriage
C-4 and H-Series saws; Models SR-5 and SR-5U routers.
Pull out both of the indexing pins, and pivot the
turntable until they snap into the appropriate holes.
Models 6400 and 6800 saws.
Pull out both indexing pins, and pivot the turntable until they snap into the
appropriate holes.
Models 7400 and 7400XL saws.
Unscrew the indexing pin, and pivot the turntable until the pin is aligned with
the appropriate hole. Screw the indexing pin into the new hole, then tighten the pin’s locking knob.
Model 3400 and TR-2 router.
The Model 3400 are routers only, and do not have turntables.
Moving the Carriage Up or Down
C-4 and H-Series saws.
Use the handle attached to the motor body.
Models 6400 and 6800 saws.
Use the handle in front of the right guide tube, attached to the carriage in the far
upper right hand corner.
Models 7400 and 7400XL saws.
Use the blue handles on the right hand side of the motor.
Models SR-5 and SR-5U routers.
Use the handle on the upper right hand corner of the carriage.
3400 and TR-2 routers.
Use the handle in front of the right guide tube.
22


