


Operation
Runco VX-44d/-55d Installation/Operation Manual
71
PRE
L
IMINAR
Y
Input Name
s
:
You can give each DHD Controller input a descriptive name. For example,
you may want to change the default input name to the type of source component
connected to it: “VCR,” “DVD,” “Laptop” et cetera. Input names can be up to 12
characters long.
To edit an input name, select Input Names from the Service menu. Press
or
to select
an input and press
ENTER
. Use the
or
buttons to change a character; press
or
to select a character to change. When you have finished editing the input name,
press
ENTER
or
MENU
.
To restore the default input name, press
repeatedly to highlight that input name in the
“Restore” column. Then, press
ENTER
.
Remote Control:
Select Remote Control from the Service menu to change the following
settings related to remote control operation.
• Remote Code:
Select Remote Code from the Remote Control menu to set the
infrared (IR) code set to which the DHD Controller will respond. By default, it is set to
17. You can change this setting if either:
• Another device in the theater (a DVD player, for example) is responding to
commands from the DHD Controller remote control (Figure 2-6) in ways that are
unpredictable or undesirable.
• You have multiple DHD Controllers and want to control them independently, as
opposed to broadcasting commands from a single remote to all of them. In this
scenario, you can use multiple remotes programmed to use different IR codes. Or,
you can use a single remote and change the IR code as needed to address a
specific DHD Controller.
When you change a remote code on the DHD Controller, you must re-program the
DHD Controller remote control to send that same code. To do this:
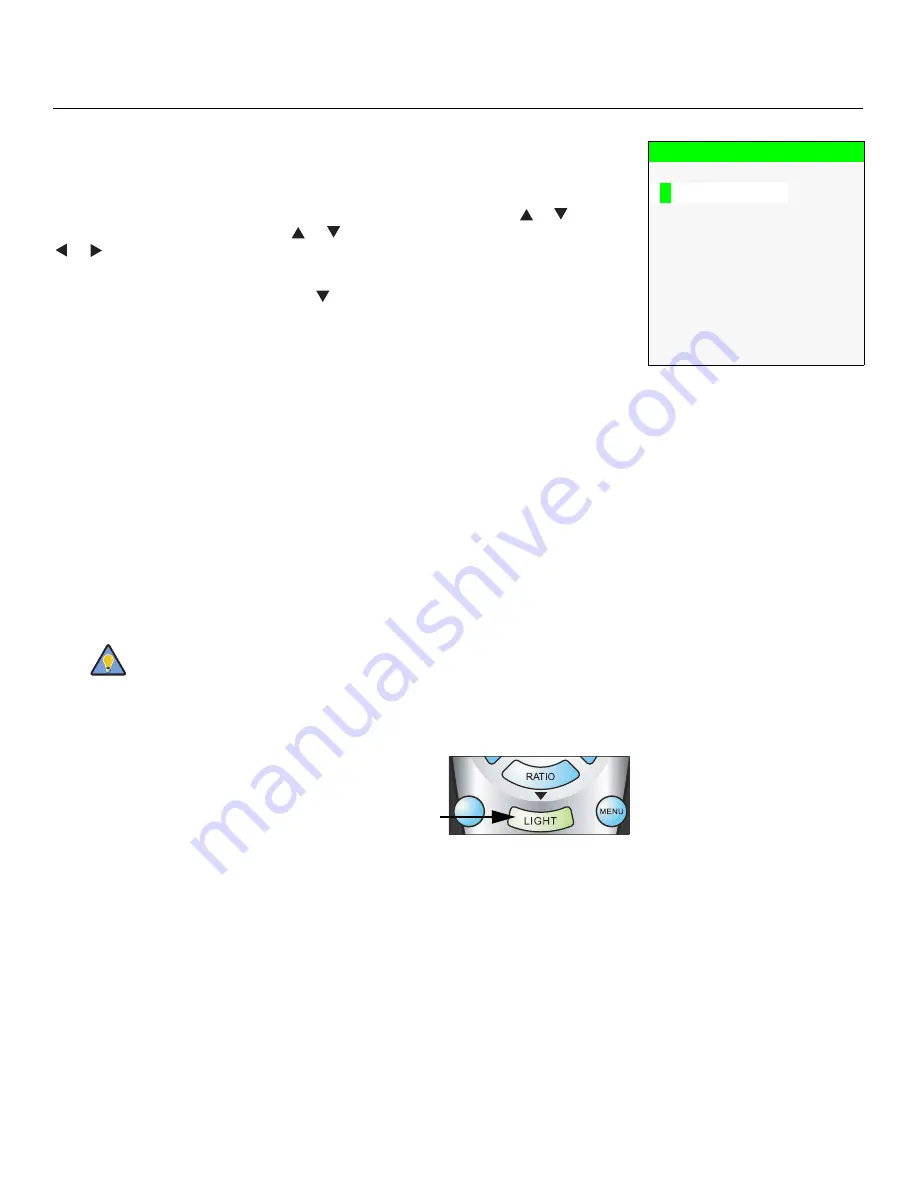
1. Press and hold the
LIGHT
button on the
remote control for approximately three
seconds, or until the LED on the remote lights
solid red.
2. Enter a new two-digit code between 00 and 31
inclusive. Include a leading zero for single-digit
codes; for example, enter 9 as “09.”
3. The LED turns off to confirm the code change. If you enter an invalid code, the LED
flashes for three or four seconds. Try again, entering a valid code.
• COMP Key
S
ource:
Select COMP Key Source from the Remote Control menu to
assign the COMP remote control button to either the Component or SCART input.
Input Name
s
Restore
C o m p o s i t e
Composite
S - V i d e o
1
S-Video 1
S - V i d e o
2
S-Video 2
C o m p o n e n t
Component
H D
1
HD 1
H D
2
HD 2
S C A R T
SCART
H D M I
1
HDMI 1
H D M I
2
HDMI 2
Use the DHD Controller front-panel keypad to change the IR code to
which the controller will respond. Then, change the code sent by the
remote to match as described below.
Tip
EXIT
RETURN
Содержание Video Xtreme VX-44d
Страница 2: ......
Страница 10: ...x Runco VX 44d 55d Installation Operation Manual P R E L I M I N A R Y Notes...
Страница 14: ...Table of Contents xiv Runco VX 44d 55d Installation Operation Manual P R E L I M I N A R Y Notes...
Страница 68: ...Installation 52 Runco VX 44d 55d Installation Operation Manual P R E L I M I N A R Y Notes...
Страница 102: ...Maintenance and Troubleshooting 86 Runco VX 44d 55d Installation Operation Manual P R E L I M I N A R Y Notes...
Страница 118: ...Specifications 102 Runco VX 44d 55d Installation Operation Manual P R E L I M I N A R Y Notes...
Страница 119: ......
Страница 120: ...Runco International 800 23RUNCO Fax 503 748 8161 www runco com 020 0826 02 Rev B April 2009...


