


Specifications
Runco VX-44d/-55d Installation/Operation Manual
101
PRE
L
IMINAR
Y
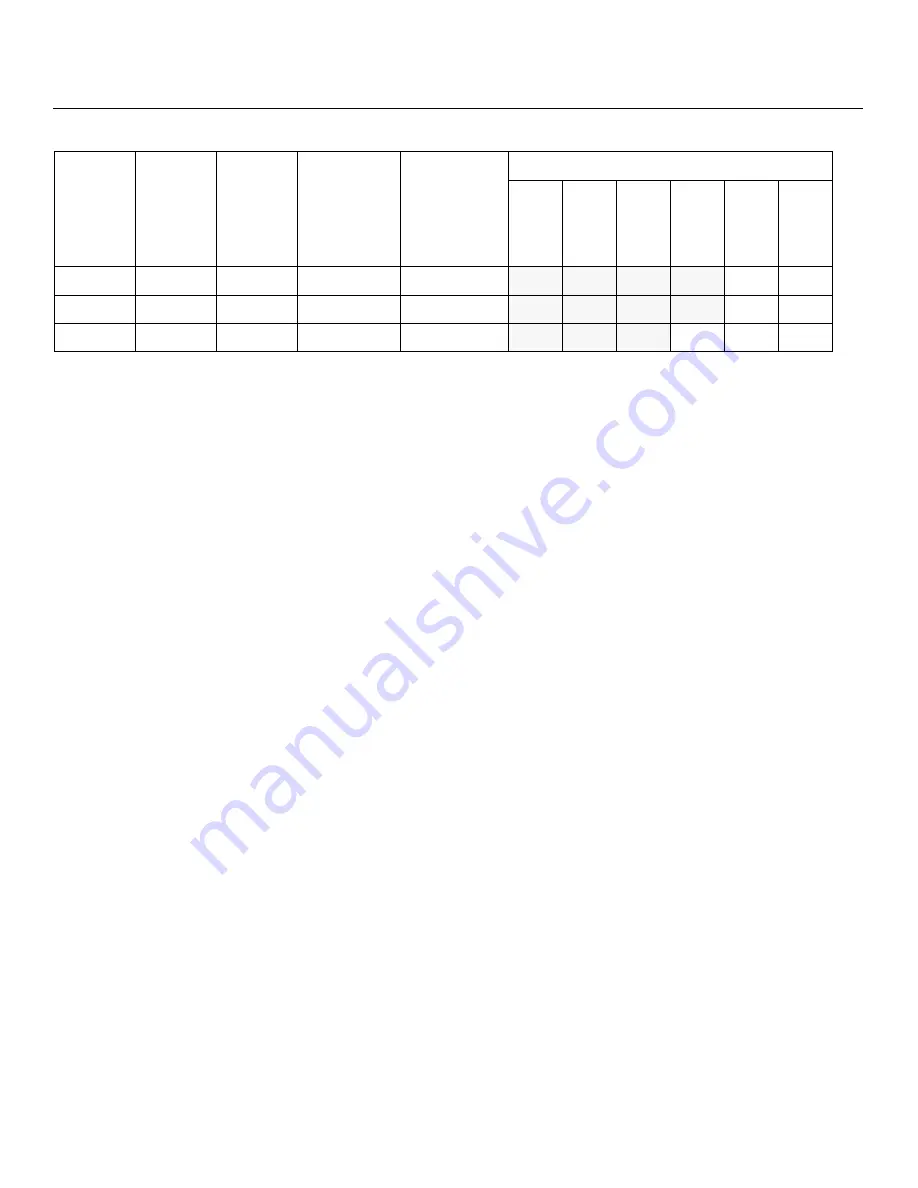
PAL-M
–
59.94/60.00
15.734/15.750
3.580
–
–
–
–
√
√
PAL-N
–
50.00
15.625
3.580
–
–
–
–
√
√
SECAM
–
50.00
15.625
13.500
–
–
–
√
√
√
Table 7-3.
S
upported
S
ignal Timing
s
by Input (continued)
Format
Re
s
olution
Refre
s
h
Rate (Hz)
Horizontal
Frequency
(kHz)
Pixel Frequency
(MHz)
S
upported? (
√
= Ye
s
,
–
= No)
HD1
HD2
HDMI 1
HDMI 2
Componen
t/
RGBHV
S
CART
S
-Video 1
S
-Video 2
Vi
deo
Содержание Video Xtreme VX-44d
Страница 2: ......
Страница 10: ...x Runco VX 44d 55d Installation Operation Manual P R E L I M I N A R Y Notes...
Страница 14: ...Table of Contents xiv Runco VX 44d 55d Installation Operation Manual P R E L I M I N A R Y Notes...
Страница 68: ...Installation 52 Runco VX 44d 55d Installation Operation Manual P R E L I M I N A R Y Notes...
Страница 102: ...Maintenance and Troubleshooting 86 Runco VX 44d 55d Installation Operation Manual P R E L I M I N A R Y Notes...
Страница 118: ...Specifications 102 Runco VX 44d 55d Installation Operation Manual P R E L I M I N A R Y Notes...
Страница 119: ......
Страница 120: ...Runco International 800 23RUNCO Fax 503 748 8161 www runco com 020 0826 02 Rev B April 2009...


