Real Time Automation, Inc.
30
1-800-249-1612
3)
Generate Data Points:
Once values in the number of read/write data points has been changed,
click this button to them auto-generate. These new data points may be configured after they
have been generated.
Configuring Read and Write Data Points
Follow these steps to manually configure Read and Write Data Points:
4)
Select the
View Read Data Points
or
View Write Data Points
button.
5)
To individually disable data points, uncheck the
Enable
checkbox. This will omit that data point
from the generated XML/JSON.
NOTE
: Attempts to write to a disabled write data point will generate an error in the gateway.
6)
Enter a
Name
for the data point. This name will be used in the XML/JSON and must follow the
following rules:
i.
Consist only of alphanumeric characters and the underscore character
ii.
Length between 1 and 32 characters long
iii.
Be unique among those assigned to a specific
Device
.
iv.
Not begin with the st
ring “XML”.
v.
Reserved names of “DeviceName”, “GroupName”, “dataTimeStamp”, and “Diagnostics”
may not be used.
NOTE
: Although the data point names are treated as case-insensitive, the
capitalization will be maintained in the generated XML/JSON as it was originally
entered on this page.
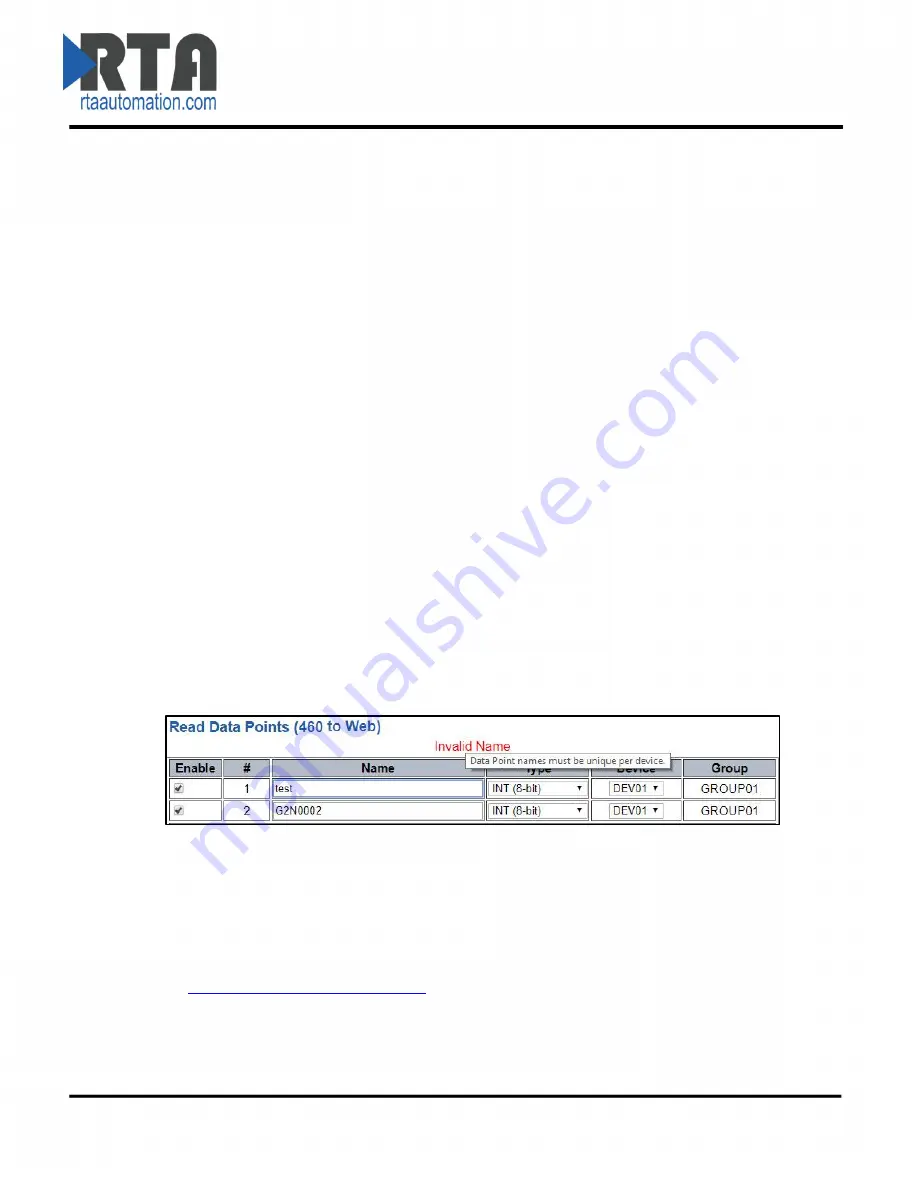
After a name is entered, a verification check will run on this page to determine if the entered
name is “valid”.
If a name is entered that fails one of the criteria described above, the “invalid”
name will be automatically changed back to the last
“valid” name.
In addition, an error message
will be displayed in red above the table. Hovering the mouse on that error message gives
information on why that name was “invalid”. See screenshot below:
7)
Select a
Type
for each data point. The Auto-Configure method will choose the best data type for
that point, but the user may modify. This type should match the type of the data point on the
other protocol that it will be mapped with.
8)
Select a
Device
that this data point is associated with. This field is used, along with Group, to
help organize the data in the XML/JSON. Up to 32 different devices can be configured. Each
device is assigned to a
Group
. For more information and how to modify the name, please see
the
Web Interface Group Configuration
page.
i.
If the other protocol is a Client/Master with multiple slaves/servers, typically this device
field is used to represent each of those slaves/servers.
9)
Click the
Save Parameters
button.
10)
Repeat for the other direction if needed.


