Real Time Automation, Inc.
29
1-800-249-1612
Data Point 2 => Type Float (DeviceA:Float1)
Data Point 3 => Type Integer (DeviceA:Int2)
Data Point 4 => Type Integer (DeviceB:Int1)
Data Point 5 => Type Integer (DeviceB:Int2)
Data Point 6 => Type Float (DeviceB:Float1)
Data Point 7 => Type Float (DeviceB:Float2)
Data Point 2 => Type Integer (DeviceA:Int2)
Data Point 3 => Type Integer (DeviceB:Int1)
Data Point 4 => Type Integer (DeviceB:Int2)
Data Point 5 => Type Float (DeviceA:Float1)
Data Point 6 => Type Float (DeviceB:Float1)
Data Point 7 => Type Float (DeviceB:Float2)
Web Interface Data Point List Configuration: Manual Mode
1)
To transition from either of the two Auto-Configure Modes to Manual Configure Mode, click the
dropdown at the top of the Web Interface Configuration page and select Manual Configure.
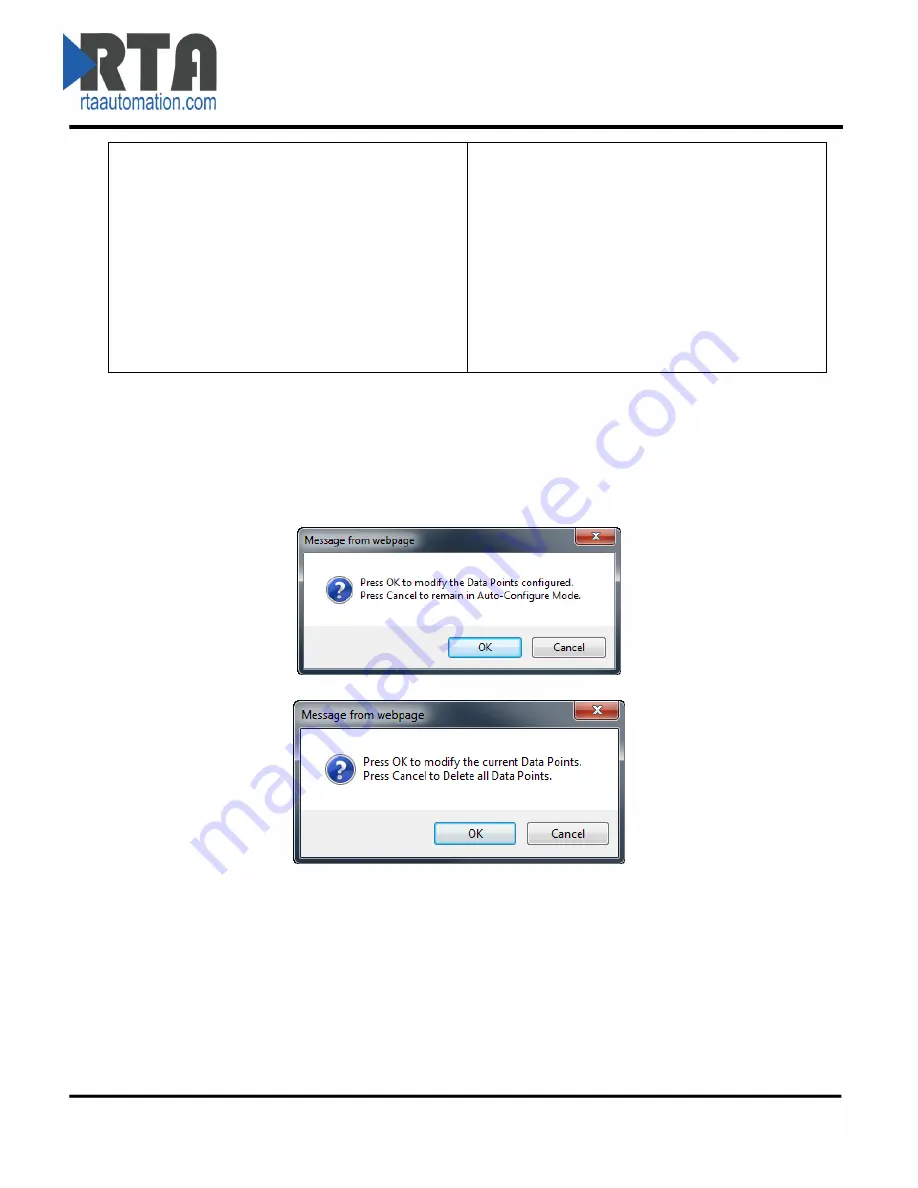
a.
When prompted, click
OK
to confirm mode change or
Cancel
to remain in Auto-
Configure Mode.
b.
Once OK is clicked, there are two options on how to proceed:
i.
To keep the data points that are already configured, press
OK
.
-
You would want this option if you are adding additional data points or you
want to modify the data point(s) that already exist.
ii.
To delete the data points that are already there and start over, press
Cancel
.
2)
# of Read Data Points/# of Write Data Points:
Most of the time, this number should be left at
the value generated during the Auto-Configure method. However, if additional points need to
be added, or manual configuration is preferred, enter the desired number of data points in
these boxes.


