- 7 -
S Y S T E M C O N T R O L S
(con’t)
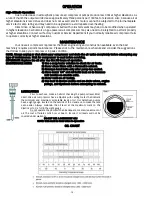
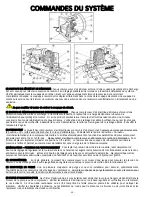
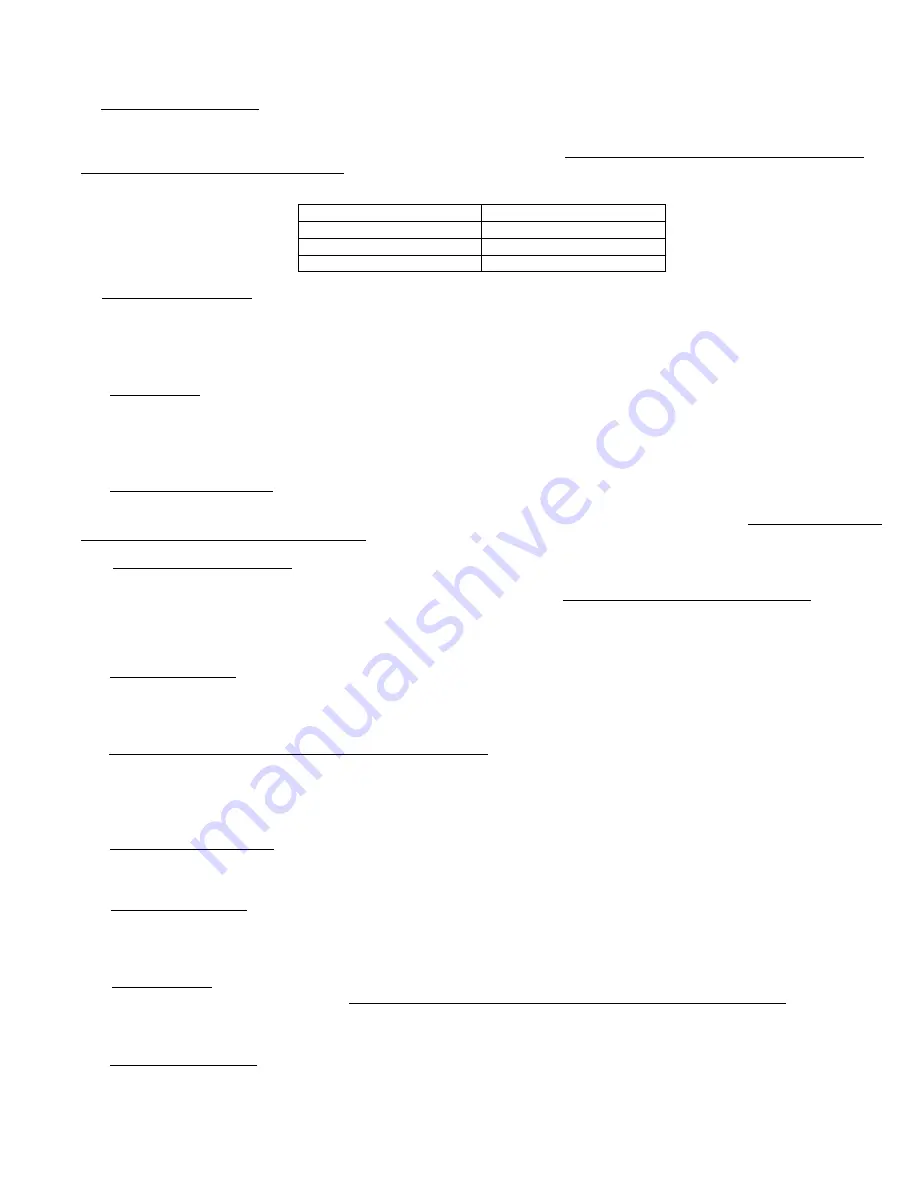
(8) PILOT-UNLOADER VALVE A pilot-unloader valve is used on all gas-powered units and can be used on electric air compressors
to operate in a continuous manner. When the storage tank reaches the top pressure setting of the pilot valve, the air being
compressed is discharged to atmosphere instead of into the storage tank. When the tank pressure drops to the low pressure
setting of the pilot valve, the compressed air will be redirected to the air tank. Do not attempt to replace the pilot valve without
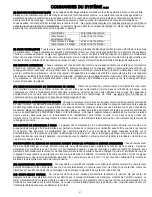
first draining the tank pressure completely. See Figure 3 for adjustment and fine-tuning instructions. Do not adjust above the
following factory recommendations.
Classification
Pressure Setting
Direct Drive Compressor
105-130 PSI
I-Stage Compressor
110-135 PSI
II-Stage Compressor
130-150 PSI
(9) SIGHT GAUGE/DIPSTICK Prior to daily operation, make a habit of checking the oil level of the compressor pump and engine (if
compressor is gas powered). Every direct-drive hand-carry air compressor has a dipstick to help check and maintain the proper oil
level. The dipstick also functions as a crankcase vent. Never operate a direct-drive unit without the factory-supplied dipstick. Our
belt-driven air compressors are equipped with a sight gauge to make the daily task of checking the oil level easier. Always
maintain the oil level to read 2/3 full on the sight gauge.
(10) CHECK VALVE Every ROLAIR
®
air compressor is built with a check valve to seal off and maintain tank pressure after the top
end pressure setting of pilot valve or pressure switch is reached. The check valve works in conjunction with the pressure switch
relief valve to provide a loadless start for the compressor system. A quick burst of air escaping from the pressure switch relief
valve after an electric unit reaches top end indicates the check valve is working properly. If the compressor has a mysterious leak
after stopping that cannot be traced elsewhere, the check valve may require servicing/replacing.
(11) BREATHER/OIL FILL PLUG All reciprocating air compressor pumps are built with a crankcase vent to relieve the pressure
that is created by the downward movement of the piston in the pump cylinder. Our direct-drive air compressors vent the
crankcase pressure through special ports in the dipstick. Our belt-drive units vent through the oil-fill plug. Never operate the air
compressor without the dipstick or oil-fill plug.
(12) AUTOMATIC-IDLE CONTROL Every ROLAIR
®
gas-powered air compressor is built with an engine idle control kit that
automatically decreases the engine speed when the top end pressure setting of the pilot unloader valve is reached. The top RPM
setting of the engine is factory set for maximum performance and service life. Do not alter the factory top RPM setting. The engine
idle speed is factory set and controlled by a black plastic Philips head screw on the carburetor. A slight increase to the idle speed
setting may be required when operating in colder temperatures. Turn screw clockwise in 1/4 turn increments to increase the idle
speed. If the idle speed setting is too low, premature fouling of spark plug will occur.
(13) COLD-START VALVE Most ROLAIR
®
direct-drive air compressors are built with an automatic cold-start valve that allows the
motor/pump to warm up before being subjected to tank pressure. Our belt-driven portable units have a manual drain valve
installed on the pump aftercooler to assist with cold weather starting. Open drain valve and allow the motor and pump to run
unloaded
for a minute to warm up. Close the drain and repeat the procedure if the motor or engine continue to struggle.
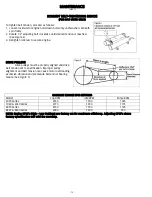
(14) SCHMIDT BELT-TIGHTENING DEVICE (FOR GAS UNITS ONLY) Every ROLAIR
®
gas-powered belt-driven portable air compressor
has a unique system for maintaining proper belt tension. Simply loosen the 1/2” locknuts (only until washers beneath spin freely)
that secure the engine and rotate the fine thread bolt located on the wheel end of the base plate clockwise until the desired belt
tension is achieved. (See drawing in section on operating instructions for proper tension) Re-tighten 1/2” locknuts to secure engine
and maintain desired belt tension setting.
(15) VIBRATION DAMPENER(S)
The rubber pads installed beneath every portable ROLAIR
®
tank assembly are very important to
the proper operation of the air compressor. They provide protection from vibration that left unchecked could cause damage to
many system components.
(16) ENGINE KILL SWITCH A kill switch is installed to easily stop the engine. Do not attempt to move the throttle lever (as
described in the Honda owner’s manual) when stopping the engine. The engine throttle lever is factory set and locked down at a
top RPM setting that will provide maximum performance and service life for the complete air compressor system. The kill switch
must be moved to the “On” position prior to pulling the recoil rope assembly to start the engine.
(17) ENGINE CHOKE Moving the choke lever completely to the left (closed position) will help start a cold engine. Also see
instructions for cold-start valve (Item #13). After start up, the choke lever must be moved completely to the right (open position)
for the engine to operate properly. Fouling of spark plug and excessive internal carbon build up will occur if engine is operated
with choke lever even partially closed.
(18) FUEL SHUT-OFF VALVE
T
he fuel shut-off valve should only be moved to the “Open” position (completely to the right) when
the engine is being operated. Always stop the flow of fuel by moving the shut-off valve completely to the left when the engine is
not being operated. Do not move or transport the air compressor with the fuel valve in the open position.


