


52
User's Reference
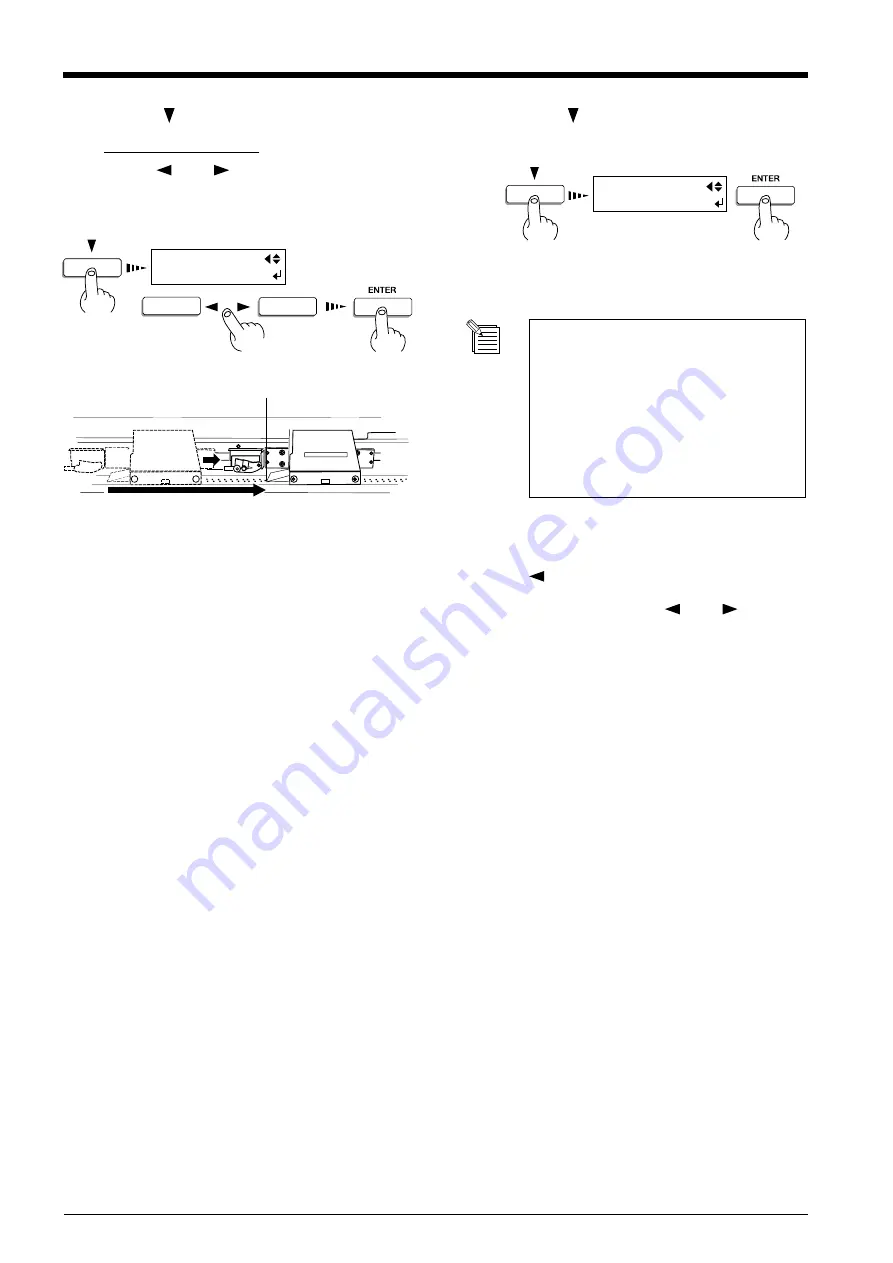
Press the [ ] key to make the following screen
appear on the display.
Setting the left-hand edge
Use the [
] and [
] keys to move the left edge of
the carriage to the location that you want to make the
left-hand edge of the printing area. Press the [EN-
TER] key to lock in the setting with an audible beep.
5
Press the [ ] key to make the following screen
appear on the display.
Press the [ENTER] key.
6
When the location of the right- or left-hand
edge could not be set at the specified
place, [PRINT R-EDGE (or L-EDGE)
SET ERROR] appears on the display. The
problem may be one of the two situations
described below.
- The location specified for the left-hand
edge was farther to the right than the
location of the right-hand edge.
- If the carriage moves away from the standby position when not printing, problems such as drying-out of the printing heads or dot drop-
out during printing may occur. For this reason, about 60 seconds after pressing the [
] key to move the carriage, the carriage returns
to the standby position.
Also, the carriage returns to the standby position when about 20 seconds passes during this interval after the [
] and [
] key is
released.
If the setting could not be made in within the time limit, then do the setting over again from the beginning.
- After setting the printing area, pressing the [SETUP] key to cancel the setup for the material (making the SETUP LED go out) cancels
the printing area that has been set.
- Using [PRINT AREA] to set the printing area when the starting location in the left-right direction has been specified with the [BASE
POINT] key, the setting made with the [BASE POINT] key is canceled.
Left edge of the carriage
PRINT AREA
SET L-EDGE
PRINT AREA
EXIT
Содержание SolJet SJ-500
Страница 77: ...R1 020320...


